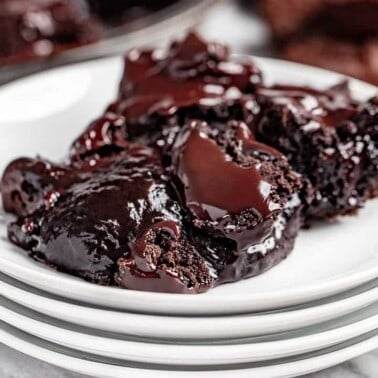
After years of testing, we have finally perfected the ultimate chocolate cake recipe. Our recipe has been tried and loved by tens of thousands of people worldwide, all of whom agree that it is the most amazing chocolate cake ever. We promise, once you try this recipe, you won’t go back to the others.
For more delicious cake, try our Most Amazing Texas Sheet Cake.

Why My Recipe
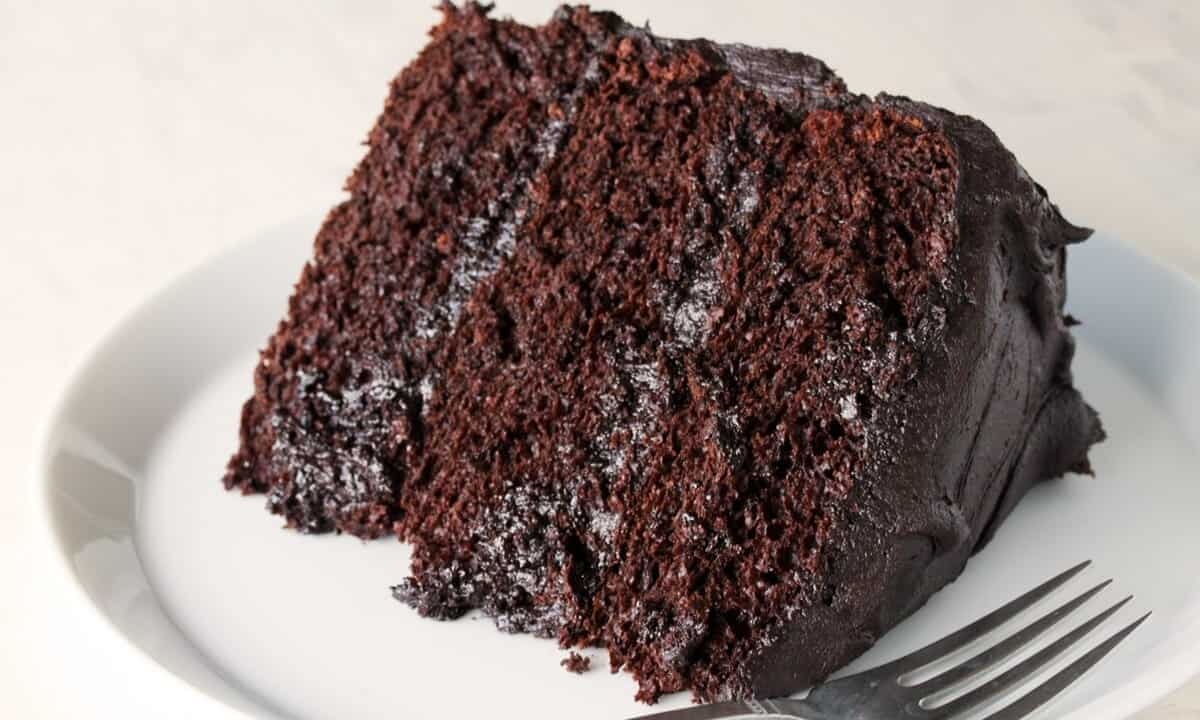
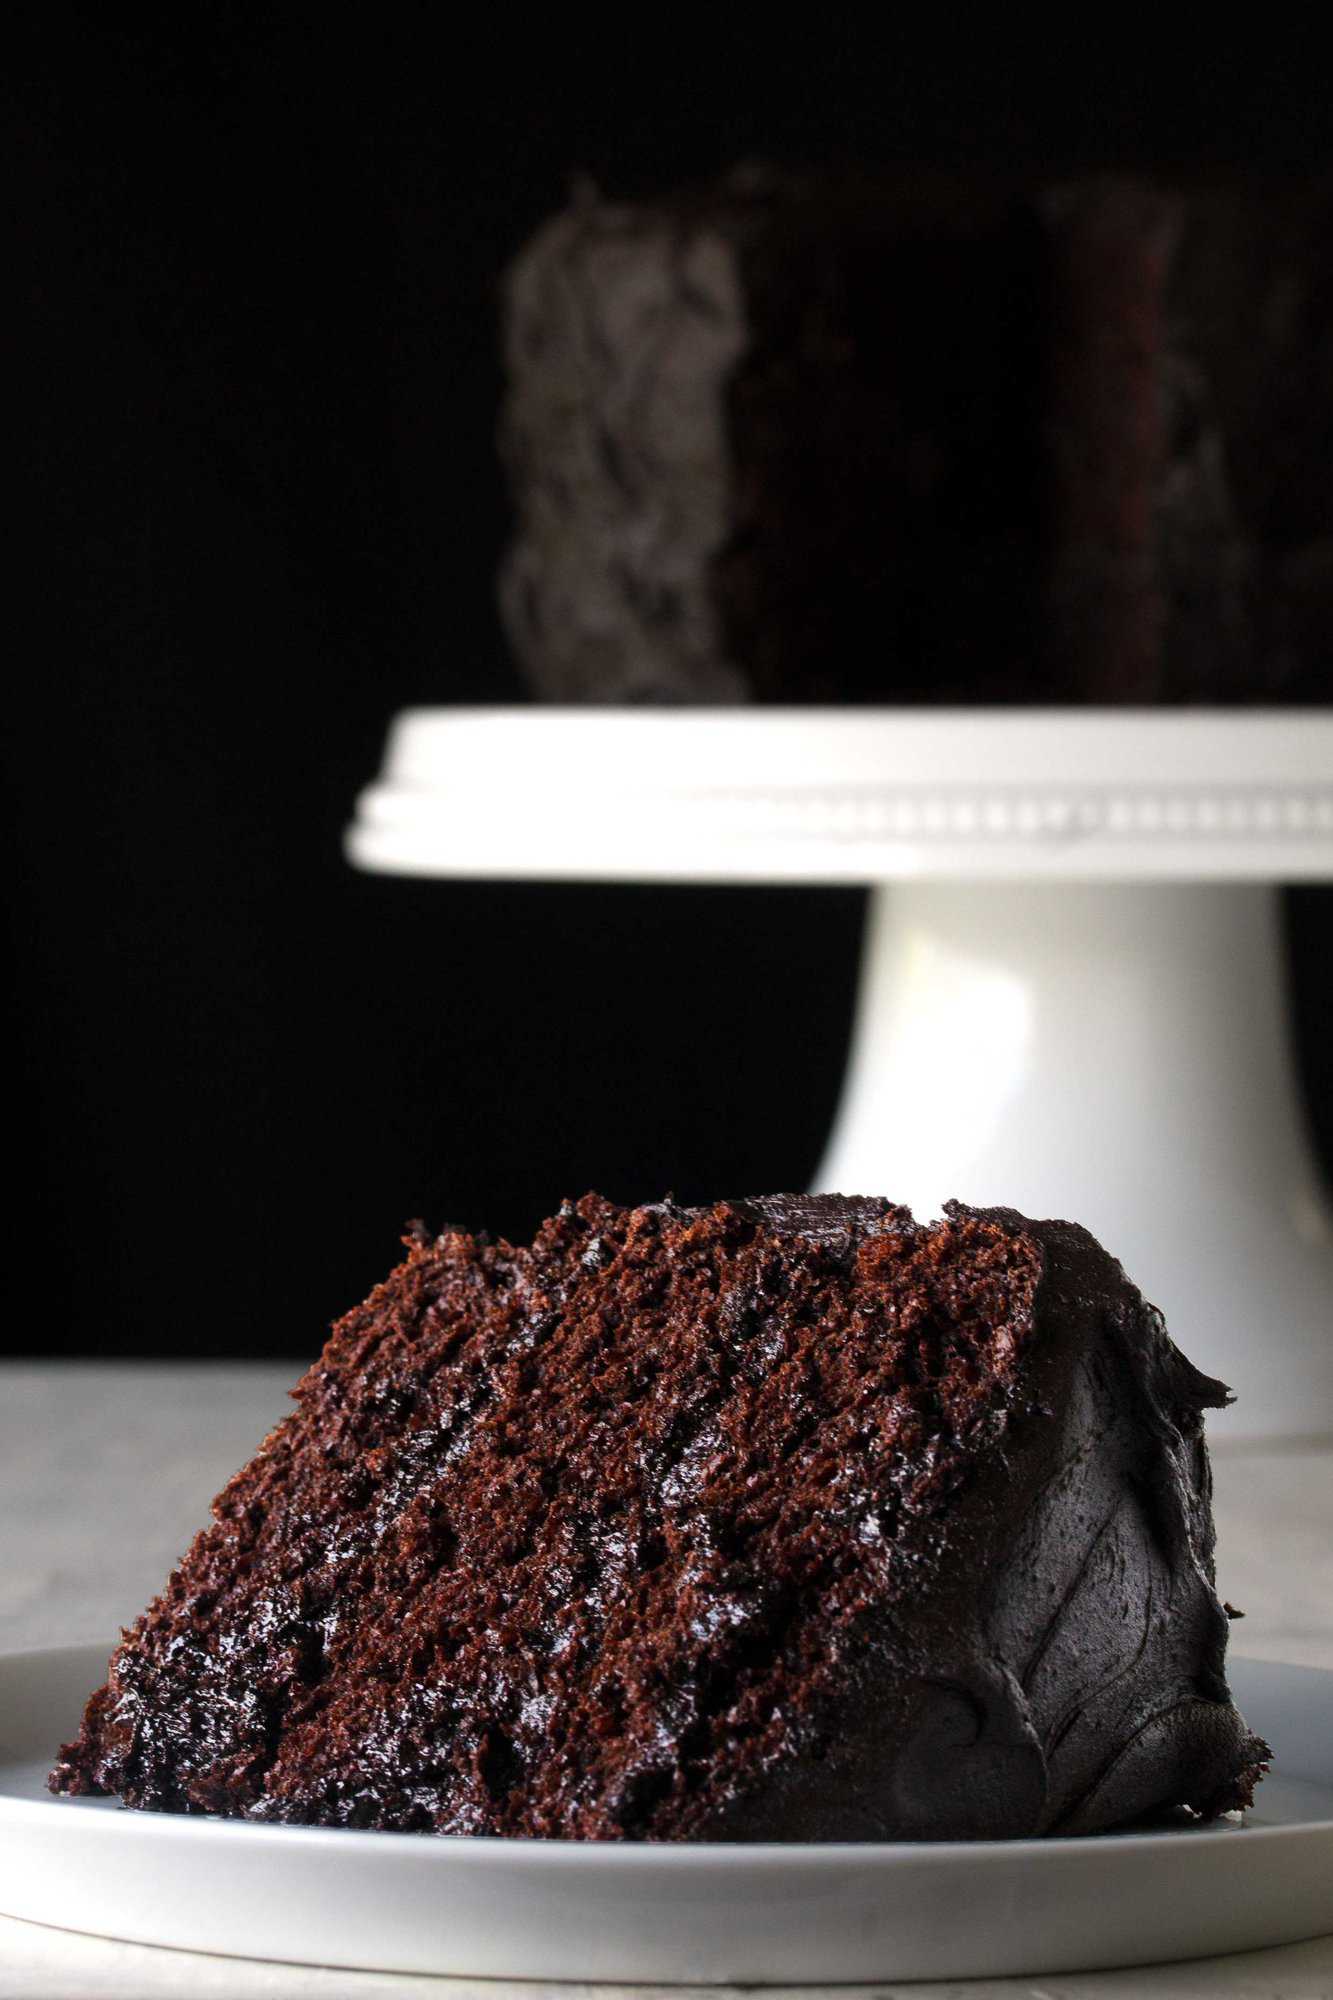
- It’s Moist! — One of the key measures of a chocolate cake is whether or not it is moist. This one checks every box!
- One Bowl —The batter is made in just one bowl, so no combining wet and dry ingredients separately.
- Rich Chocolate Flavor — This cake is rich and fudgy, making it a true indulgence for any chocolate cake lover.
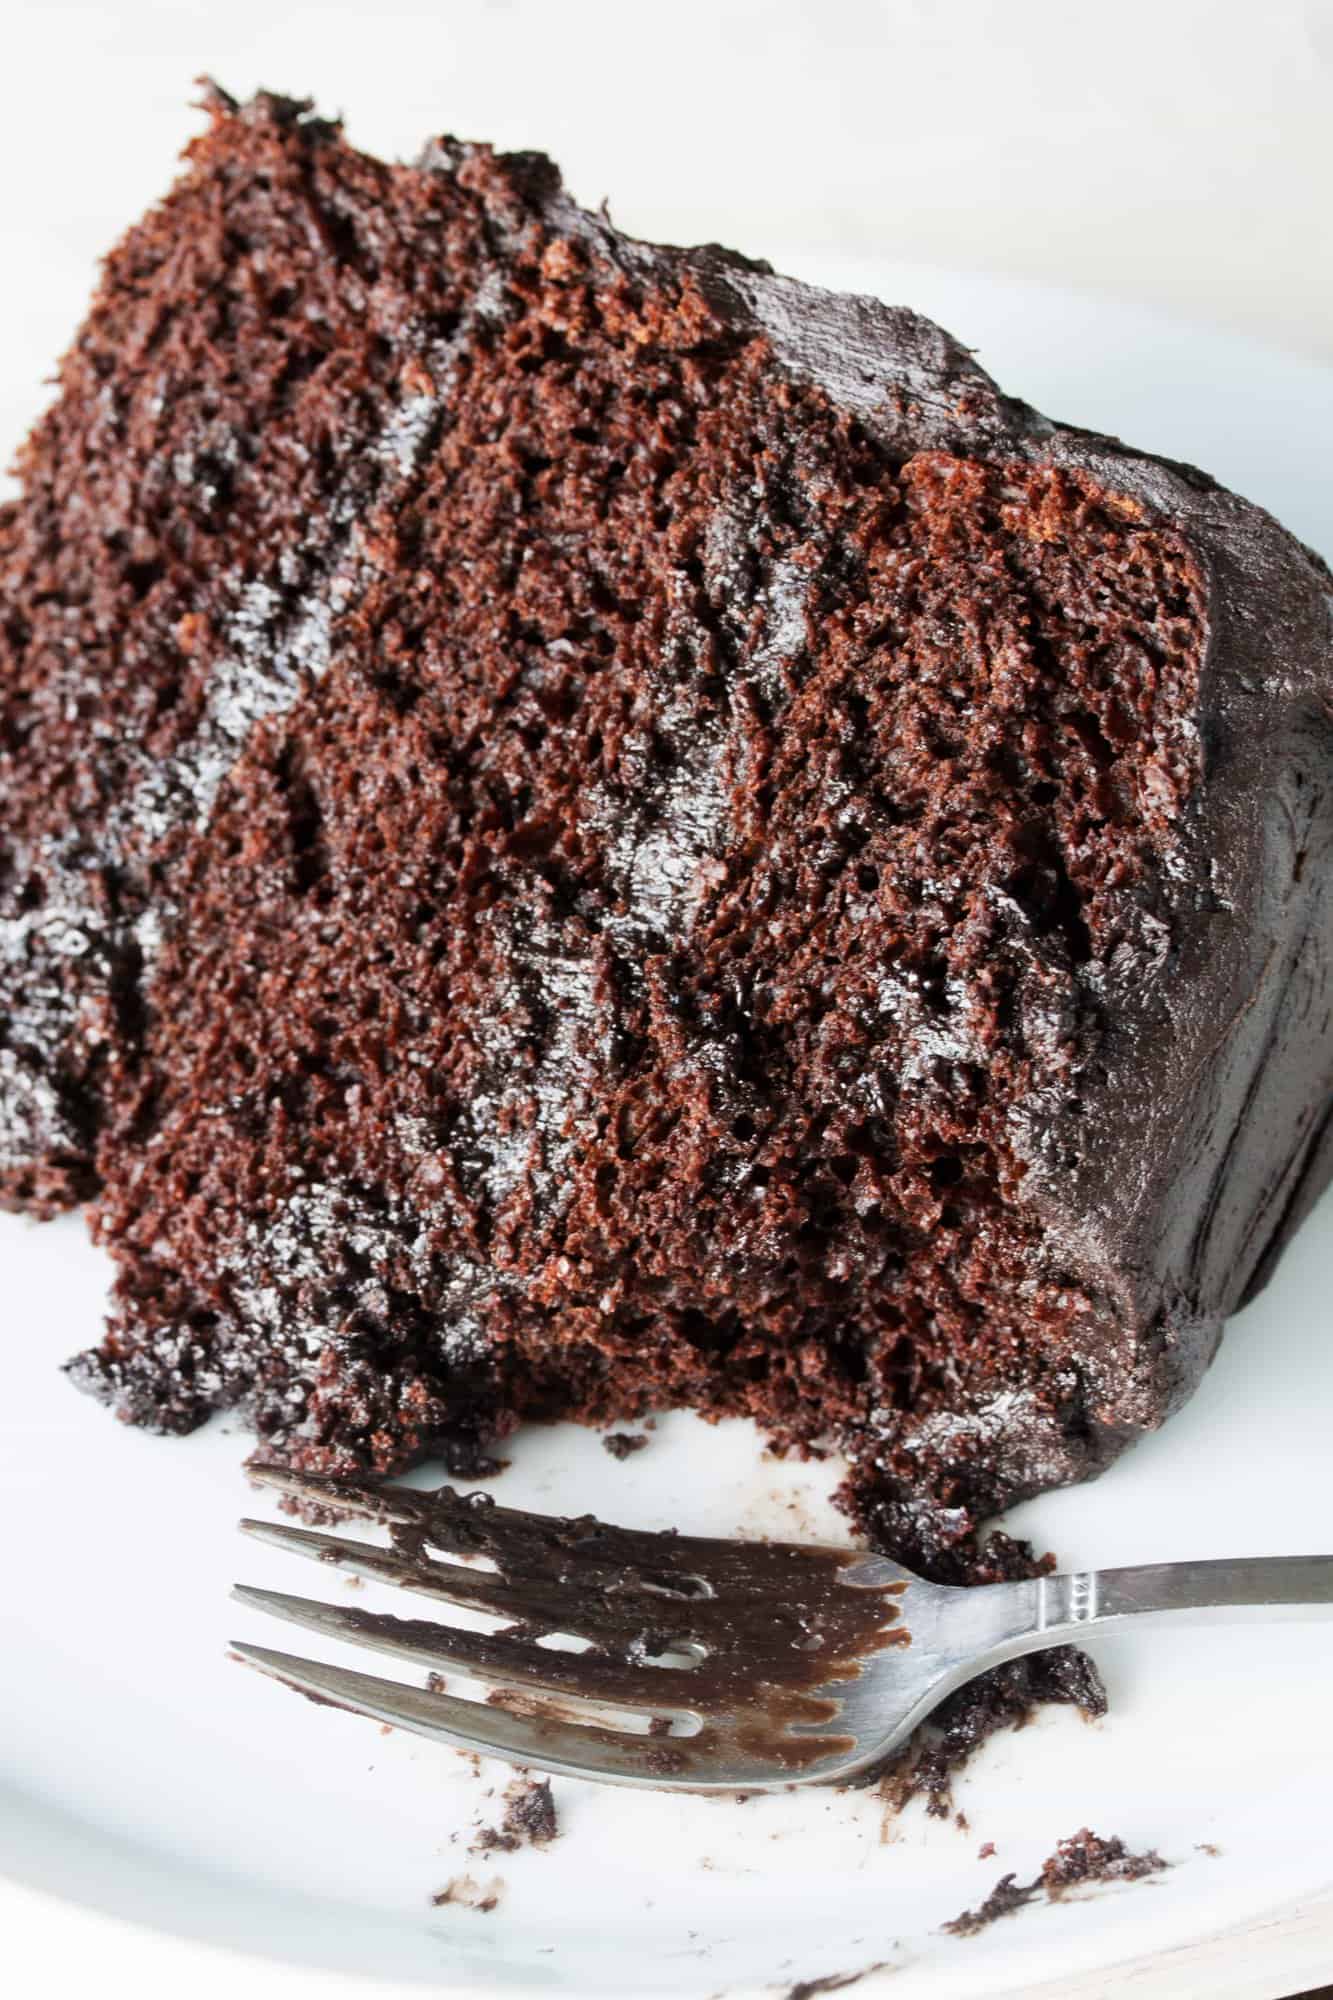
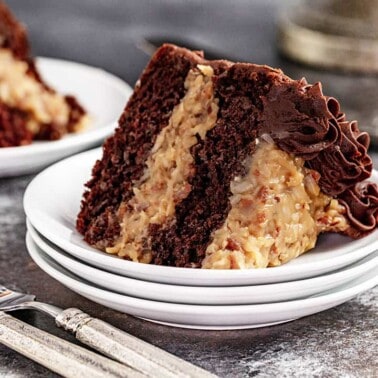
This fudgy chocolate cake is so decadent, it has gained the nickname “The Matilda Cake” because it looks just like the cake eaten by Bruce Bogtrotter in the movie Matilda. And I’ll take that as a compliment! This cake really is the chocolate cake of my dreams.
Ingredient Notes
- All-Purpose Flour:The main structural component. It provides the cake’s texture and body.
- Unsweetened Cocoa Powder: We recommend Hershey’s cocoa powder as it’s widely available. You can also use higher-quality options like Ghirardelli or those from specialty chocolatiers, though they may be more expensive.
- Baking Soda & Powder: Check the expiration date to ensure proper leavening.
- Granulated Sugar: Stick with standard granulated sugar for best results.
- Buttermilk: Adds moisture and a slight tang to balance the sweetness. Warm it in the microwave for 20-30 seconds to bring it to room temperature quickly.
- Eggs: Room-temperature eggs make for a fluffier cake. To warm eggs quickly, submerge them in a bowl of warm water for 5 minutes.
- Vegetable Oil: Provides essential moisture for the softest cake texture.
- Vanilla Extract: Use a full tablespoon to bring out the bold vanilla flavor. Opt for pure vanilla extract if possible for the best results.
Types of Cocoa Powder
Cocoa powder is an important ingredient in many baked goods and can affect the flavor and texture of the final product. It is important to use the type of cocoa powder specified in a recipe, as using the wrong type can alter the balance of flavors and sweetness. There are several types of cocoa powder available, each with its own distinct flavor and properties.
Unsweetened cocoa powder, specifically Hershey’s brand, was used in this cake recipe as it is the most widely available. You can also use higher-quality cocoa powders such as Ghirardelli or those from specialty chocolatier shops, but they can be expensive. It is recommended to avoid using inexpensive store brands as they tend to not produce the best results.
Dutch-process cocoa powder is a type of cocoa that has been treated with an alkali to neutralize its acidity. It has a milder flavor and darker color than natural cocoa powder, and is also easier to dissolve in liquids. When using dutch-process cocoa powder in place of unsweetened cocoa powder in a recipe, it is important to consider that it may behave differently due to its lower acidity. However, in this recipe, dutch-process cocoa can be used without making any other modifications.
*For the dark-colored frosting in these photos, Hershey’s Special Dark Unsweetened Cocoa Powder was used.
Pan Size Adaptions
This chocolate cake recipe yields approximately 9 cups of batter total, or 3 cups for each of the 9-inch layers. Here are some popular pan sizes and the approximate amount of batter needed for each individual pan:
- 9×2-inch round pan: 3 cups batter
- 8×2-inch round pan: 2 1/4 cups batter
- 13×18-inch sheet cake pan: 6 cups batter
- 9×13-inch pan: 6 cups batter
- 12 standard cupcakes: 3 cups batter
- 10-12 cup bundt cake pan: 8 cups batter
As a general rule, cake pans should be filled 2/3rds of the way full for cake baking, unless otherwise specified in the recipe.
It’s always a good idea to check for doneness by inserting a toothpick or cake tester into the center of the cake. If it comes out clean or with just a few crumbs attached, the cake is likely done. You can also gently press the center of the cake with your finger – if it springs back, it is probably ready to be removed from the oven.
Frosting Options
Chocolate Ganache: Only 2 ingredients—chocolate and heavy cream. It’s often used as icing or as a filling. Some chefs even use it as a dipping sauce paired with fruit like strawberries. You’ll also see it on donuts and cupcakes. It’s rich, thick, and sweet.
Chocolate Fudge Icing: Icing is often used interchangeably with frosting. Frosting does tend to be a bit thicker, while icing is usually smoother and easier to spread than frosting. This cooked chocolate icing is made with buttermilk, which thickens it up and gives a slight tart taste.
Buttercream Frosting: Buttercream is our go-to frosting for most cakes, and it’s pretty easy to see why once you’ve tried it. It is perfectly sweet and creamy, and tastes fantastic. We can eat this stuff by the spoonful, however, we promise it is even better on top of a cake or cupcakes.
Cream Cheese Frosting: This frosting is creamy, thick, and has a slight tang. Simply add cocoa powder for a chocolate version.
Pistachio Buttercream Frosting: This frosting has a smooth, buttery consistency with a slight crunch from the blended pistachio nuts. This frosting pairs so well with chocolate cake. Think Dubai chocolate bar—the combination can’t be beat.
Sweetened Condensed Milk Frosting: A simple and easy way to make a creamy, sweet frosting. Whether you are making chocolate or vanilla frosting, it only takes 3 ingredients!
Even Layers Like a Pro
Weigh the Batter: Use a kitchen scale to divide the batter equally between the pans. Weigh the empty pans first, then weigh them again with the batter to ensure they’re evenly distributed.
Level the Batter: Once the batter is in the pans, gently tap each pan on the counter to release any air bubbles and even out the surface.
Trim After Baking: After the cakes are fully cooled, use a serrated knife or a cake leveler to trim any domed tops. This step ensures a flat surface for stacking.
Use Baking Strips: Baking strips wrapped around the outside of the pans can help prevent doming and create more uniform layers.
Storage Instructions
Store the assembled cake in an airtight container or cake dome at room temperature for up to 2 days. For cream cheese or perishable frostings, store in the refrigerator for up to 4 days.
Freeze Unfrosted Layers: After wrapping in plastic wrap, add a layer of aluminum foil to prevent freezer burn. Label with the date and freeze for up to 3 months. Thaw in the refrigerator overnight before decorating.
Freeze Frosted Cakes: Freeze in a single layer on a baking sheet until solid, then wrap tightly in plastic wrap and aluminum foil. Store for up to 2 months. Thaw in the refrigerator overnight before serving.

hi there Rachel I have made this cake several times and every single time it has come out perfect. I even cut the sugar in half and still it has been perfect and it rises high each time. A huge Thank you for sharing this recipe that has allowed me to shine in my kitchen