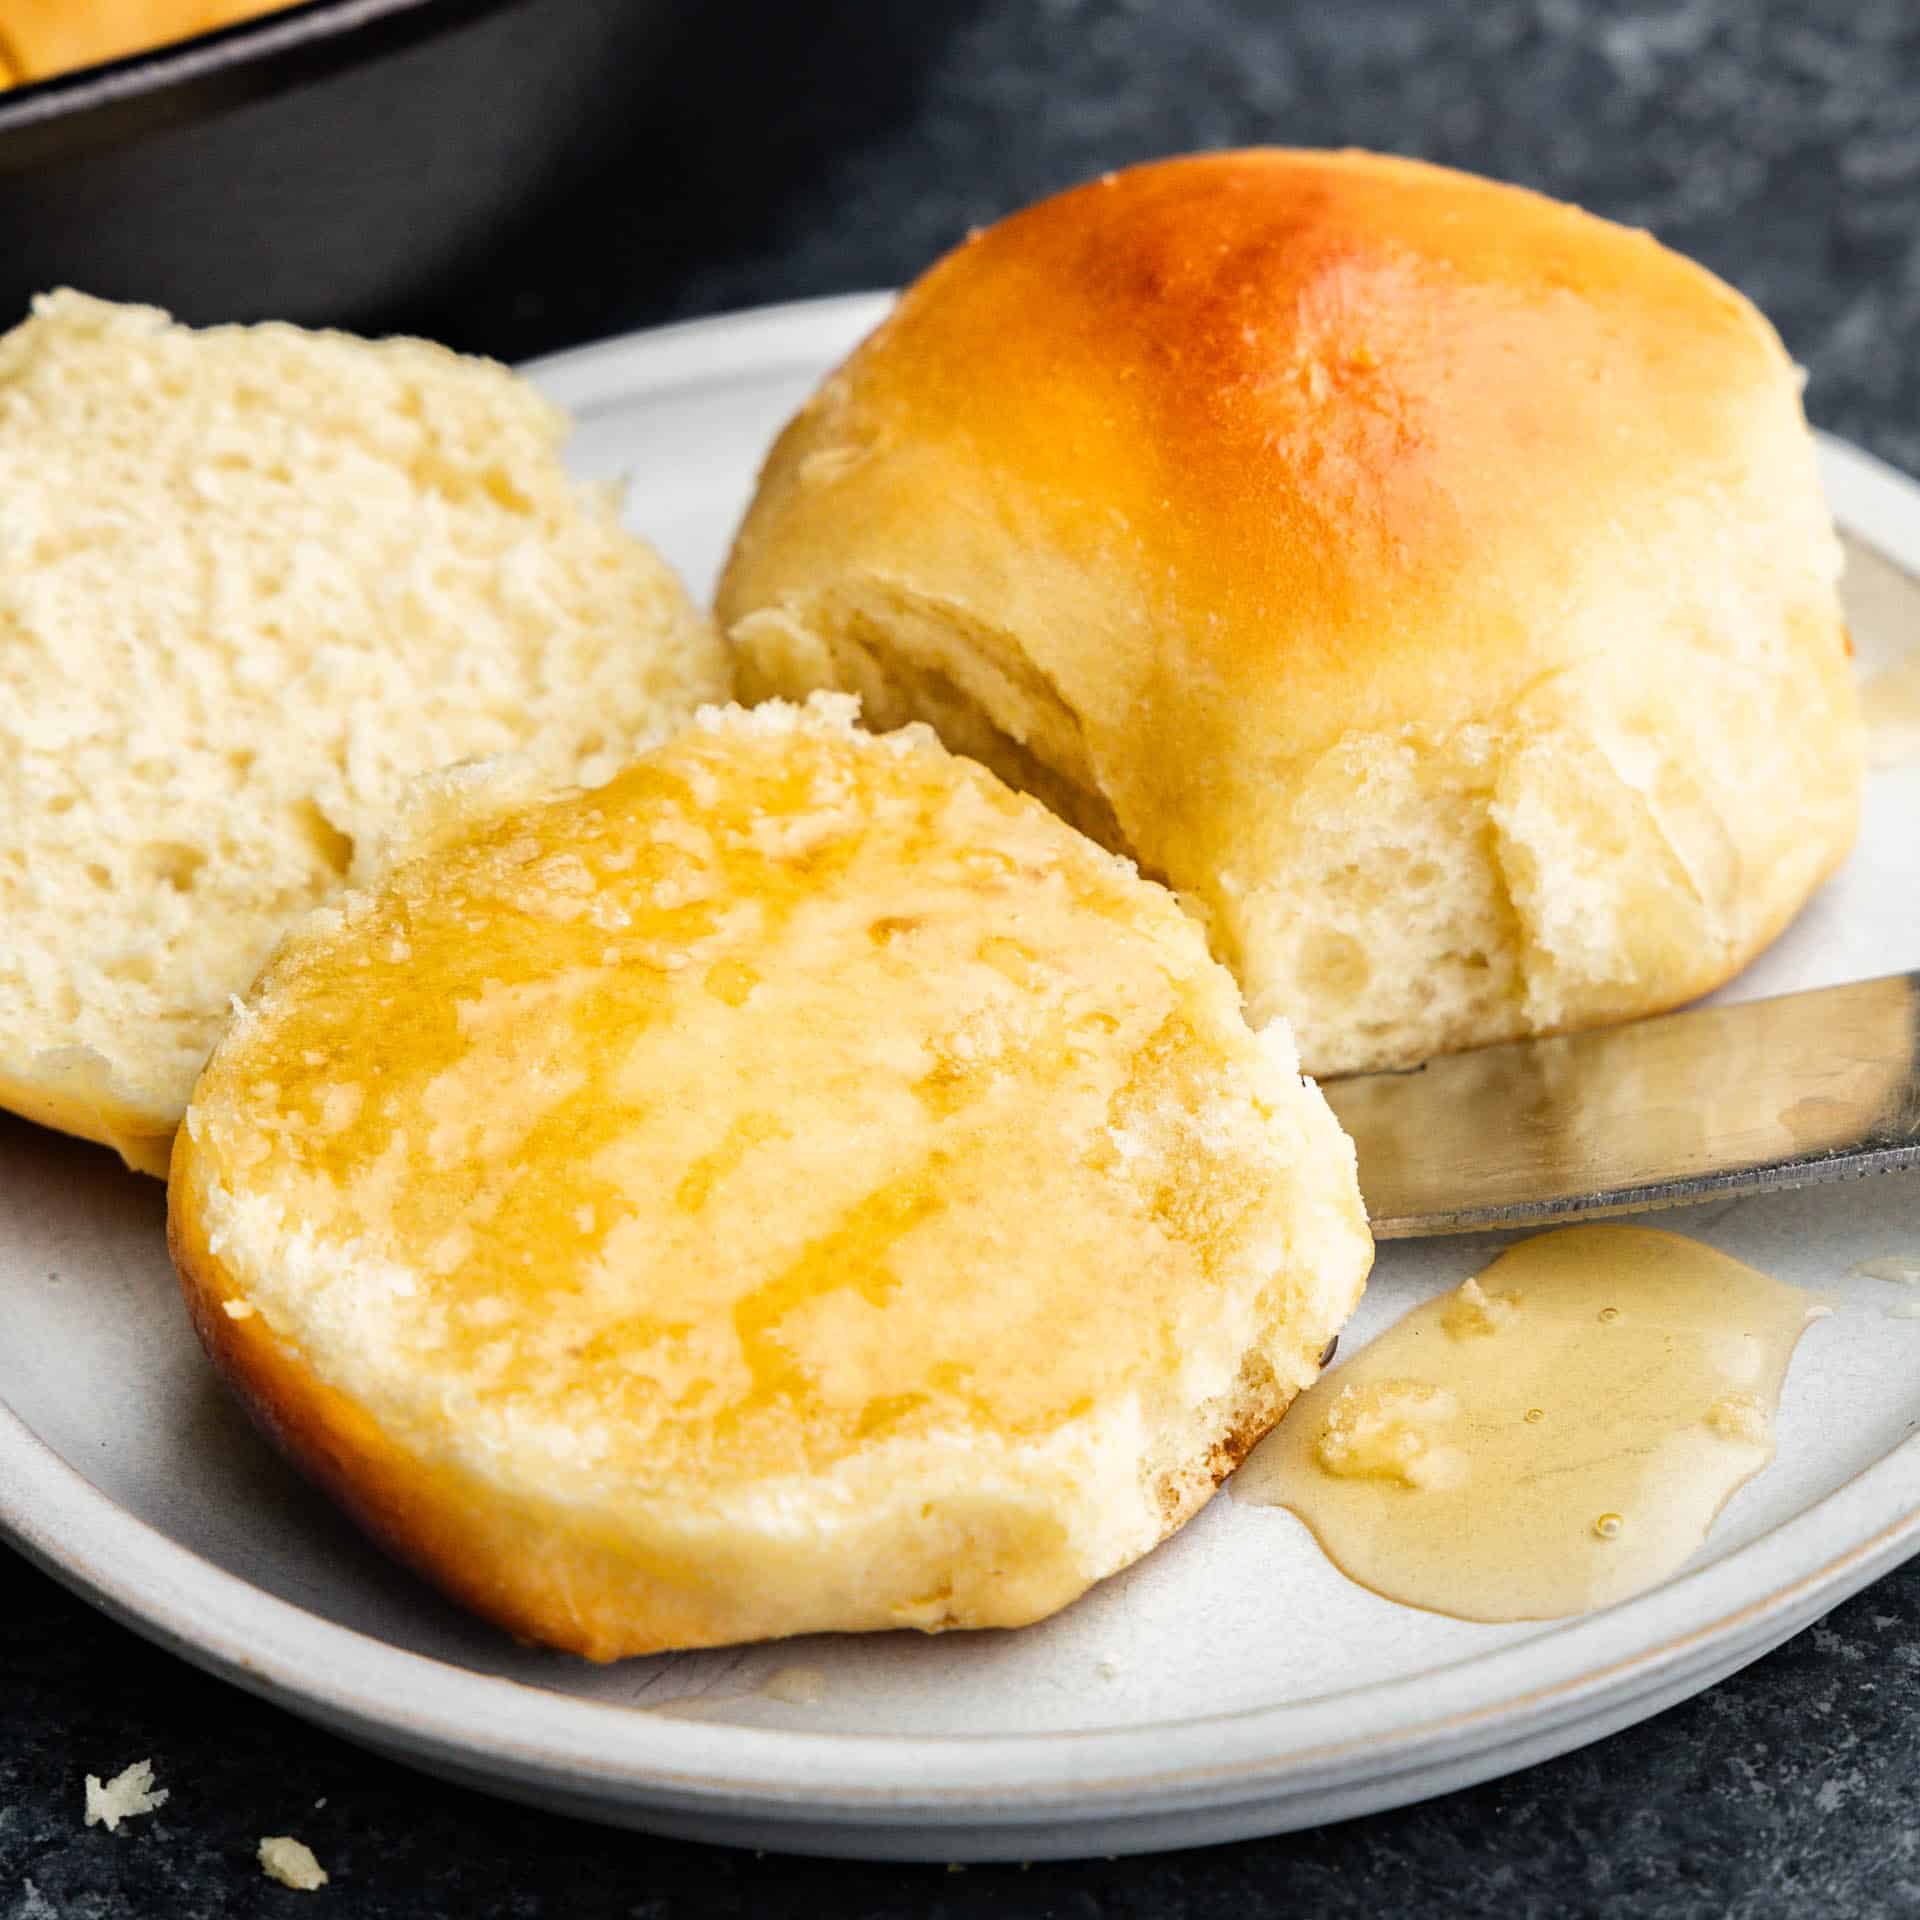
These rapid-rise skillet rolls are the perfect go-to when you’re short on time but still want soft and fluffy dinner rolls on the table. These are easy to make and while you certainly could use a stand mixer, it’s not required! All you need is a bowl, a spoon, and a little bit of muscle to put this dough together. A cast iron skillet adds a crispy bottom crust, but if you don’t have one, a regular 9×13 pan works just as well!
For other delicious and easy breads try our Jalapeño Cheese Bread or Rustic Garlic Parmesan Herb Bread.
Why Our Recipe
- Ready in just an hour, these rolls are a perfect alternative if you need dinner rolls on the table fast!
- A little honey is used to add sweetness and help make the tops golden brown.
- No stand mixer is required, plus you can bake them in a skillet or a 9×13 pan.
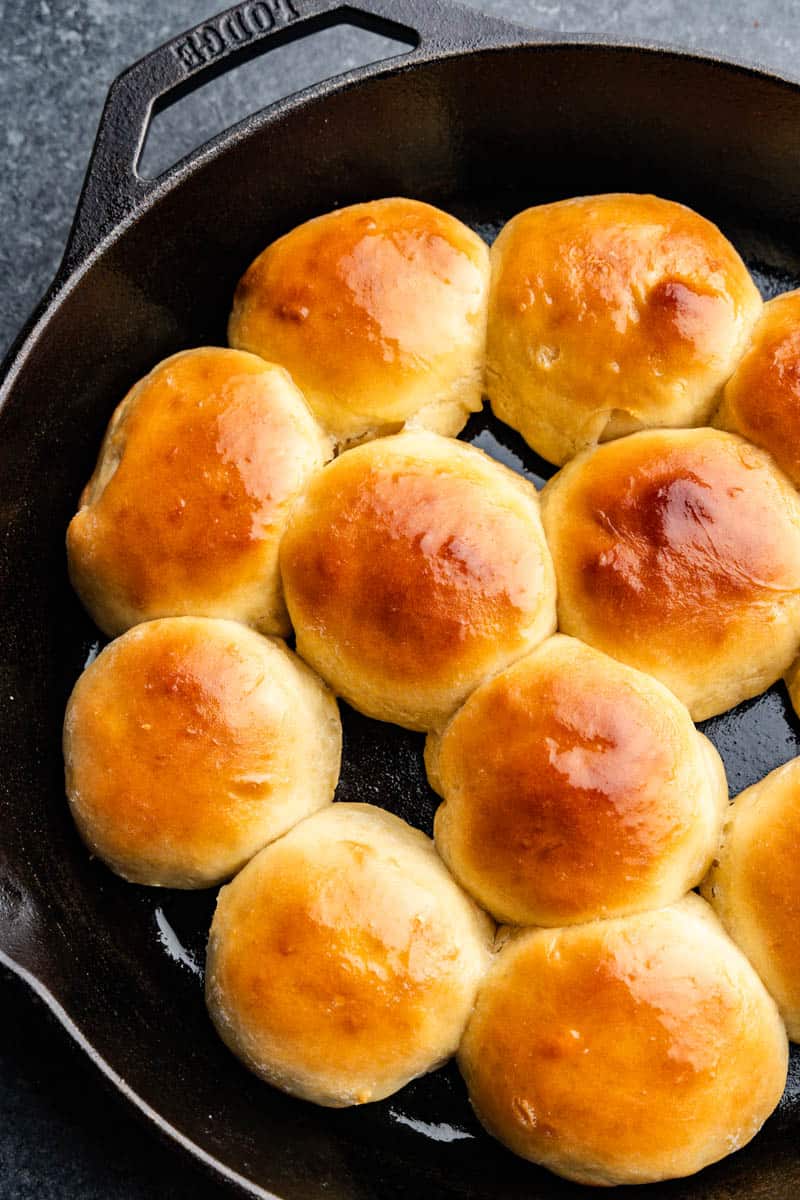
Our Best Homemade Dinner Rolls Ever have been made in millions of homes across the globe. They are absolutely heavenly, but we understand that sometimes you just don’t have three hours to make dinner rolls! If that’s the case for you, this is a quick yeast roll recipe that will get you delicious rolls on nights when you might not have as much time.
Ingredient Notes
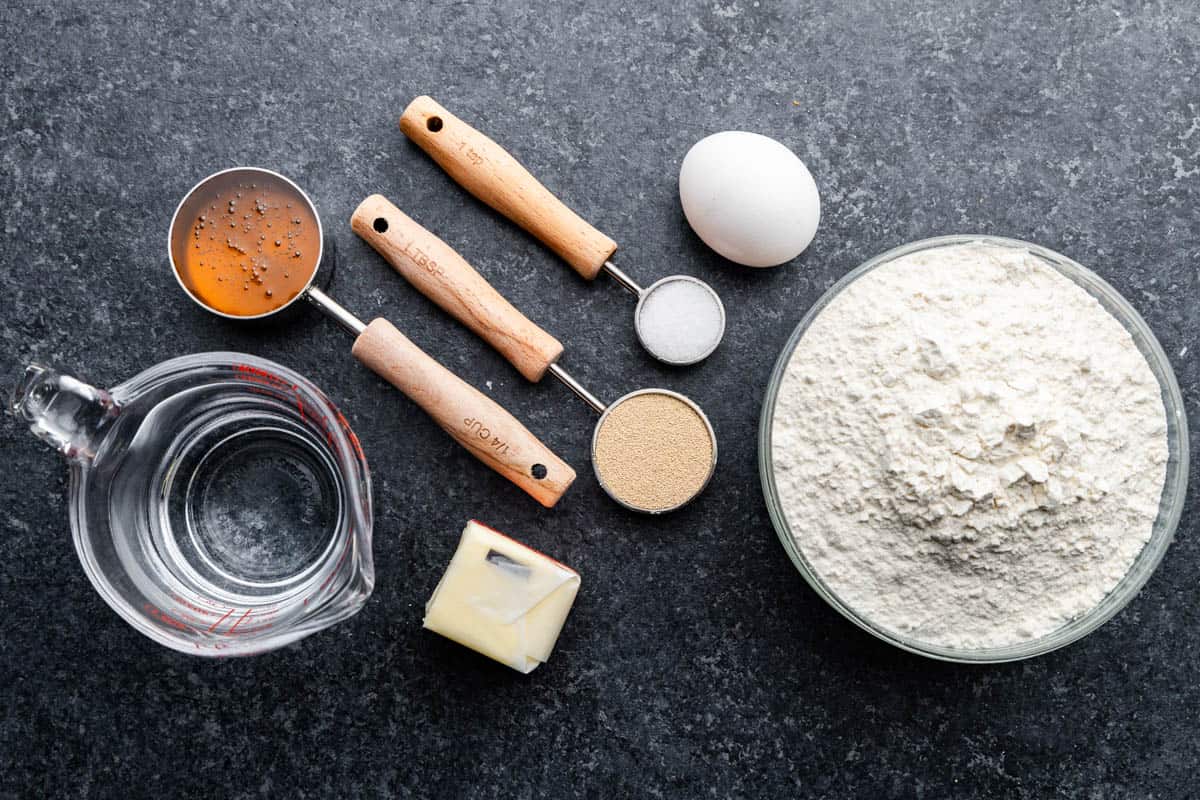
- Instant yeast: The best yeast to use in this recipe is instant dry yeast, but it might also be called rapid-rise yeast, quick yeast, or instant yeast in the stores.
- Warm water: Be sure that you use warm water not hot water, otherwise the heat could kill your yeast. If the water is too hot for you to touch, it’s too hot for the yeast!
- Honey: The honey adds flavor, but you could also use regular granulated sugar in the same amount.
- Butter: Make sure the butter is melted for easier incorporation into the dough.
- All-Purpose Flour: Start with 2 1/2 cups and add more as needed. The exact amount may vary based on humidity and how you measure flour, but aim for a soft dough that’s tacky, but not sticky enough to stick to your hands. You can also use bread flour.
Instant Dry Yeast
Instant dry yeast is very similar to active dry yeast. They can be used interchangeably in recipes, but instant dry yeast has a smaller granule and doesn’t need to be dissolved in water before using it. It will begin to work in the recipe instantly, which cuts down on the rising time. That makes instant dry yeast ideal for easy bread recipes like these rolls!
Use a 9×13 Instead of a Skillet
If you don’t have a cast iron skillet, no worries! A 9×13 pan will still give you beautifully baked, soft, and fluffy rolls. Simply shape the dough into 12 rolls and arrange them evenly in a lightly greased 9×13 pan.
The rolls may not get as crispy on the bottom as they would in a cast iron skillet, but they will still bake up perfectly golden brown on top and soft inside. Keep an eye on them during the last few minutes of baking since different pans can result in slightly different bake times. A light aluminum or glass 9×13 pan might require an additional few minutes, while darker pans may not need any additional time.
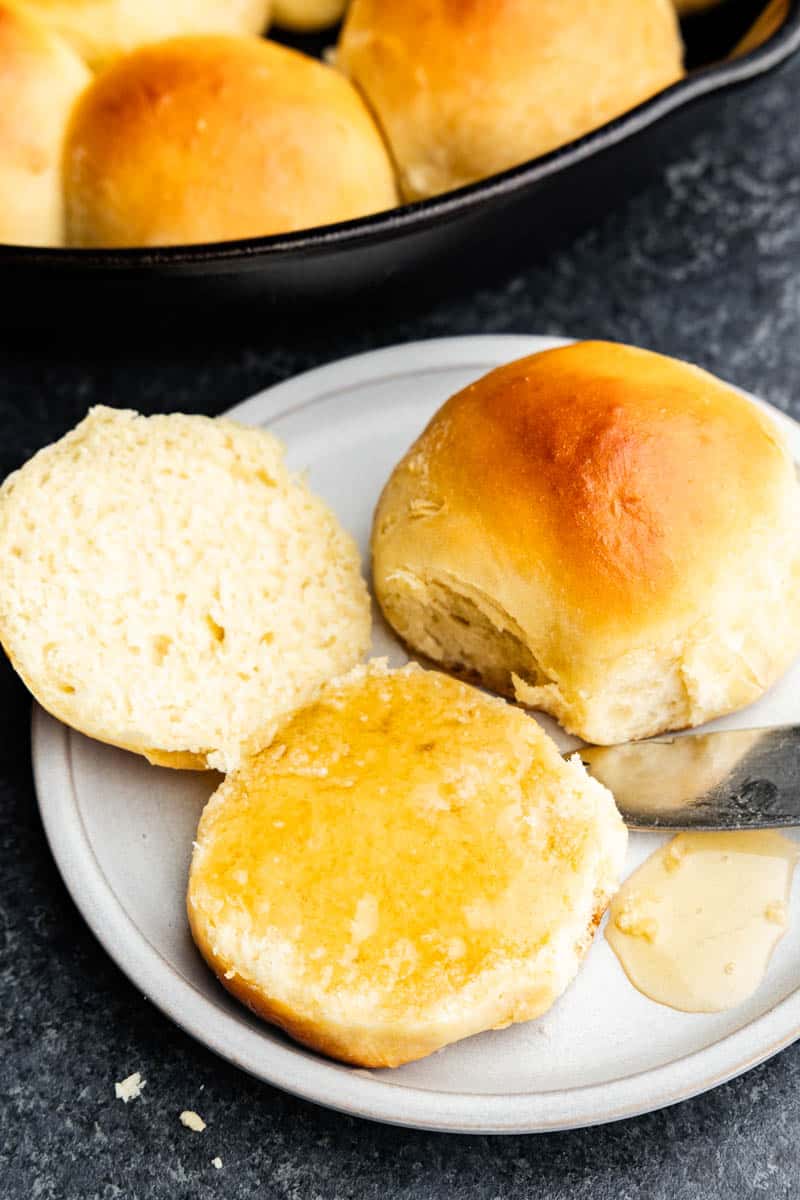
Proofing Your Bread
This recipe does not require you to proof your bread, but it may come in handy during winter months and cooler weather where your house may not be ideal enough for a rapid rise. The rising time, however, may increase beyond 20 minutes if your house runs on the cooler side.
Since this is a smaller recipe, you can proof your bread quickly by microwaving a cup of water until it is steaming, and then adding the dough to the microwave. Try to get it into the microwave quickly so the steam doesn’t escape, and don’t open the door until it’s finished proofing.
If you’re making a larger bread recipe, or if you have a smaller microwave, you can proof your bread in the oven. Just heat your oven to 150 degrees, then turn your oven off and place the dough in the oven and close the door. That first blast of heat will help your dough rise quickly, and the oven will continue to stay warm long enough for your dough to rise.
Storage Instructions
Let your rolls cool completely before storing them in an airtight container at room temperature for up to 5 days.



Mine were barely rising so my hubby came up with the idea of covering and placing them in the bottom warmer of the oven. brilliant! works like a charm.
CAn you use oil instead of the butter?
I haven’t tried it.
Is this a no-knead bread? I don’t see a section where you work it at all to build up the gluten…
Made as you describe in the recipe, so they are not very well kneaded and are sitting the warm oven rising.
Actually kneaded half the dough for about 4 min… thoughts?
No kneading is required but I think you’ll be okay 🙂
At what point in the process is it ok to freeze them? I was thinking of cooking them and then freezing….what do you think??
I wouldn’t recommend freezing a rapid rise roll. If you were to freeze them, you’d freeze right after the dough was made and shaped. The rolls would then need to thaw and rise completely which can take upwards of 2 hours depending on the temperature of your house.
What exactly does the skillet bring to this, aside from a cool photo?
A crispier crust.
I have made your dinner rolls before (many times). The recipe that takes 3hrs and I absolutely love it. They take time but worth the wait with every delicious bite. I am trying this recipe this morning Thanksgiving day Nov.23, 2017 I know they say not to Try a new recipe on a Holiday but I live an adventurous life 😉 Thank you for sharing your dinner roll recipe with millions of us out there.
Update: These beautiful little gems are a Must Add to my Special Recipe Binder. It took way less time and the outcome is superb. They are big and beautiful. Yes, I did taste one. A good Baker/Chef always tastes prior to serving to guests.
I will still keep the (3hr Dinner roll recipe) but Time wise this one supersedes. If anyone is reading this long post and you need some quick, poofy, delicious dinner rolls that will “Awe” anyone who comes in contact with them…This recipe is for you!
It is guaranteed to WOW your guests, family, friends, and mean neighbors.
*Disclaimer: Once you tried “Scratch” dinner rolls. You will NOT go back to that store bought crap..It happened to me. YOU have been Warned.
I can’t say Thank you, Rachel,, enough for sharing this recipe with me and the world…So, So Happy!
Angel from The Bay (Caliboy)
Melisa said she use a tablespoon of salt instead a teaspoon. Wouldn’t that be too much salt?
I am wanting to make these for thanksgiving. Can I make them up and let them rise and then refrigerate till tomorrow
Can you double this recipe? Also, can you use a stand mixer?
Yes and yes.
Want to try these for thanksgiving but I don’t have a cast iron skillet or glass baking dish can I use the foil disposable pans instead?
I’m sure you could.