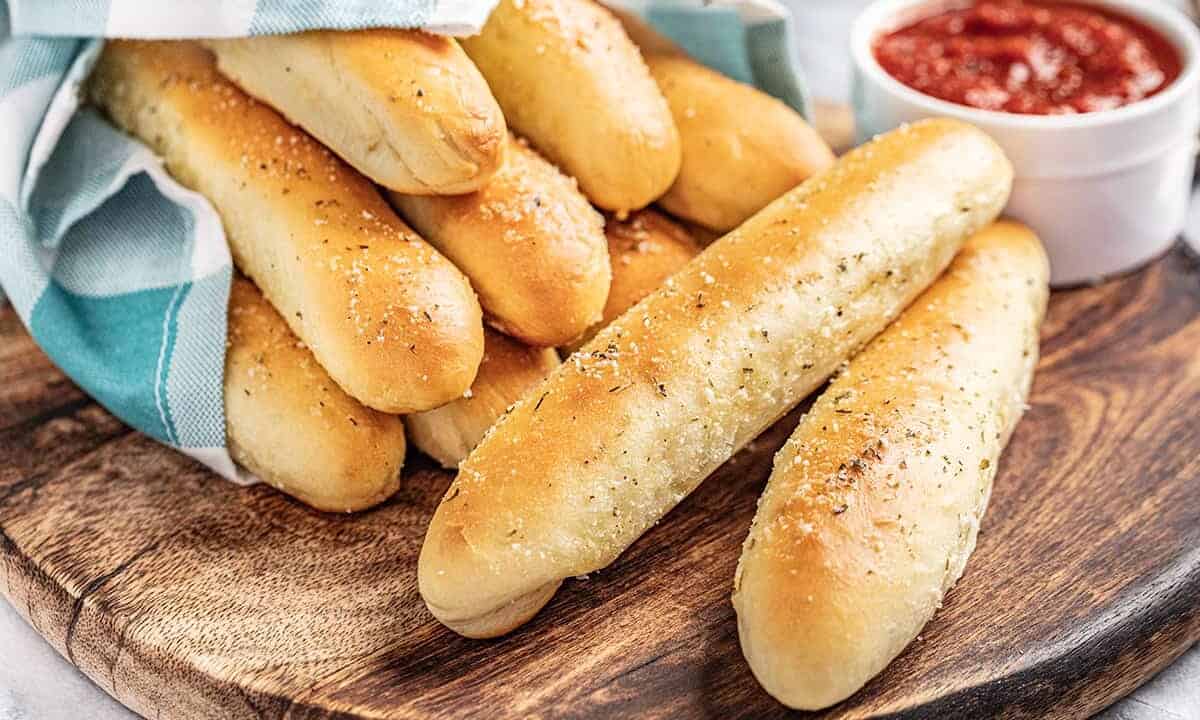
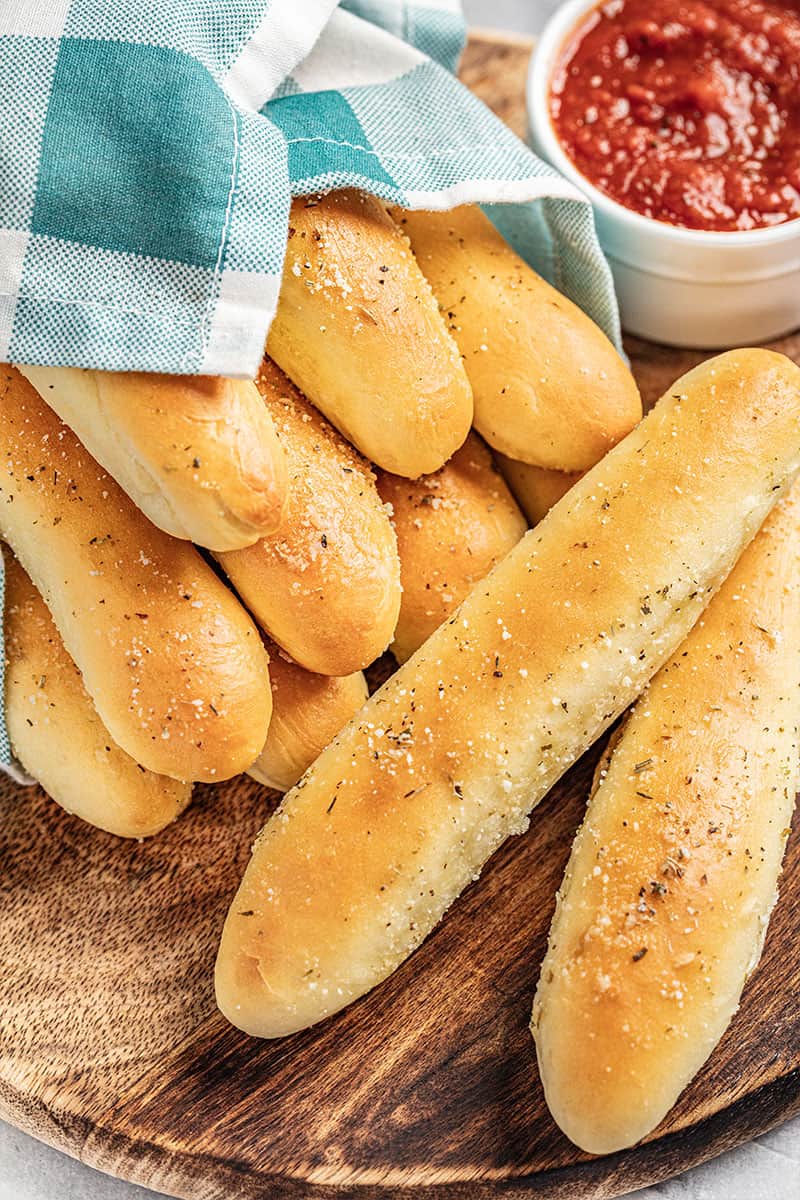
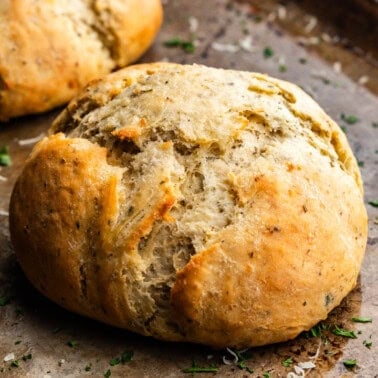
Freshly baked breadsticks make everything better, don’t they? These soft, chewy breadsticks with a golden, buttery garlic topping will have your family running to the table. They are the perfect addition to your favorite soups, salads, and pastas. The only issue you might run into is that 12 breadsticks are never enough!
Serve your breadsticks alongside our easy tomato basil soup, fettuccine alfredo, or a classic Ceasar salad.
Why Our Recipe
- Soft, chewy breadsticks with a golden, buttery garlic topping.
- Easy-to-follow instructions for everyone from beginners to pros.
- Bakery quality results in about 90 minutes, with no mixer required.
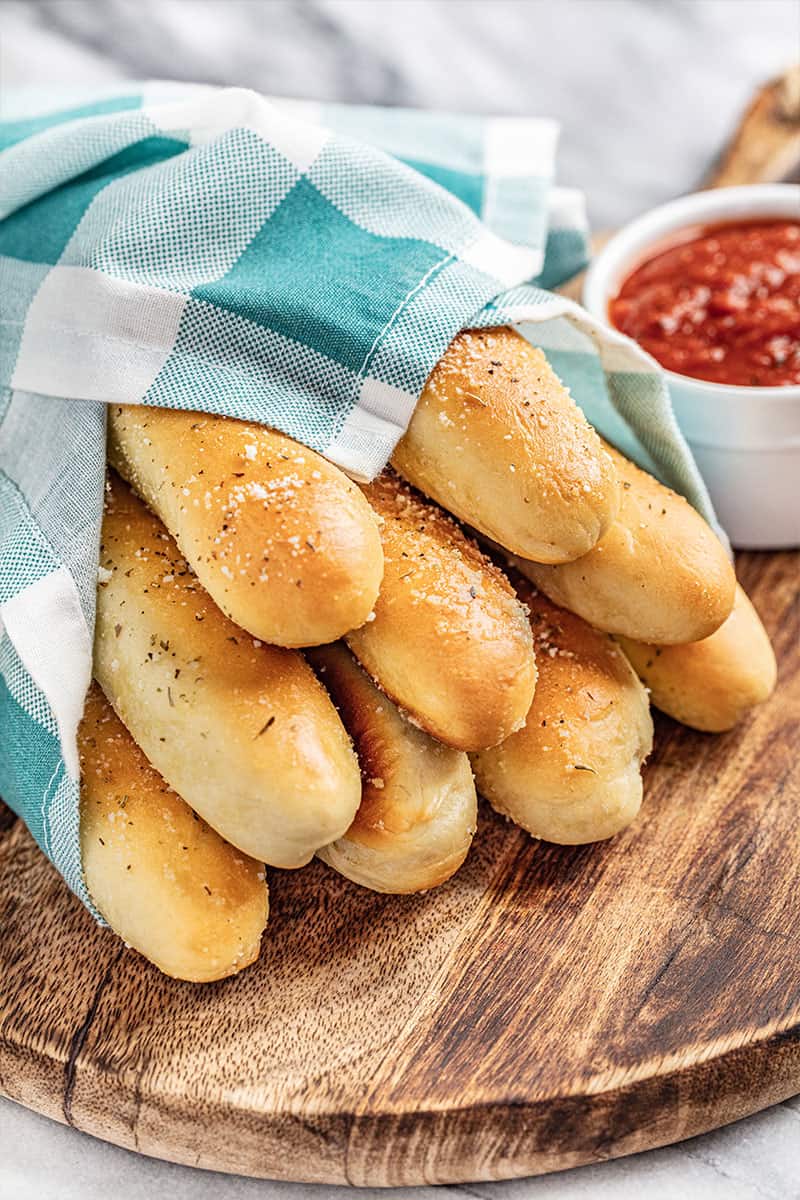
These breadsticks are super easy to make even if you’re new to baking. You don’t need a stand mixer or fancy equipment, just a little time and love. In under two hours, you’ll have bakery-quality breadsticks that you can even enhance with Parmesan, Italian seasoning, or even a sprinkle of sea salt. Your kitchen will smell amazing!
Ingredient Notes
- Warm Water: It should be between 100°F to 110°F. A kitchen thermometer is helpful here! Heat it in the microwave or use warm tap water. Use a thermometer for accuracy or test with your finger—it should feel warm but not hot like bath water.
- Instant Dry Yeast: This recipe uses instant yeast, which doesn’t need to be proofed beforehand. If you’re using active dry yeast, let it sit in the warm water with sugar for 5–10 minutes until frothy before proceeding.
- Sugar: Helps feed the yeast and brown the tops.
- Olive Oil: Use extra virgin olive oil for the best flavor.
- Flour: Use all-purpose flour or bread flour. If you want to substitute with whole wheat don’t use more than 50% whole wheat flour. Any addition of whole wheat flour will produce a more dense breadstick.
- Melted Butter: This is brushed on top after baking for that irresistible golden, garlicky flavor. Melt in the microwave.
- Garlic Powder: A simple way to add bold garlic flavor to the buttery topping.
Optional Toppings
Add a little extra flavor to your breadsticks with one of the following optional topping ideas:
Grated Parmesan Cheese: For a cheesy twist, sprinkle freshly grated Parmesan over the breadsticks right after brushing on the melted butter.
Italian Seasoning: Add a sprinkle of Italian seasoning to give your breadsticks a flavorful, herbed finish.
Everything Bagel Seasoning: Try sprinkling everything bagel seasoning on top of the melted butter.
Cinnamon Sugar: Replace the garlic butter with melted butter and sprinkle with a mixture of cinnamon and sugar for a dessert-like version that’s perfect for dipping in icing or Nutella.
No Mixer? No Problem!
You can make this in either a stand mixer or by hand. If you want to make by hand, you’ll need a large mixing bowl to stir it all together with a wooden spoon. Once it becomes too difficult to stir with a spoon, you can switch to your hands. Proceed to kneading with your hands on a clean, lightly floured surface for 5-10 minutes.
Shortcut for Faster Breadsticks
These breadsticks are ready to eat in just less than 90 minutes. If you need to speed things up, you can allow your breadsticks to rise in a warm place by preheating your oven to 100 degrees F. Allowing your dough to rise in this setting will cut your rising time by about half. Just be sure to remove your breadsticks from the oven before preheating the oven fully for baking. The fastest you can make this recipe using this trick is about 50 minutes.
Perfectly Shaped Breadsticks
Using a kitchen scale to weigh your dough and divide it evenly is the best way to get even breadsticks. For extra precision, you can use a ruler to measure the length of your breadsticks and ensure uniformity.
When shaping, use your palms to gently roll each piece of dough on a clean, dry surface, applying light, even pressure. If the dough starts to resist or tear, let it rest for a few minutes to relax the gluten before continuing.
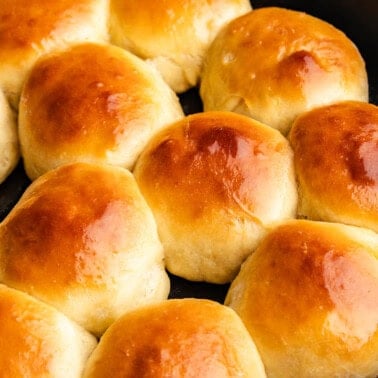
Pull Apart Breadsticks
For pull-apart breadsticks with a softer texture, you can bake them in a 9×13-inch pan instead of a baking sheet. After shaping the dough into ropes, arrange them side by side in the pan, leaving just a small gap between each breadstick to allow for rising.
Freezer Instructions
Freezing the Dough: After shaping the breadsticks, place them on a baking sheet and freeze until solid. Transfer to a freezer bag and store for up to 3 months. When ready to bake, thaw the dough at room temperature, let it rise, and then bake as directed.
Freezing Baked Breadsticks: Once fully baked and cooled, store them in a freezer-safe bag for up to 2 months. Reheat in the oven at 350°F for 5–7 minutes or until warmed through.
Storage Instructions
If you somehow have leftover breadsticks, store them in an airtight container or plastic bag at room temperature for up to 3 days. To reheat, wrap them in foil and warm in a 350°F oven for 5–7 minutes to restore their soft texture. Microwave 5 to 10 seconds at a time.
Excellent. I wanted to bump up a spaghetti dinner night and these were fantastic. Used bagal seasoning sprinkle on butter. Delicious!
oooo, I love the addition of bagel seasoning!
Great breadsticks, recipe on point, they turned out perfect. Definitely will keep making them.
So happy to hear they turned out perfect for you! Thanks for the kind words, and we love that they’ve earned a spot in your regular rotation.
Absolutely the best bread stick recipe! It’s easy and the dough was so nice to work with. It will be my only go to for bread sticks and whatever else I can think of to use it for. LOL
I made these and my family beggedfor more. They were delicious. Thank you for the recipe.
the kids love these! make these all the time. thanks so much for the recipe!
I’ve made these breadsticks before and we absolutely devoured them!
This time
I have no olive oil, what could be used in replacing that part!?
You could substitute Vegetable or Canola oil.
Love these I’ve made them a handful of times and I am an unexperienced baker. Everytime they turn out great whether my dough was too sticky or if I add extra flour each time turned it great!! Very fool proof. My bread sticks always look ugly before baking too and end up fine.
I’m curious if I shaped them into rolls if they would still turn out well? Sometimes I want more of a roll but this recipe is just too easy to pass up compared to most dinner roll recipes I’ve seen. Thanks
Yes, in theory they could be made into rolls. I wouldn’t hate it! If you do, let us know how you like them.