
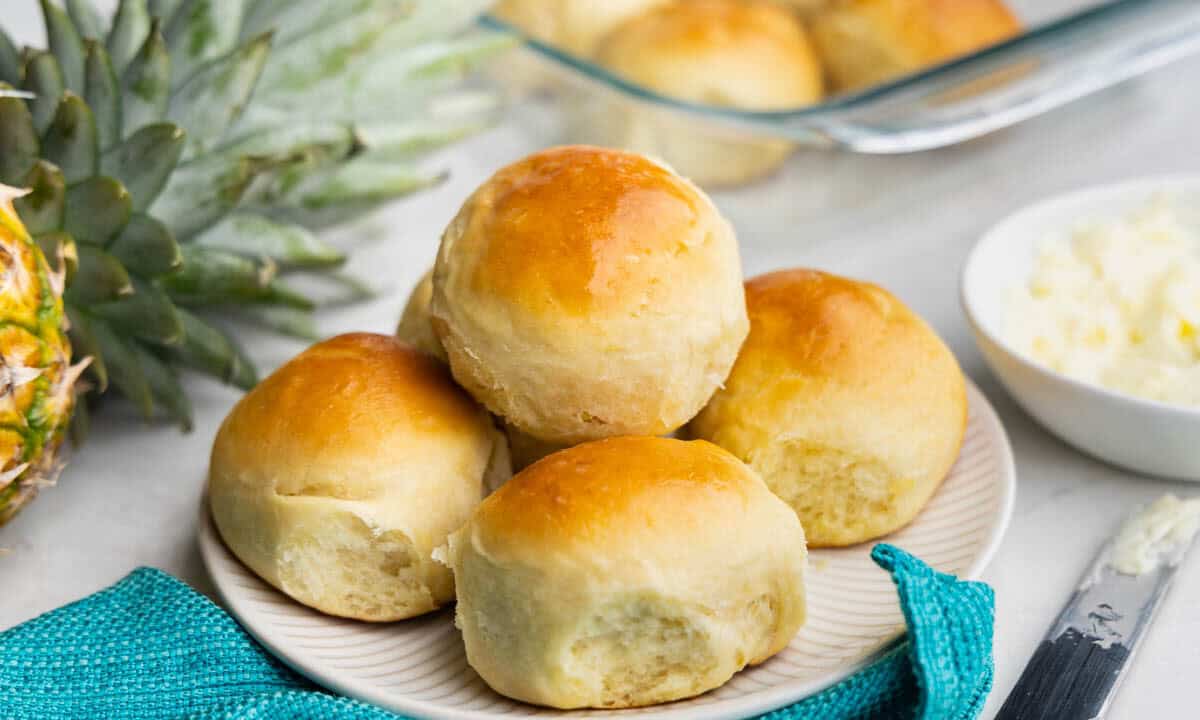
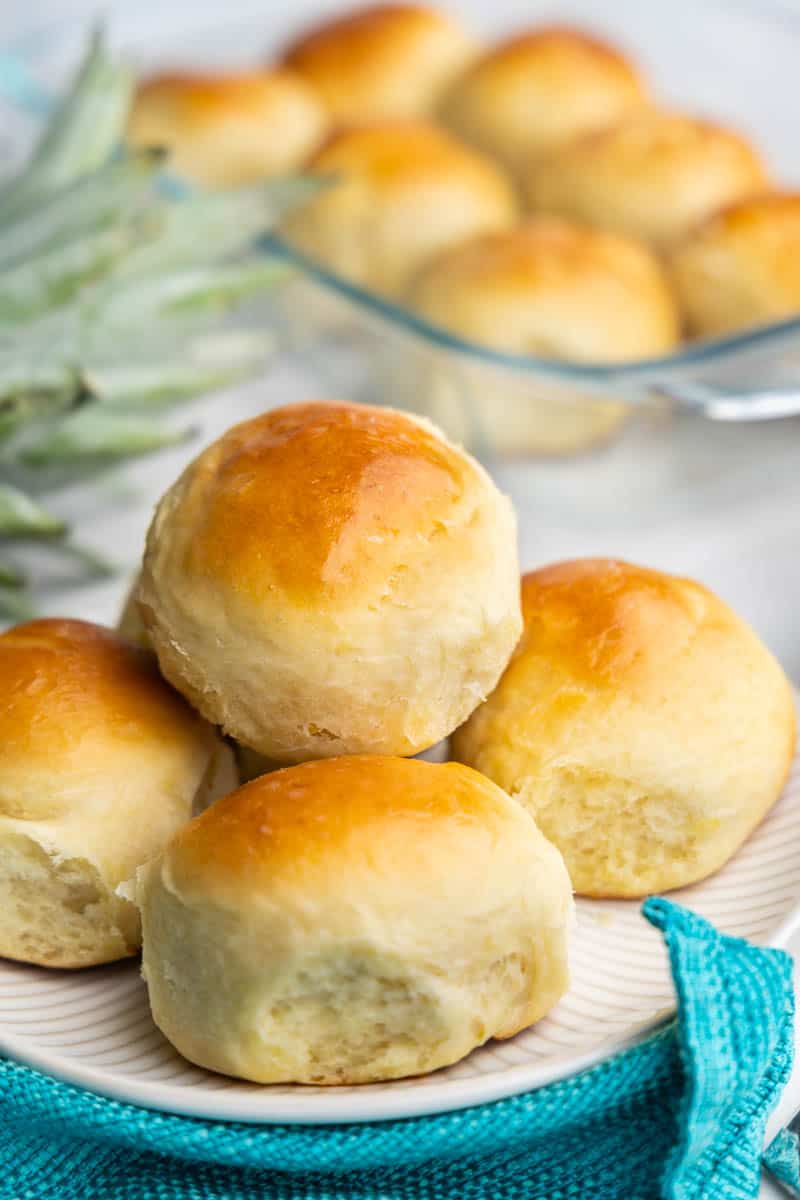
I’ve taken my famous recipe for The Best Homemade Dinner Rolls Ever that you guys know and love and turned it into delicious Hawaiian Sweet Rolls. Enjoy freshly baked deliciousness with the same great flavor that made Hawaiian Sweet Rolls famous. Whether this is your first time turning on the oven or you are a baking master, these super easy rolls will be a great addition to almost any meal. With simple make-ahead instructions, you will take the stress out of the dinner-time rush.
If you love making rolls, you should try our Rapid Rise Skillet Yeast Rolls or Coconut Rolls next!
Why Our Recipe
- Based on my famous roll recipe so you know these rolls will be soft and fluffy every time.
- Make ahead instructions for freshly baked goodness anytime.
- Tried and true instructions that are so easy, even if you’ve never made rolls before!
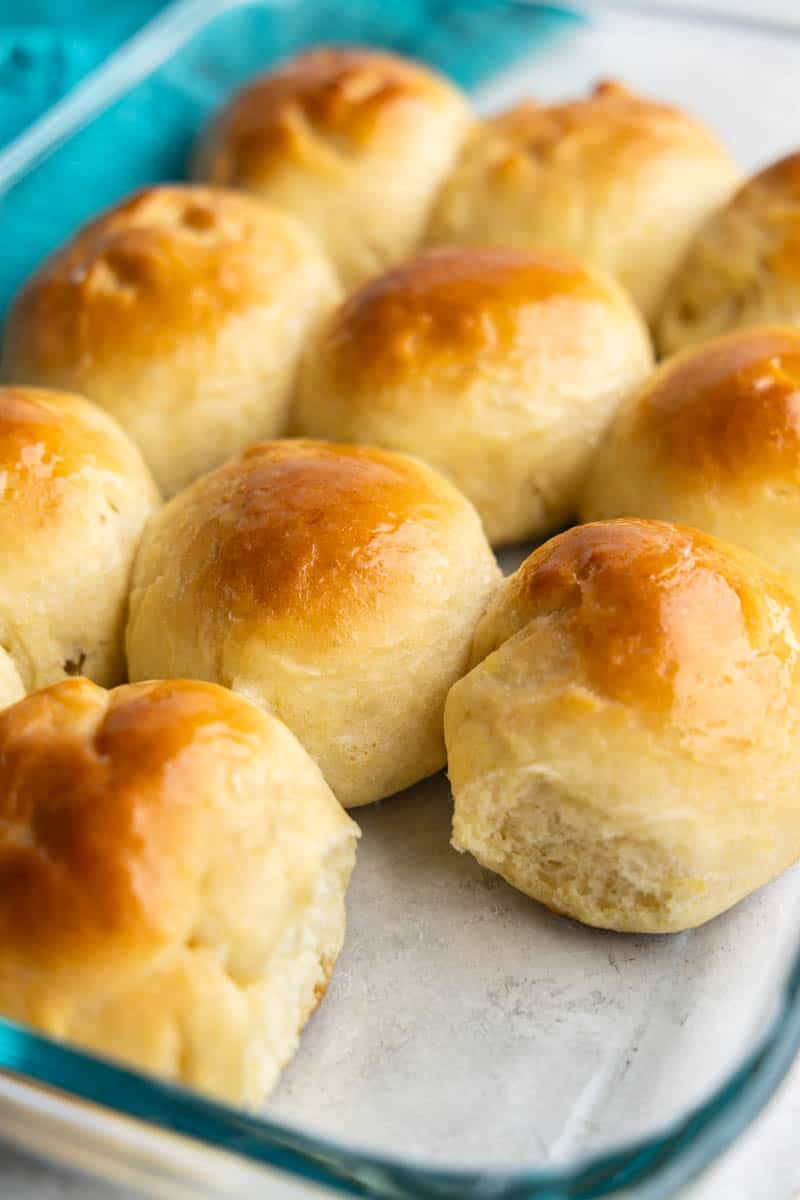
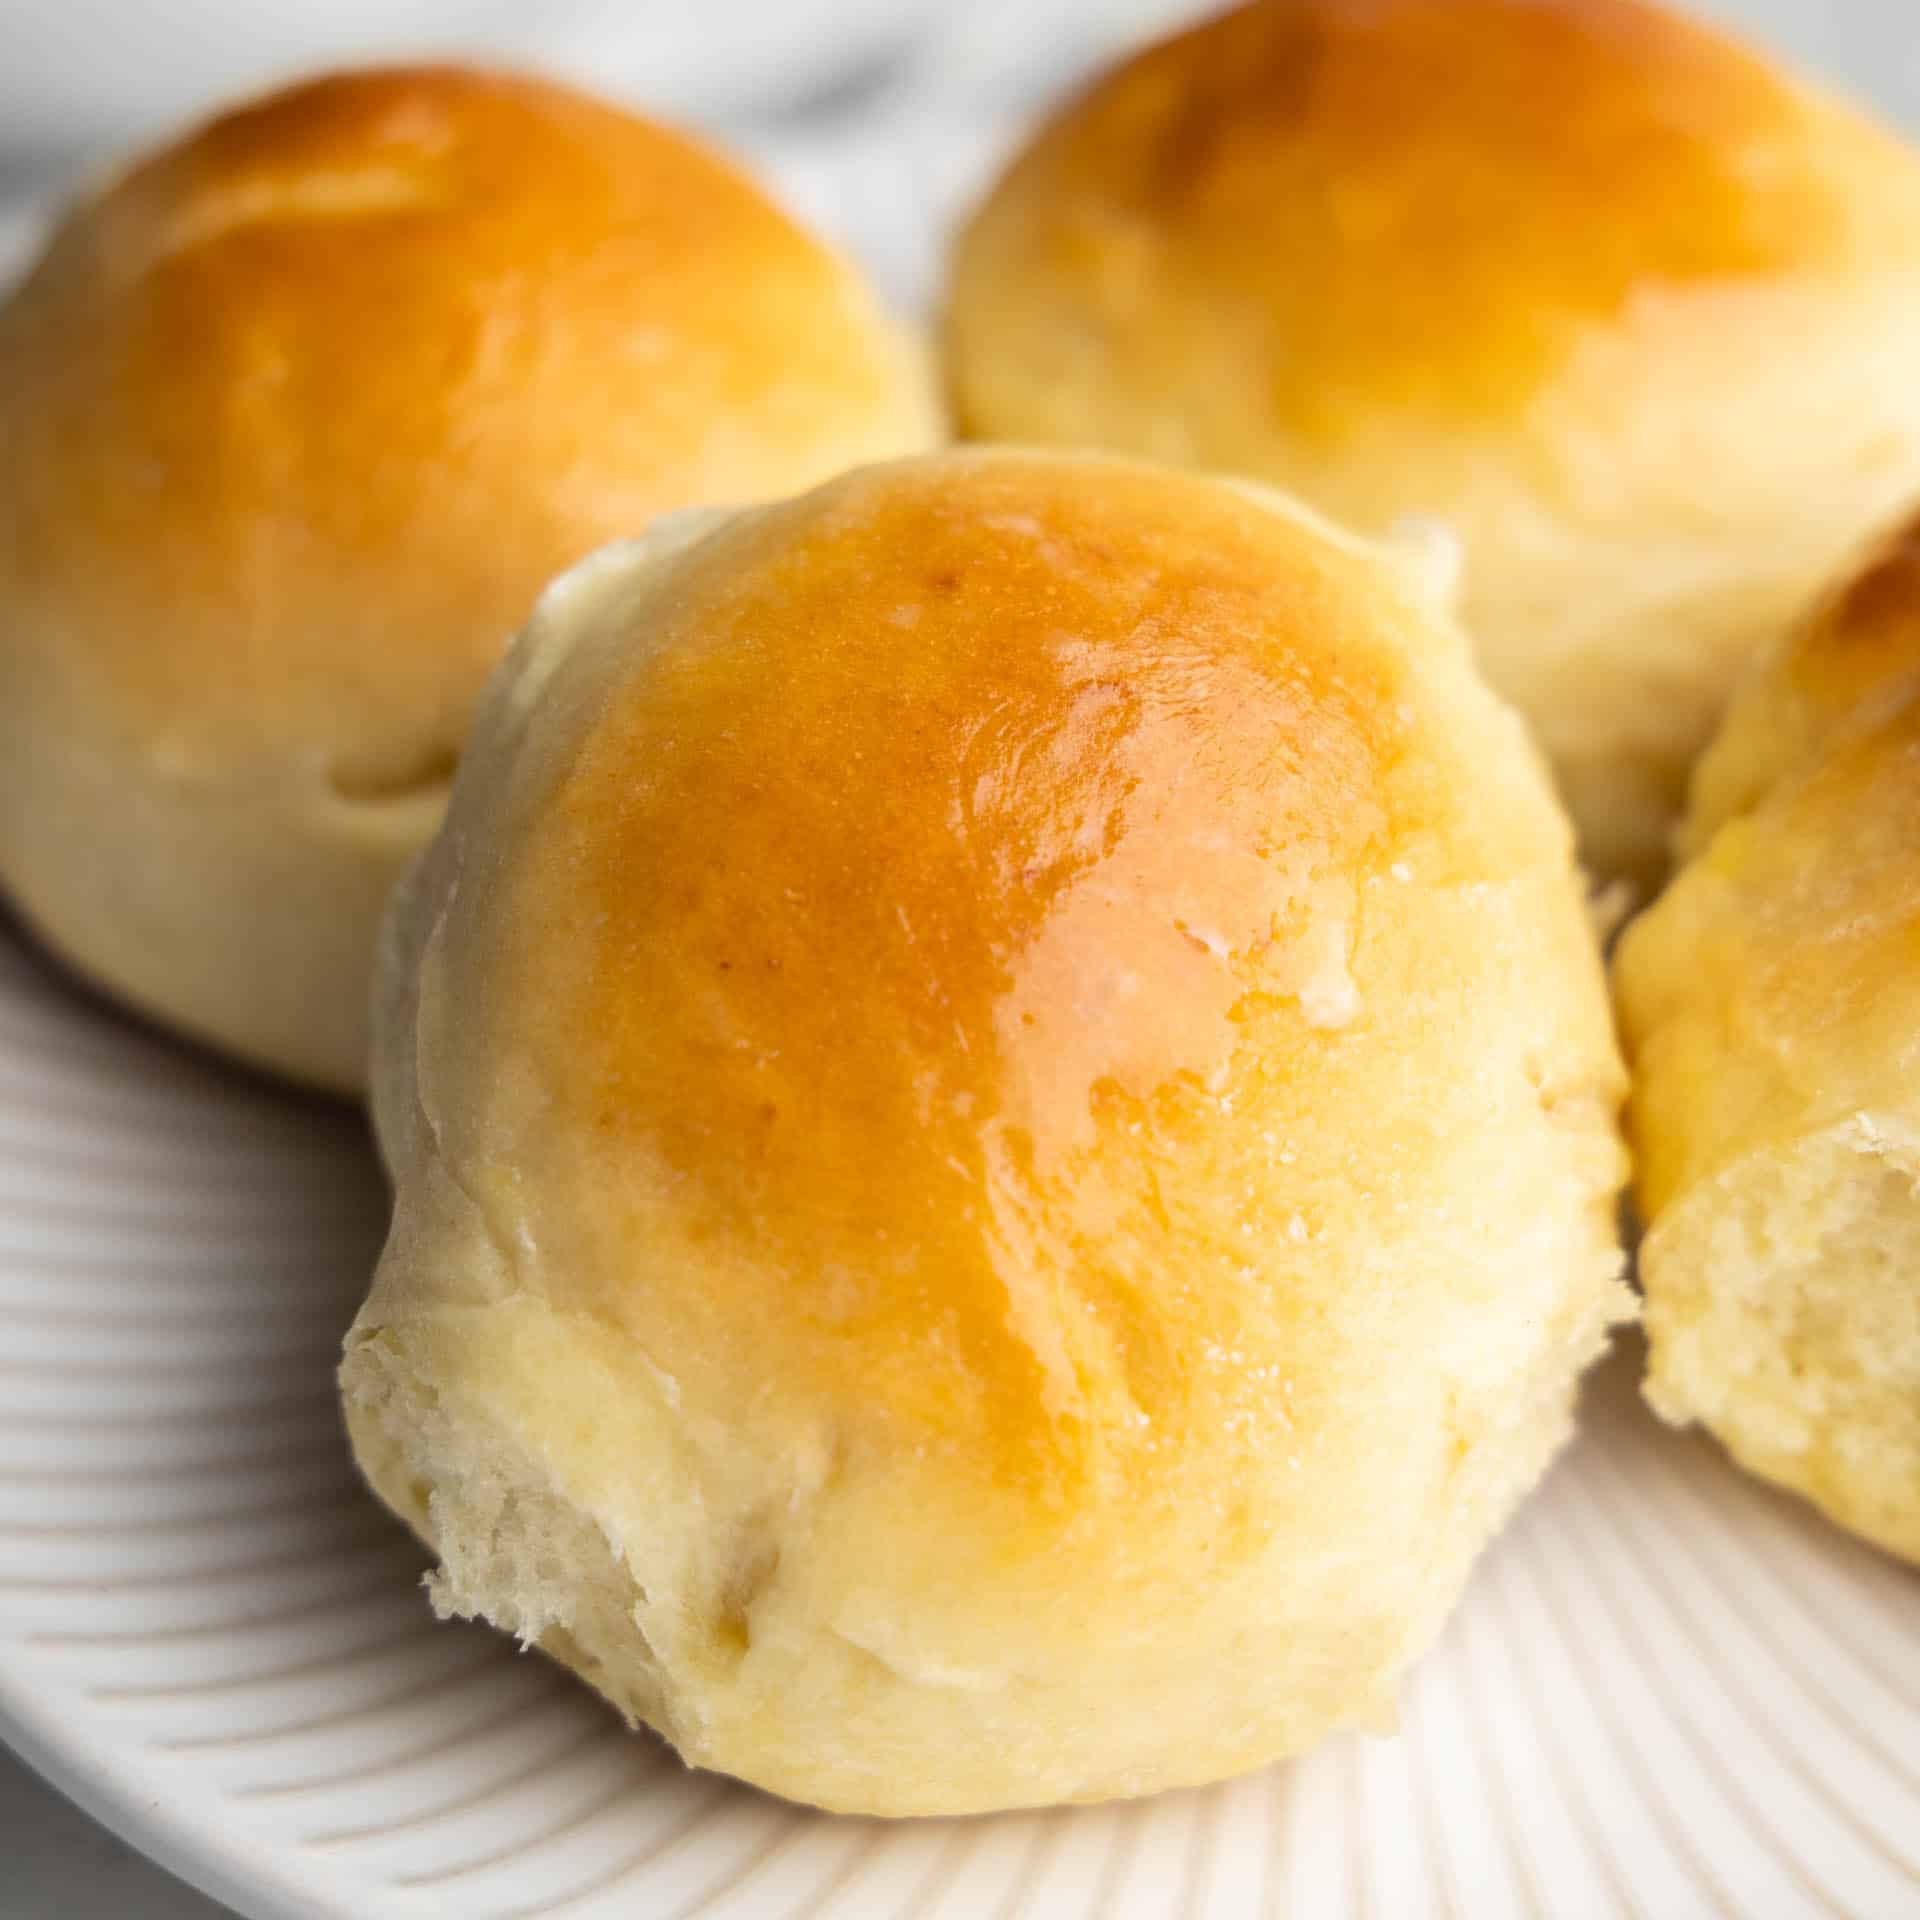
What makes a Hawaiian Sweet Roll so delicious? It’s all about the pineapple. Adding crushed pineapple to the dough creates the amazing combination of added sweetness and flavor. Baking bread and rolls are some of my favorite things to do in the kitchen. I love the smell of baking bread going throughout the house. Making your own rolls is a lot easier than you might think and I’ll be with you every step of the way.
Ingredient Notes
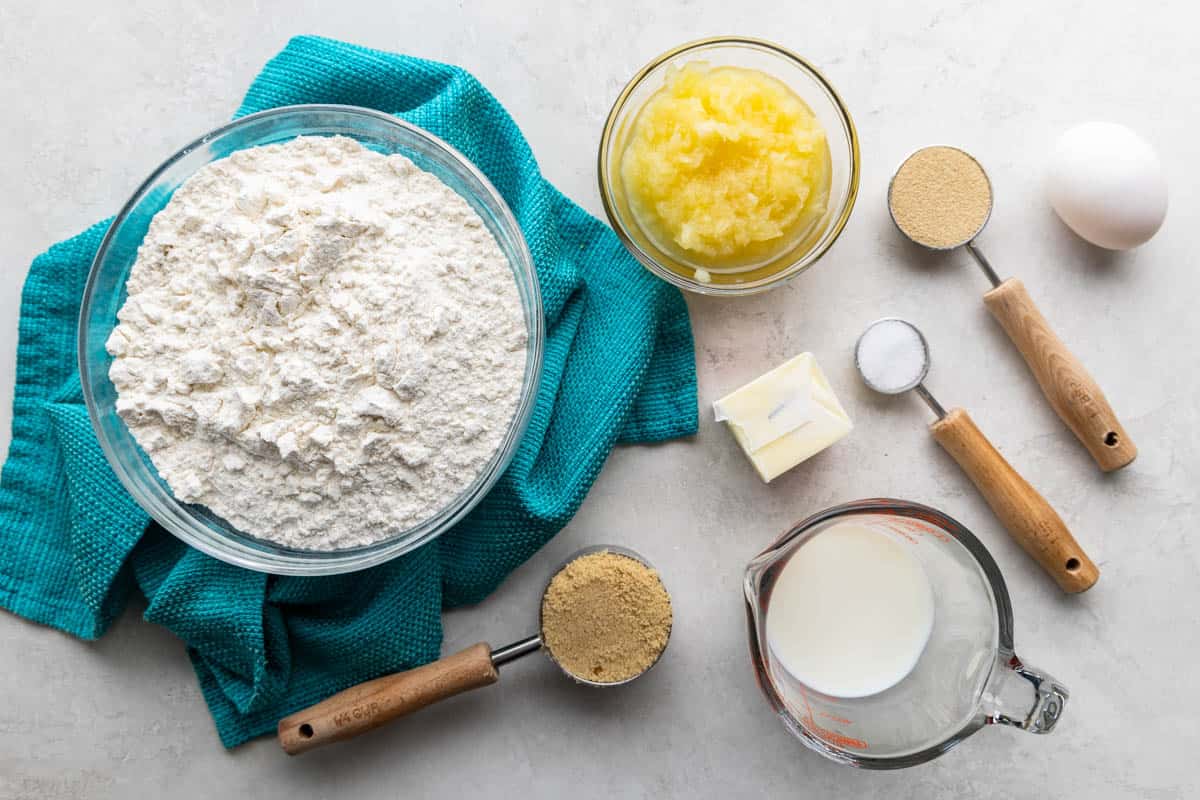
- Milk: The milk should be warm to the touch, between 100 and 110 degrees. While you can use skim milk, I would recommend using 2% if you can swing it. Ultimately, any milk will work.
- Crushed pineapple: Make sure you use crushed pineapple and don’t drain the juice from the can. I actually just take my measuring cup and dip it directly into the opened can of crushed pineapple.
- Yeast: All yeasts will work in this recipe. If using active dry yeast rather than instant, you’ll just need 10-15 minutes more of rising time.
- All-purpose flour: Both all-purpose flour and bread flour can be used.
- Butter: If using unsalted butter, add an additional pinch of salt (about 1/8 teaspoon).
Dough Texture
The key to the perfect roll is to have the right texture in the dough. The exact amount of flour you use in bread making can be a bit of a variable. It depends on things like how accurately you measured your liquids, or even the humidity in the air. I always say you can feel a soft roll in the dough. Add just enough flour so that the dough is soft and tacky and pulls away from the sides of the bowl (if using a stand mixer), but not so sticky that it sticks to your hands.
Make Ahead Instructions
Refrigerate unbaked rolls for easy dinner prep. Once shaped, skip the second rise, place the rolls on a baking sheet, cover the sheet with plastic wrap, and place them in the fridge. The cool temperature of the fridge will slow the growth of your yeast and your rolls will only rise slightly. You can hold them this way for up to 24 hours. When ready to bake, take them from the fridge and allow them to sit on the counter for about 30 minutes while the oven is preheating. Continue to bake as directed.
Freeze premade rolls to pull out later. Once shaped, skip the second rise and freeze the shaped rolls on a baking sheet, separated so they don’t touch. Once frozen, store the unbaked dinner rolls in a freezer bag for up to three months. When ready to bake, remove them from the freezer and allow them to thaw and rise until double in size before baking. This can take 2 to 3 hours. Once thawed, continue to bake as directed.
Storage & Reheating
Store leftover baked rolls in a plastic bag at room temperature for up to 3 to 4 days.
Reheat leftover rolls by covering them with aluminum foil and placing them in an oven preheated to 350 degrees Fahrenheit for 5-7 minutes.
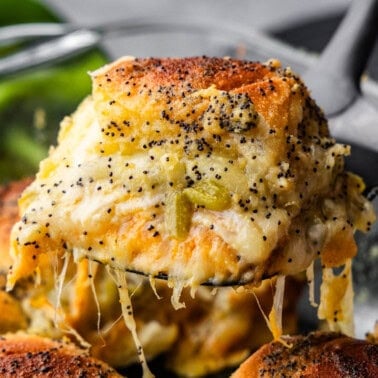
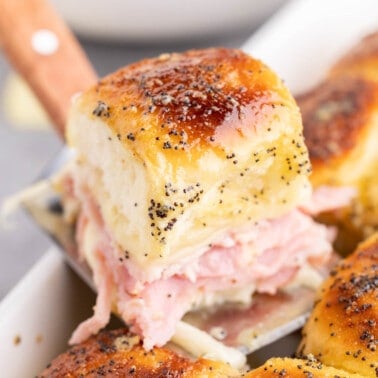
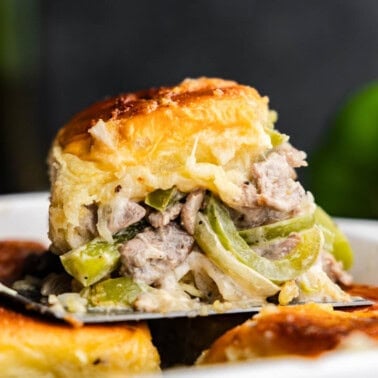
Use these rolls to make sliders…
Santa Fe Turkey Sliders
20 mins
Cheesesteak Sliders
40 mins
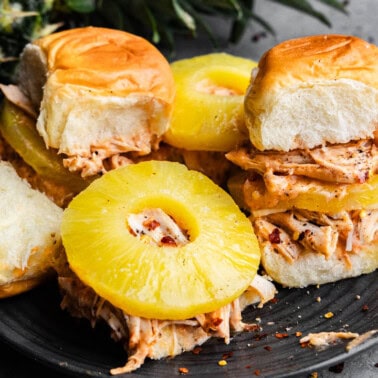
Slow Cooker Creamy BBQ Chicken Sliders
6 hrs 10 mins
Love your recipes. Made your macaroni salad a few times. My friends dearly loved it!! Thanks for all I have gotten.
I found your recipe for the Hawaiian Buns, and I was a little leary about trying them as I tried someone’s one time and my fam asked me not to make them anymore. I didn’t tell them what kind of buns they were 🤫🫣. They were very surprised and happy, so now they ask “you are making the good buns right” 😂🤣. So I wanted to say Thank-you ❤️❤️
I made hamburger rolls out of the recipe by only making 6 rolls. So good with pulled pork. Everyone loved them.
Aloha from Hawai’i. These are THE Best Hawaiian Sweet Rolls EVER! Can’t stop making them! Mahalo for sharing the recipe.
These are so good thank you so much for the recipe
These look absolutely delicious! Is it possible to use a food processor to mix together the dough?
Possibly.
I just discovered your blog yesterday and tried this recipe today. Absolutely fantastic! I did use a food processor to make this with the plastic dough blade and it worked perfectly. So yes, it is possible. I don’t own a stand mixer and certainly didn’t want to knead by hand. My Cuisinart that I bought in 1977 is what I used.
Hi Rachel! Blessed Thanksgiving to you and your family. Here I am 4 years after my first comment, and I am still loving these rolls. I’ll be making up 2 dozen of these today in prep for Thanksgiving dinner. There are only 7 of us, but I know these will go fast. Since my last comment, I have purchased a Kitchen Aid stand mixer, and I love that dough hook! Thank you for this blog.