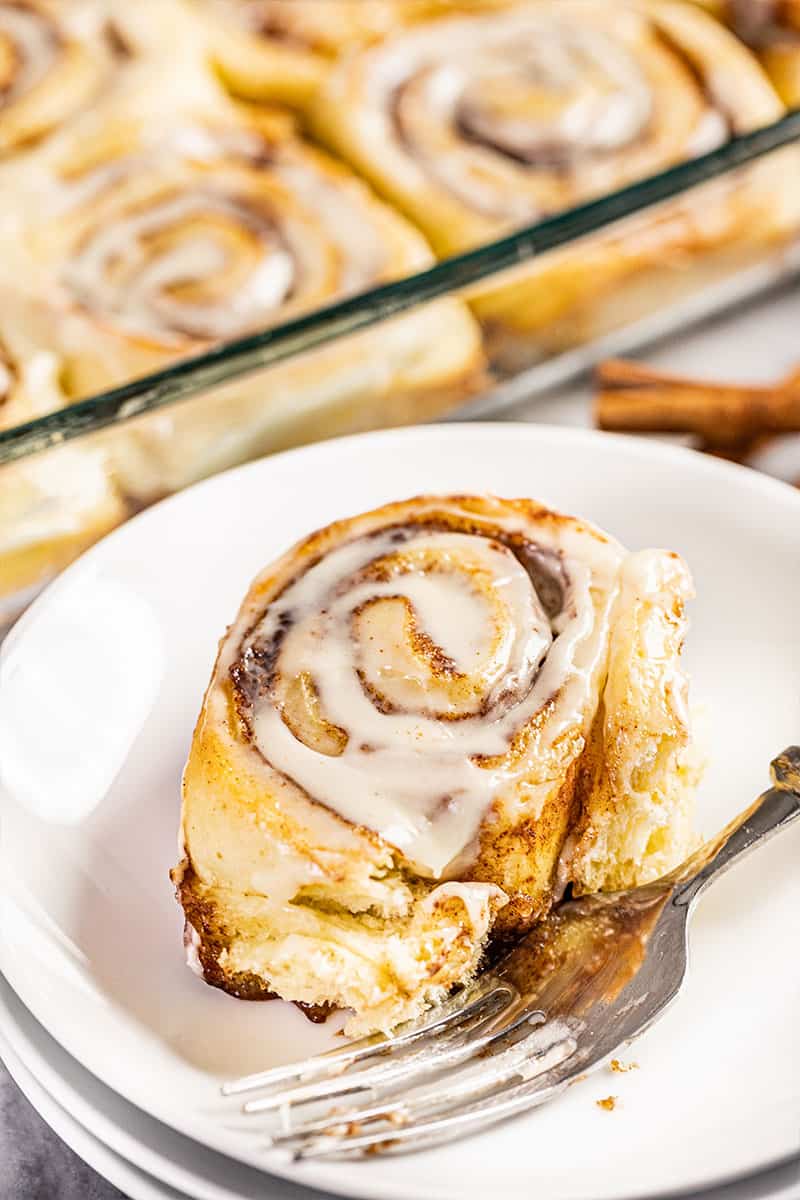
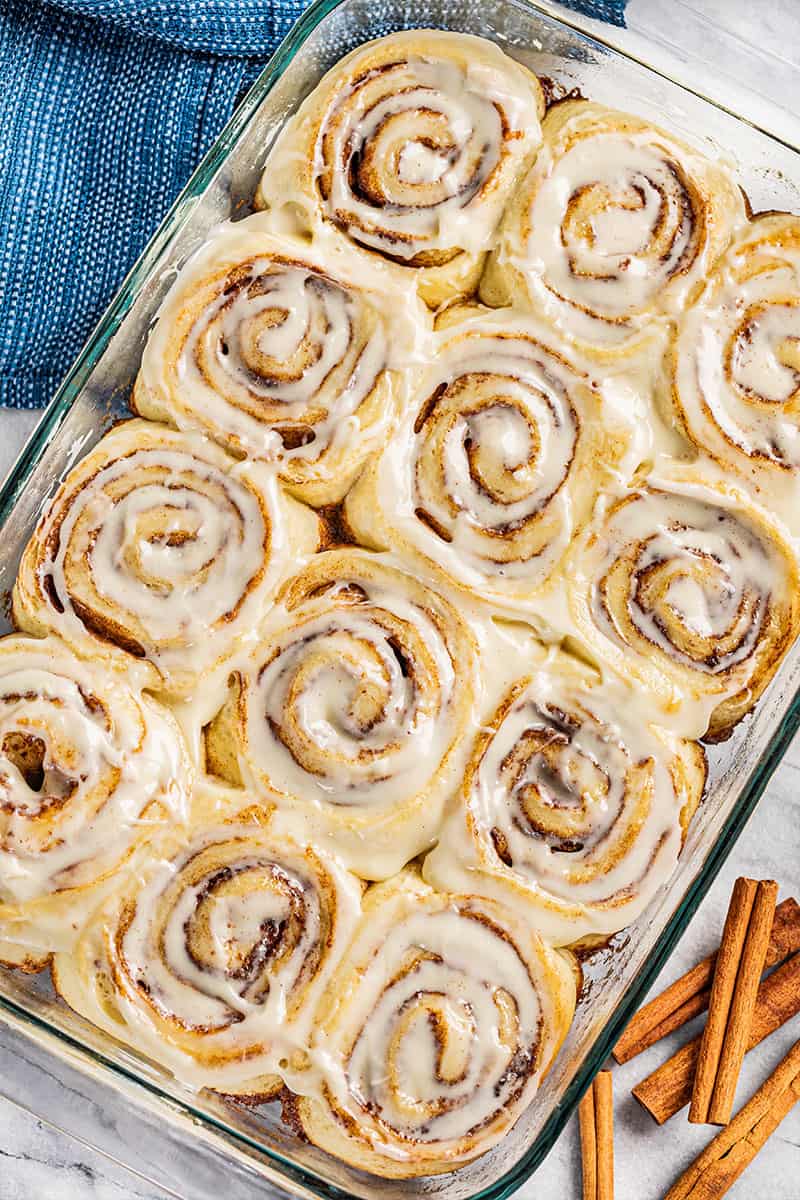
These cinnamon rolls are perfect—soft, fluffy, and gooey all at once. Fresh out of the oven, they melt in your mouth, and trust me, they’re so good you might just eat the entire pan in one sitting! With tried-and-true tips to get the dough just right, these rolls turn out melt-in-your-mouth soft every time. Plus, they’re easy to prep ahead—make them the night before or freeze for later. Top them off with a classic cream cheese glaze for that perfect cinnamon roll you’ve been dreaming of.
Love delicious sweet rolls? Try our fabulous coconut rolls or our tasty maple pecan sticky buns.
Why Our Recipe
- Tried and true tips for getting that dough just right so your cinnamon rolls turn out melt-in-your-mouth soft.
- Make-ahead options so you can make them the day before, or freeze for later.
- A classic cream cheese glaze you can make either thin for drizzling or thick like frosting.
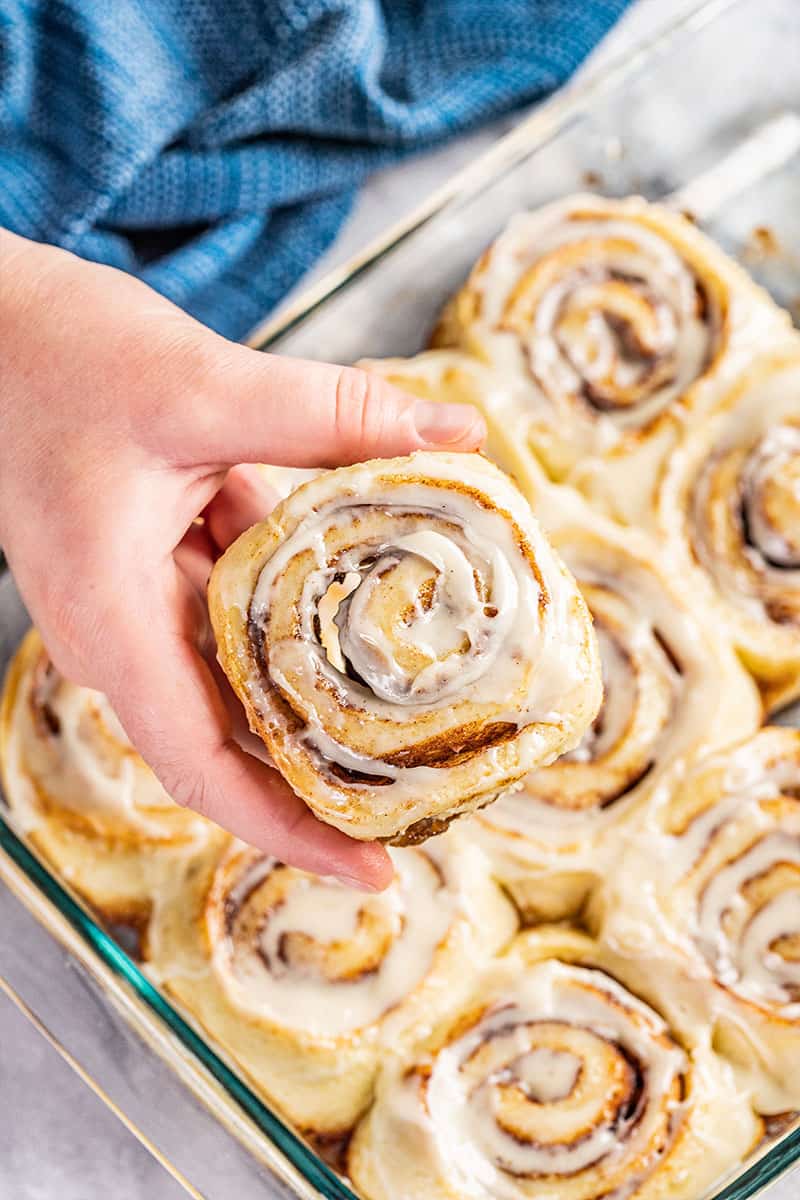
My recipe for The Best Homemade Dinner Rolls Ever has been a viral sensation with millions of views and hundreds and hundreds of reviews, questions, and comments. Thousands if we count the ones on Facebook. So many people have asked how I turn that same amazing dough into cinnamon rolls. Your wish is my command because this recipe is my secret to the perfect cinnamon roll.
Ingredient Notes
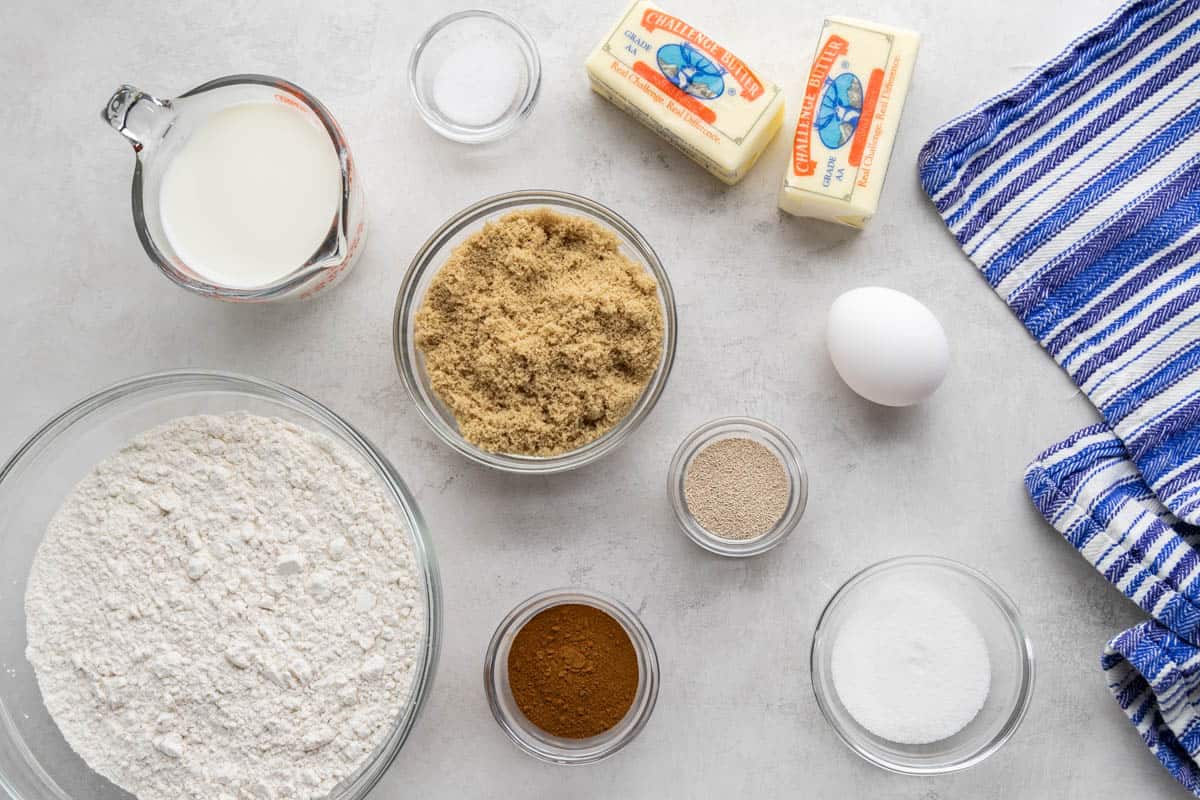
- Warm Milk (100-110°F): Temperature is the most important thing here. If the milk is too hot, it can kill the yeast; if it’s too cold, the yeast won’t activate properly. Use a thermometer if you’re unsure, but it should be warm to the touch, like a baby’s bath water. Whole milk or 2% works best, but you can get away with milk alternatives as well.
- Instant Dry Yeast: Instant yeast doesn’t need to be proofed in liquid, which makes the process quicker. You can substitute active dry yeast, but be sure to proof it first in the warm milk with a pinch of sugar for about 5 minutes until it’s bubbly, or plan on an additional 10 to 15 minutes of rising time.
- All-Purpose Flour: You can also use bread flour.
- Salted Butter: If you only have unsalted on hand, just add a pinch of extra salt. The butter should be at room temperature and smoosh easily to the touch.
- Brown Sugar: Light or dark brown sugar works fine, though dark brown sugar will give a deeper flavor.
- Ground Cinnamon: The star of the show here!
- Cream Cheese: Make sure the cream cheese is softened to avoid any lumps in the glaze.
- Powdered Sugar: Adjust the amount depending on how thick or thin you want your glaze. Start with the smaller amount and add more to thicken it up.
- Vanilla: Adds a little flavor to the glaze.
No stand mixer? No problem!
You can easily make this cinnamon roll dough by hand. Start by stirring the ingredients together with a wooden spoon or spatula until the mixture becomes too thick to stir. Then, it’s time to roll up your sleeves and knead the dough by hand.
Place the dough on a clean, lightly floured surface and knead it for about 8-10 minutes. You want to work the dough until all the flour is fully incorporated and the dough is soft, smooth, and only slightly sticky to the touch. It’ll take some elbow grease, but the effort is worth it. Hand-kneading gives you full control over the dough’s texture, helping you achieve that perfect softness for your cinnamon rolls. Just keep going until the dough springs back slightly when pressed with your fingers—that’s when you know it’s ready to rise!
Feel of the Dough
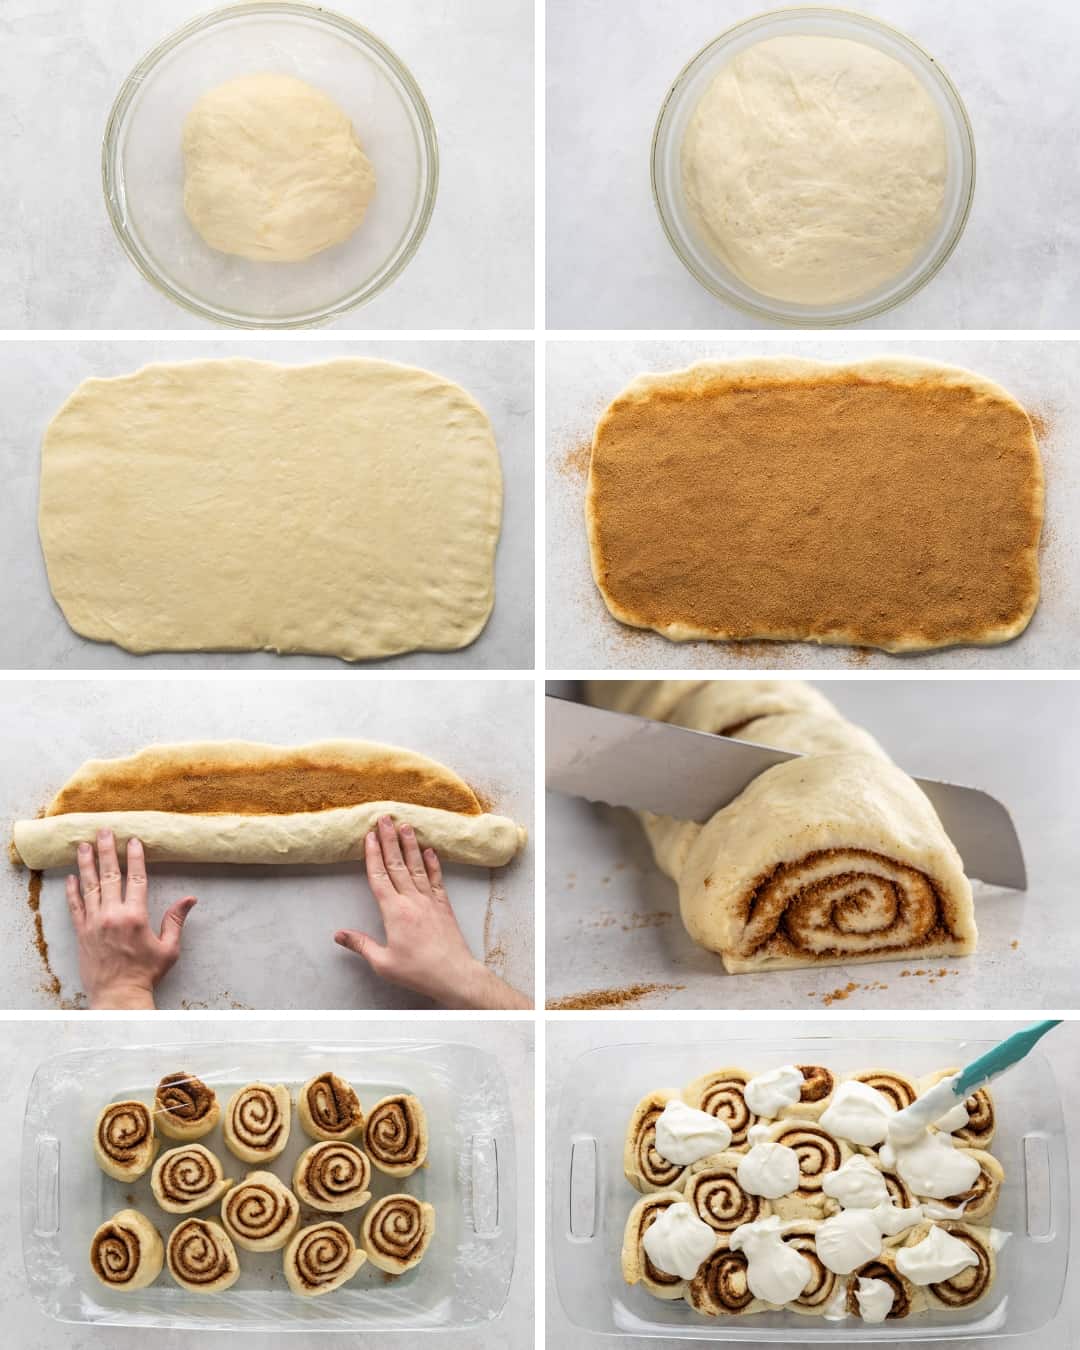
The dough should be soft, slightly sticky, and easy to handle. It should just barely pull away from the sides of the bowl without sticking. If you add too much flour, the dough will stiffen, resulting in tougher cinnamon rolls. You’ll know you’re on track when the dough feels soft and pillowy to the touch—that’s the secret to those perfectly fluffy rolls!
Slicing Tips
After rolling up the dough tightly, use a sharp knife or unflavored dental floss for the cleanest cuts. For the knife method, gently saw through the dough without pressing too hard to avoid squishing the rolls. If you’re using dental floss, slide it under the roll, bring the ends together at the top, and pull through for a clean cut without smashing the dough.
For uniform rolls, aim for 1-inch thick slices. If you prefer larger, more indulgent rolls, you can make them a bit thicker—just adjust the baking time accordingly. Keep in mind that uneven slices may bake at different rates, so try to keep them as consistent as possible for perfectly baked cinnamon rolls.
Make-Ahead Instructions
Overnight Instructions
After you’ve rolled and cut your cinnamon rolls and placed them into your lightly greased baking pan, cover with plastic wrap and place in your refrigerator. The next day, remove them from the fridge and allow them to come to room temperature (about 45 minutes to an hour depending on the temperature of your house) before baking.
Freezer Instructions
Roll and cut your cinnamon rolls and place several inches apart on a baking sheet to freeze rolls individually. Once frozen, transfer to a resealable plastic freezer bag. When ready to bake, place in a lightly greased baking dish and allow to come to room temperature before baking.
Storage Instructions
- Room Temperature: Store cinnamon rolls in an airtight container at room temperature for up to 2 days.
- Refrigeration: If you prefer to store them longer, refrigerate the cinnamon rolls in an airtight container for up to 5 days. Just keep in mind that refrigeration can sometimes dry them out, so warming them up before eating will help bring back their soft texture.
- Reheating: To reheat, pop individual rolls in the microwave for 15-20 seconds, or warm them in a 350°F oven for about 5-7 minutes until heated through.
More Sweet Roll Recipes
Pumpkin Cinnamon Rolls
1 hr 18 mins
Caramel Apple Cinnamon Rolls
2 hrs 20 mins
Best Homemade Orange Rolls
2 hrs 20 mins
Baklava Cinnamon Rolls
2 hrs 5 mins
Watch the video below where Rachel will walk you through every step of this recipe. Sometimes it helps to have a visual, and we’ve always got you covered with our cooking show. You can find the complete collection of recipes on YouTube, Facebook Watch, or our Facebook Page, or right here on our website with their corresponding recipes.



It is a breath of fresh air ‘walking around’ your website!!!!!!! Where are all the adds!?!? Ahhhh.
And your videos so fun and helpful…. And your food is amazing!!!💛💛💛
Made these this morning and they were amazing!! Thanks
I made these for my adult kids and they turned out great! I haven’t tasted them yet but they look delicious! Thank you for sharing your recipe!
Best cinnamon rolls ever!
Best Cinnamon Rolls EVER!!!! Better than Cinnabun (shhh) My family craves this yummy goodness, especially around the holidays!
Today was the third time I’ve used a stand mixer and the very first time I used a dough hook. It was also the first time I ever tried to make cinnamon rolls. They turned out great….as a baking newbie I wasn’t expecting such a good outcome. Thank you so much for this recipe! I’ve already shared the link with others.
I have made these numerous times and they are always a hit! Thank you for your delicious recipies!
I botched this recipe by proofing the yeast first. I also failed to knead the dough enough (I don’t use a stand mixer). When I discovered my errors I almost tossed the whole thing out, but by that time the dough was rising nicely, so I finished the recipe. I needed about 20 minutes more on the second rising, but that’s it. I added a tsp of ground cardamom to the cinnamon mixture. I am really glad I didn’t start over because these cinnamon rolls are perfect! They turned out plump and tender and delicious! I love a botch proof recipe!
The best recipe I ran into, Thank you for sharing. I’ve made these plenty of times for my granddaughters and they love them.
I add heavy cream around the rolls, just before baking, and they come out gooey delicious!
I made these today for my husband. Fabulous, yummy, and easy.