This simple, inexpensive side is a staple at backyard barbecues, picnics, and potlucks because it’s easy to make and delicious to eat. We’ll get you all set up with all the grilling tips you need to enjoy perfect corn on the cob from the grill all summer long.
If you love any reason to fire up your grill, check out our delicious Grilled Lemonade.
Why Our Recipe
- 3 options for grilling to cover all your bases: in the husk, out of the husk, and in aluminum foil.
- Detailed walkthrough step-by-step that makes it easy to have delicious corn on the cob from the grill every time.

Ingredient Notes
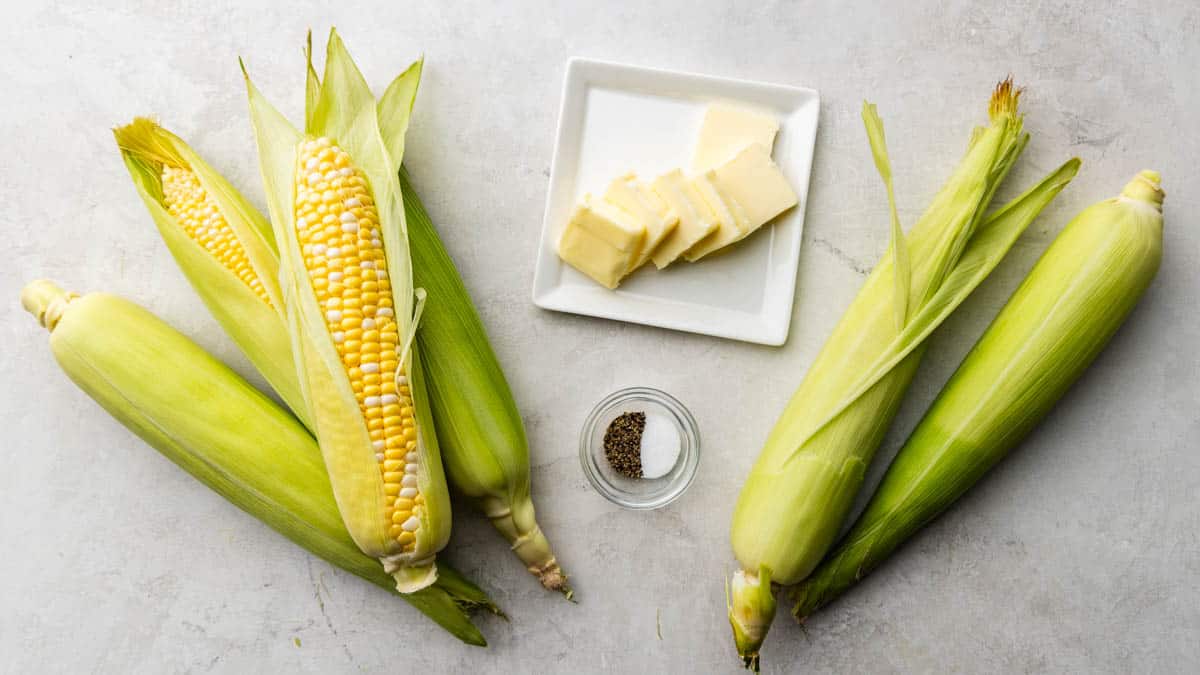
- Corn on the cob: Fresh, healthy corn will have a tight husk without rotting or dry spots. Avoid anything that looks dry or shriveled.
- Butter: Butter is the fat and fat brings the flavor. It also helps the salt and pepper to stick to the corn.
- Salt and pepper: Add according to your personal taste.
Yellow, White, and Sweet Corn
There are three common categories of corn on the cob that you’ll find sold for eating, all of them delicious. They can all be used for grilling.
Yellow Corn has that bright yellow kernel that’s the iconic caricature of corn on the cob. It is slightly sweet with a bit of a buttery flavor. It’s everyone’s go-to for all-purpose use, including grilling.
White Corn has pale kernels that are smaller than those of yellow corn. They are sweeter than yellow corn, but the tradeoff is the buttery flavor. These kernels are also a little more delicate in their texture.
Sweet Corn refers to corn with an extra high sugar content. The fun part is that there are both Yellow and White corn varieties that can be considered sweet corn.
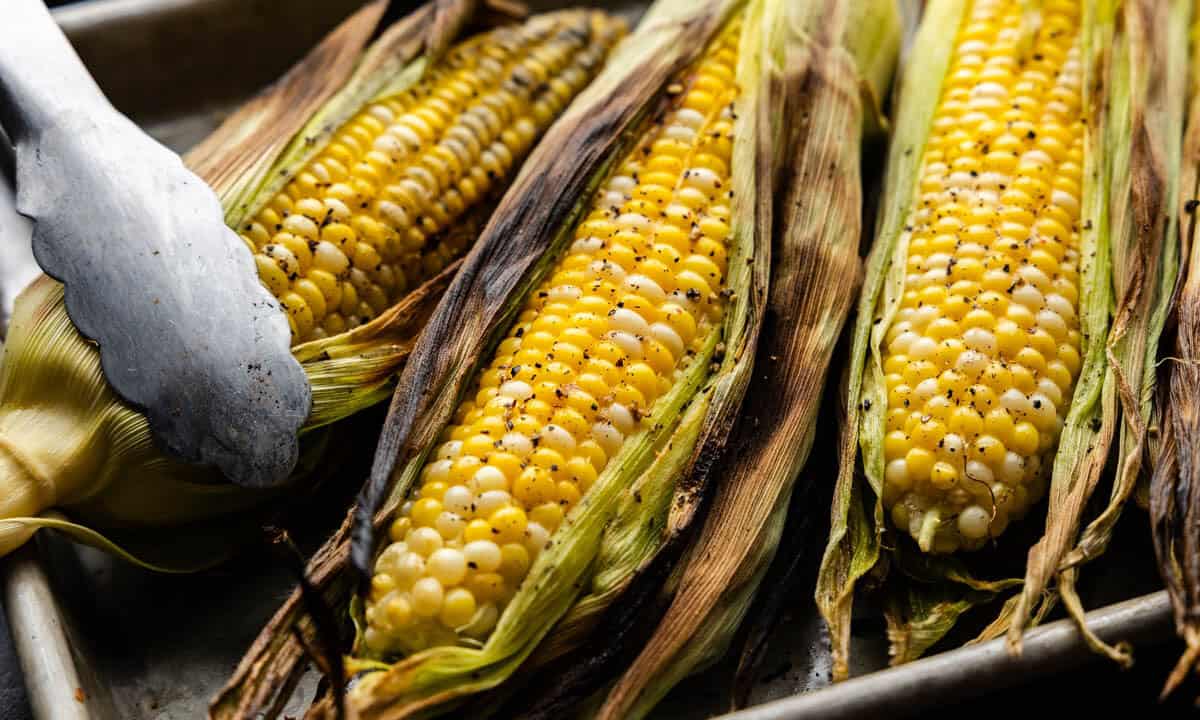
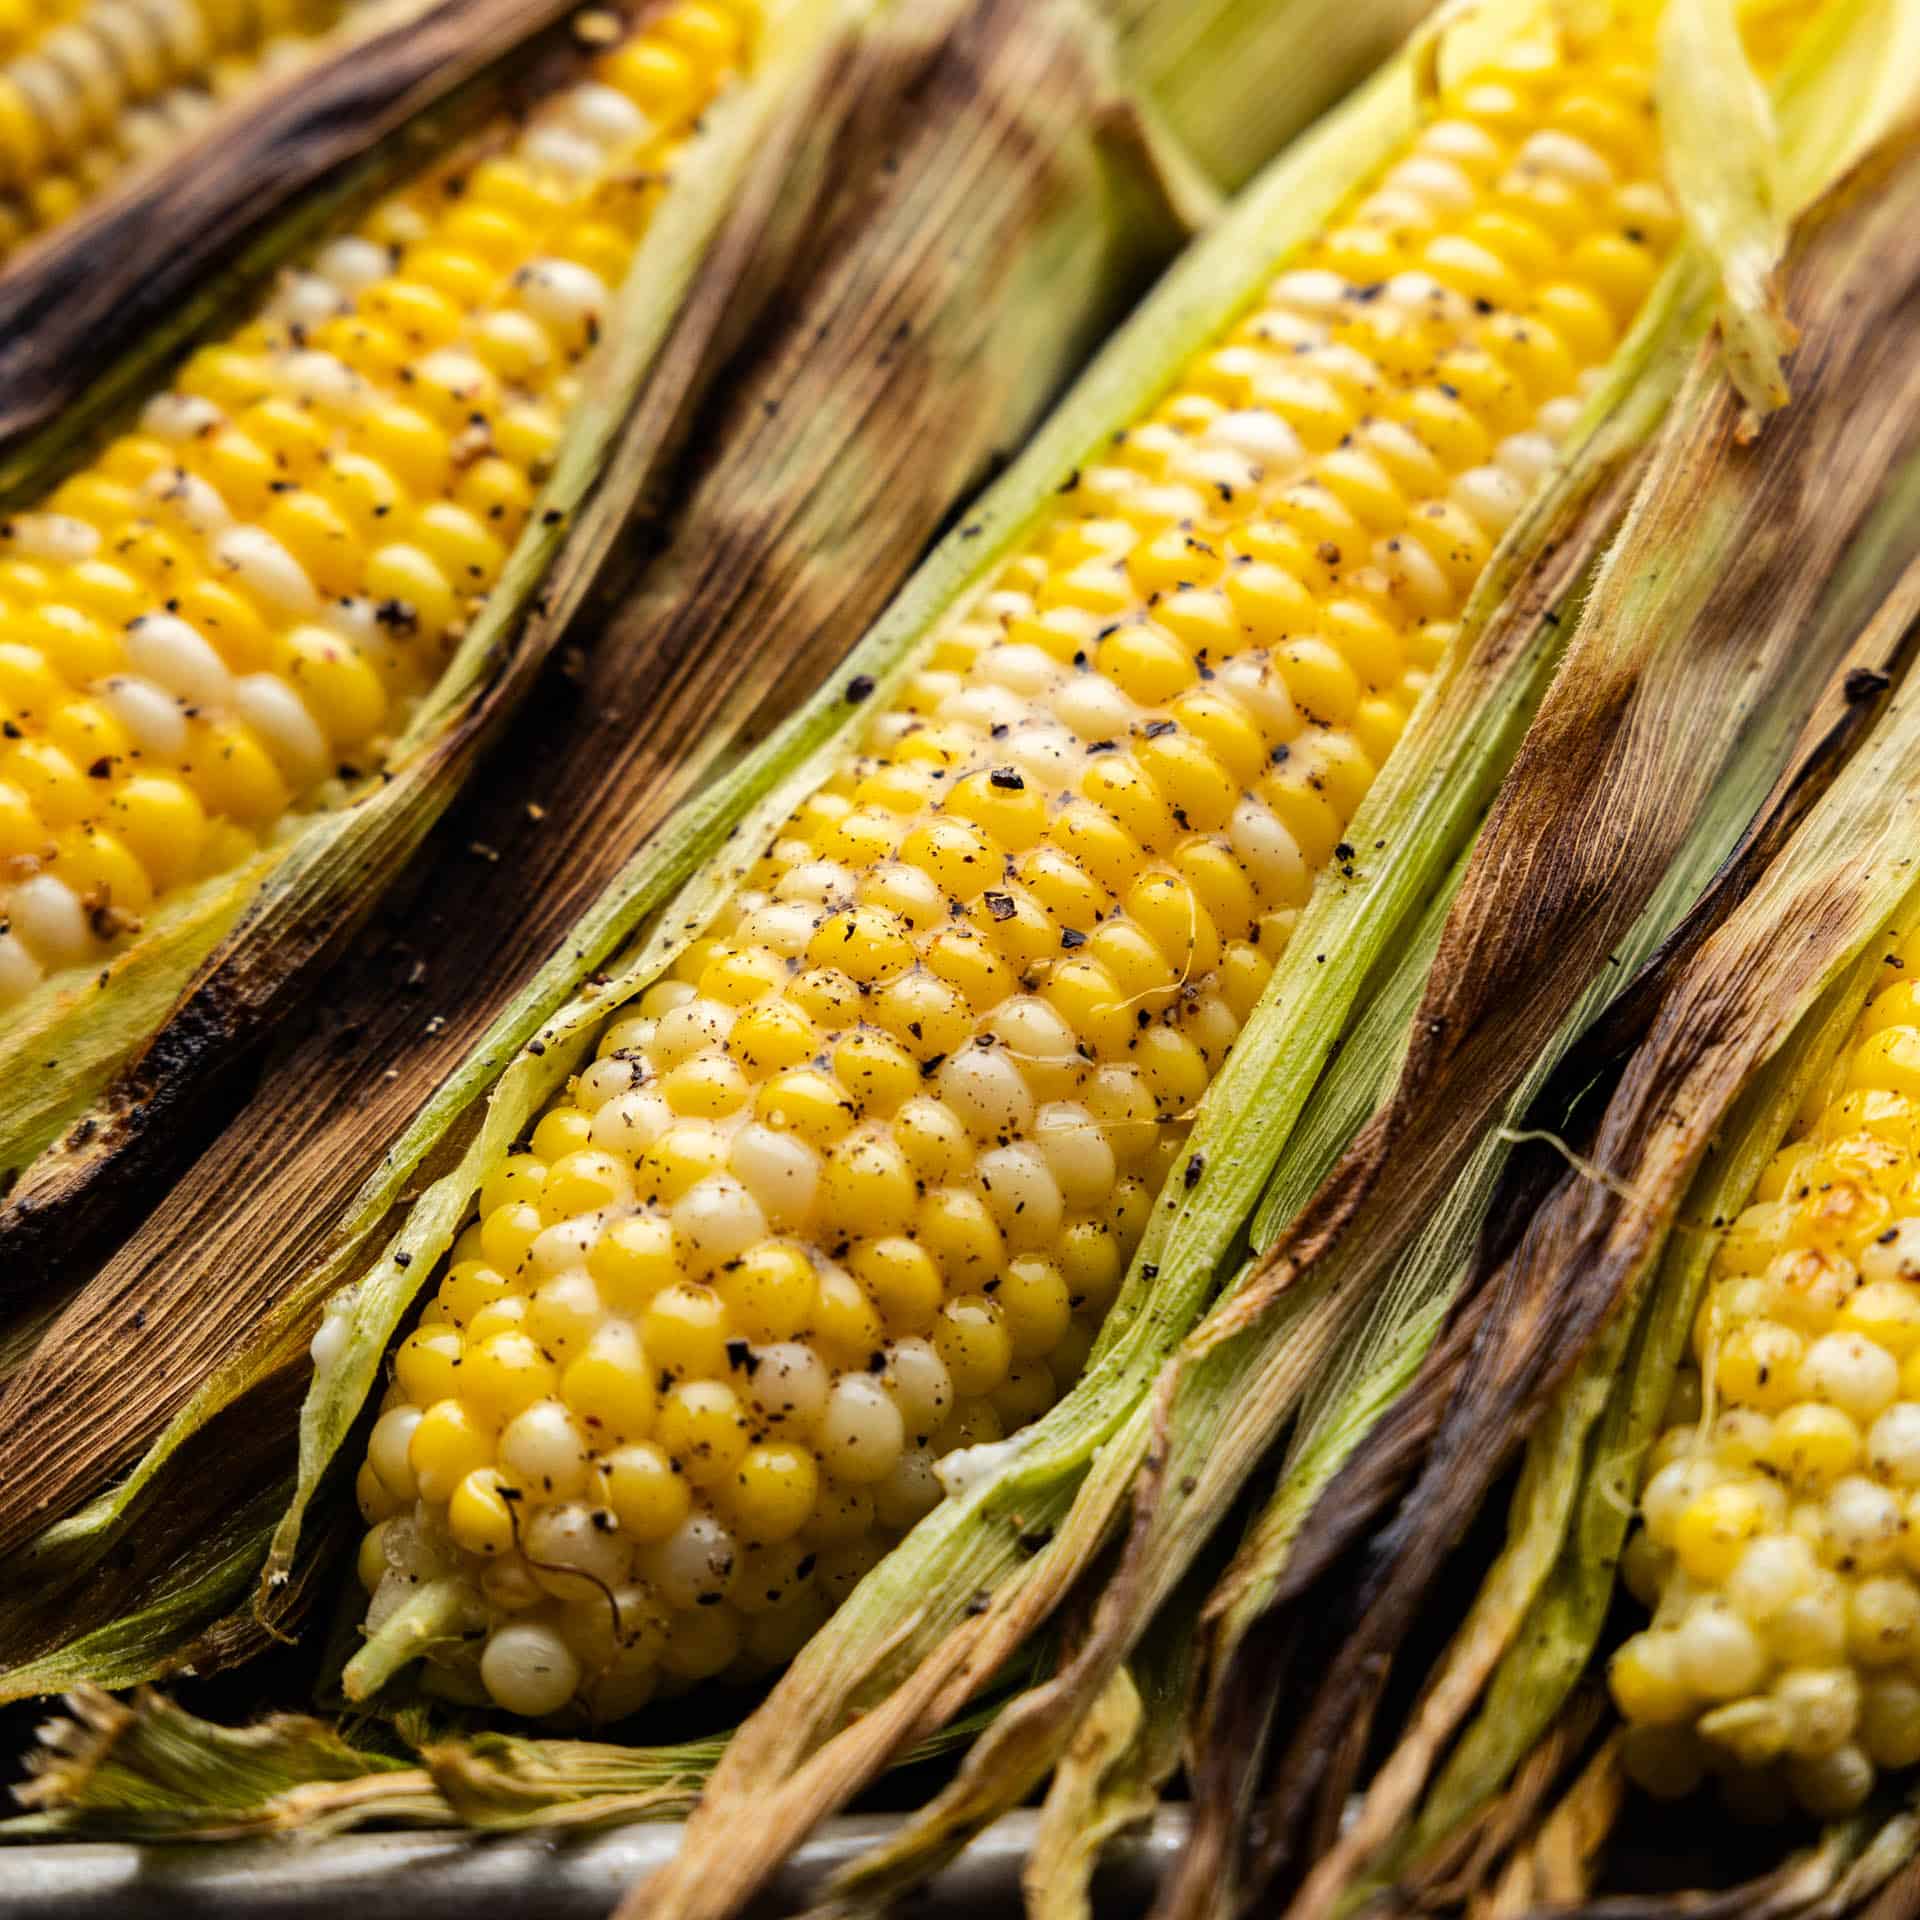
Grilling In the Husk
An easy method that allows you to steam the corn straight inside the husk. An optional step is to peel back the husk and remove the silk strands from the cob. To keep the husk from burning or catching fire, soak your corn for 15 minutes to 1 hour before grilling. The moisture then creates the steam inside the husk.
Grilling Out of the Husk
Corn can be shucked and grilled directly on the grates to fill the kernels with that smoky, grilled flavor. This cob ends up drier, but the sugar in the corn caramelizes a bit more when grilled directly on the grill grate, giving it a unique flavor.
Grilling In Foil
Foil is a one-and-done option that is great for feeding a crowd. You can even add butter and seasoning directly to the cob. The steam, butter, and caramelization are trapped right there in the foil. Not as much smoke or grill flavor gets in, but the level of juiciness and convenience is a worthy trade-off.

Choosing the Perfect Cob
Inspect the Husk: Look for a tight, green husk that fits snugly around the ear. Avoid any with rotting or dry spots. The silks poking out the top should be brown and still slightly sticky, not dry.
Check for Bugs: Ensure there are no holes in the husk, as these could indicate bugs have made their way in.
Peel Back the Husk: If appropriate for the store, carefully peel back a small section of the husk to check the kernels. They should be plump and moist.
Avoid Dry or Shriveled Corn: Steer clear of ears that look dry or shriveled, as they won’t be as fresh or flavorful.
Storage & Reheating Instructions
Refrigerate in an airtight container for up to four days.
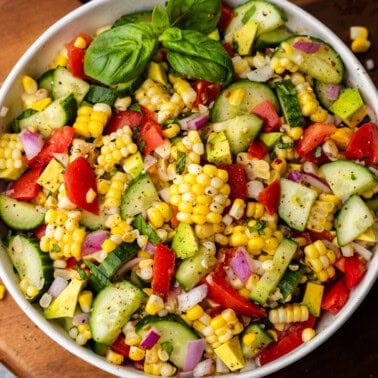
Reheat wrapped in foil in the oven at 350 degrees for 10-15 minutes. Or reinvent the corn into our Summer Fresh Corn Salad.
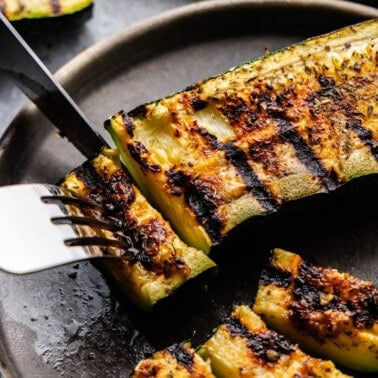
More Delicious Summer Sides…
Watch the video below where we will walk you through every step of the recipe with a video demonstration.
Can this be grilled, cut off the cob and frozen?
Of course!
All 3 ways sound yummy. Makes my mouth water for corn.
A great way to fix corn on the cob love this
One of the best ways for sure!
Thank you for the nice overview
Thank you for this yummy recipe
I enjoyed trying your corn and there are so many recipes that I would love to get.
Can you direct me to smoker recipes. I’ve seen a few but can’t seem to go back them and find them. I just gifted my husband with a smoker and we need recipes
Thank you
This is my only recipe (currently) for the smoker: https://thestayathomechef.com/smoked-pork-chops/
But I highly highly highly recommend checking out https://heygrillhey.com for all your smoking needs. She is a personal friend and absolute genius when it comes to the smoker.
Great ways to grill corn!