
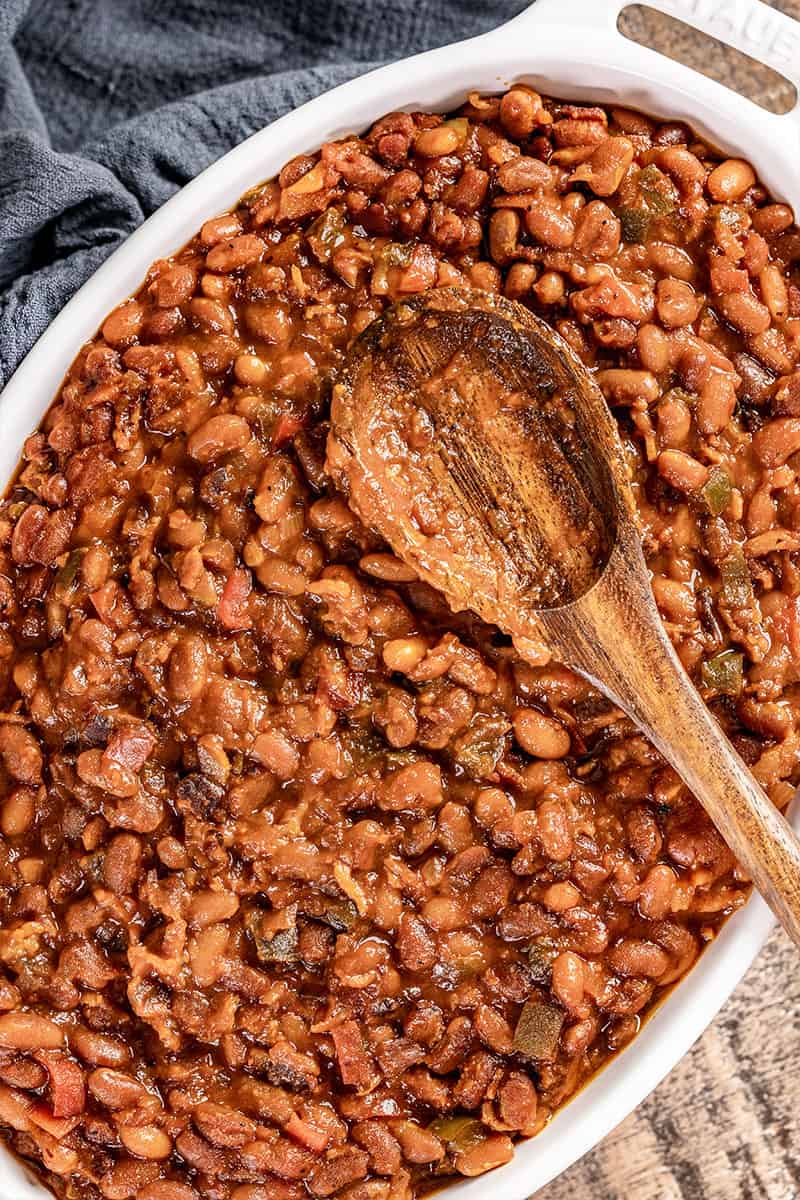
Smoky and savory with just a touch of sweetness, homemade classic baked beans are a filling and classic side dish. Bring these along to your next get-together. It’s the perfect addition to a picnic or barbecue!
Baked beans are a party food staple in the US. It’s comfort food that we all remember eating as kids at picnics, barbecues, and family parties. The combination of smoky, sweet, and savory flavors paired with filling and tender beans makes this one side dish you’ll be willing to risk filling up on! With plenty of variations and easy storage and portability, beans are always an easy go-to dish for your next get-together. You’re going to have to trust us on this one.
Baked Bean Shortcuts:
The most time-consuming part of this recipe is the prep work. You need to make sure to soak your legumes overnight so that they cook up properly. They don’t call them dried beans for nothing – they will be rock hard when you take them out of the bag. One handy shortcut that we love using is this: boil the beans for 20-minutes and then let them sit for 1-hour before letting them simmer for an hour more.
Slow Cooker Instructions:
Baked beans from scratch is definitely a dish that you can throw in your slow cooker and forget about. There isn’t much better than coming home to a house filled with the aroma of a home cooked meal. Especially if you’ve been at work or running errands all day! To make this recipe in your slow cooker, you’ll still be required to soak the legumes overnight and then boil them. Then, simply throw all of the ingredients in your crockpot and cook on low for 8-10 hours. Homemade baked beans, simplified!
Troubleshooting: Why Are My Beans Hard?
You may find that after hours of soaking, boiling, and baking your beans are still hard. Most of the time, this is due to using too old and low-quality legumes. Dried beans will last for years in the pantry, but you may end up with a bad batch. The variety, how long you cook them, and the state of your water can also cause your beans to remain hard.
You can avoid this by purchasing the correct varieties – you’re going to want to stay away from darker beans as that’s a sign that they are old. You should also never skip that all-important soaking step! Using filtered water can also help. The calcium in most tap water won’t encourage your legumes to soften up.
Bean Options:
If you don’t have any navy beans on hand, or simply want to use whatever white bean you have at home, feel free. Some of our favorite white varieties for this dish include:
- Cannellini
- Great Northern
- Baby Lima
Always try to sub in for another white bean as this will lend the best flavor and textures to your homemade baked beans. Canned are also OK if you’re short on time or if you have some on hand. Make sure to drain and rinse well.
You can also use four 15-ounce cans of navy beans instead of dried beans. Drain and rinse well. Skip steps 1 and 2 and add your rinsed beans in step 5.
Is Homemade Classic Baked Beans Vegetarian?
As written, this recipe is not vegetarian, though it is easy to modify to make it vegetarian. Simply skip the bacon and replace the beef broth with vegetable.
Bakeware Options:
If you don’t have an oven-safe pot you can also sub in a 9×13-inch pan or a 3-quart casserole dish. Don’t get stuck if you don’t have the equipment detailed in the recipe – there’s usually a solution!
Serving Suggestions: What to Pair With This Dish
While baked beans from scratch are most often enjoyed as a side dish at barbecues and family parties, you can (and should!) enjoy them as a yummy addition to dinner at home. Here are some tasty pairing options:

Storage and Reheating Instructions
You can store any leftover homemade baked beans in an airtight container in the refrigerator for up to 3-4 days. Reheat in the microwave, on the stovetop, or in the oven.
You can also freeze them. Again, place in an airtight container and then put it in the freezer. Your baked beans from scratch will keep for up to 6 months. Make sure to let them thaw overnight in the fridge before reheating them.
If you like this recipe, you may be interested in these other delicious side dish recipes:
Watch the video below where Rachel will walk you through every step of this recipe. Sometimes it helps to have a visual, and we’ve always got you covered with our cooking show. You can find the complete collection of recipes on YouTube, Facebook Watch, or our Facebook Page, or right here on our website with their corresponding recipes.
I have been making beans for 50+ years. Similar recipe, but some differences. Definitely no peppers. I use canned baked beans, diced onion, bacon, catsup, b-b-q sauce, brown sugar, vinegar, garlic, prepared mustard, salt and pepper and, of course, molasses. I add water to keep consistency as I want. Always get asked for recipe, but it was given to me exactly as I wrote it here. I usually start with 2-3 cans of beans and then it is “to taste.”
Home run & delicious! It was a lot of work, but that is because I used a leftover hambone and ham. I love the smoky paprika & sweetness ratio. I doubled the recipe, but only 1/2 the veggies called for. I thought 4 peppers was too much for this crowd. I also went the slow cooker route, after cooking the beans and sautéing the vegetables.