
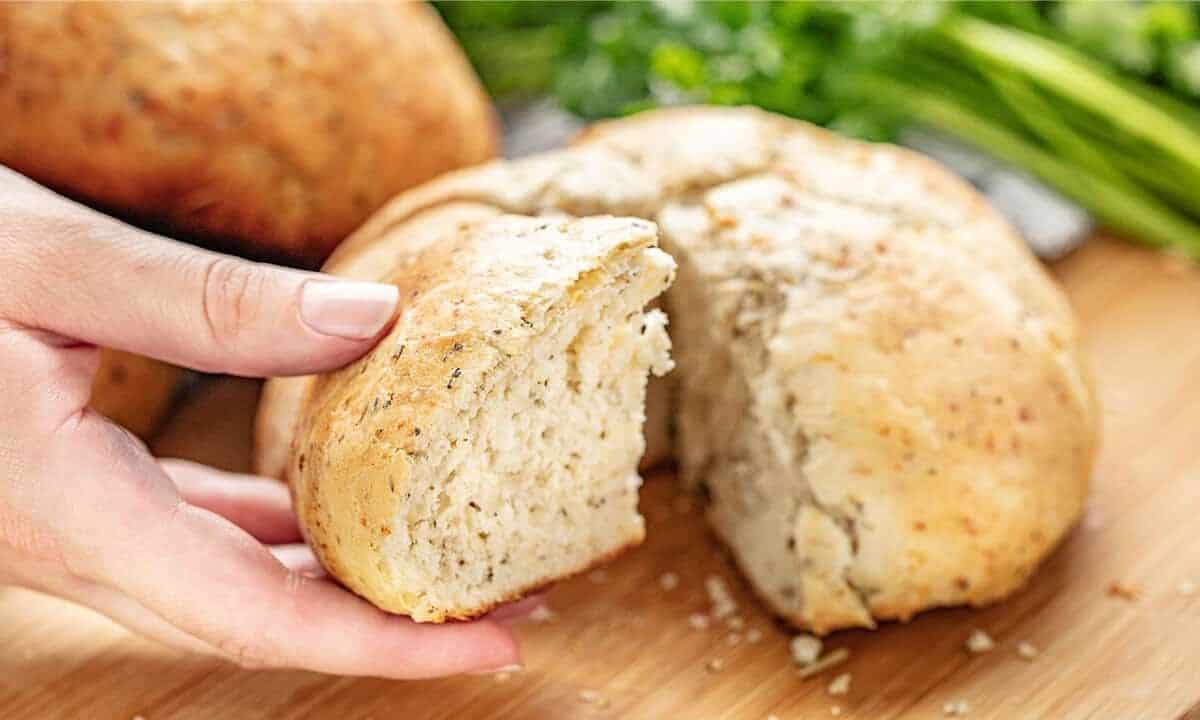
Rustic Garlic Parmesan Herb Bread is a savory artisan style bread that anyone can make. This delicious and fragrant bread is the perfect complement to any meal. Enjoy!
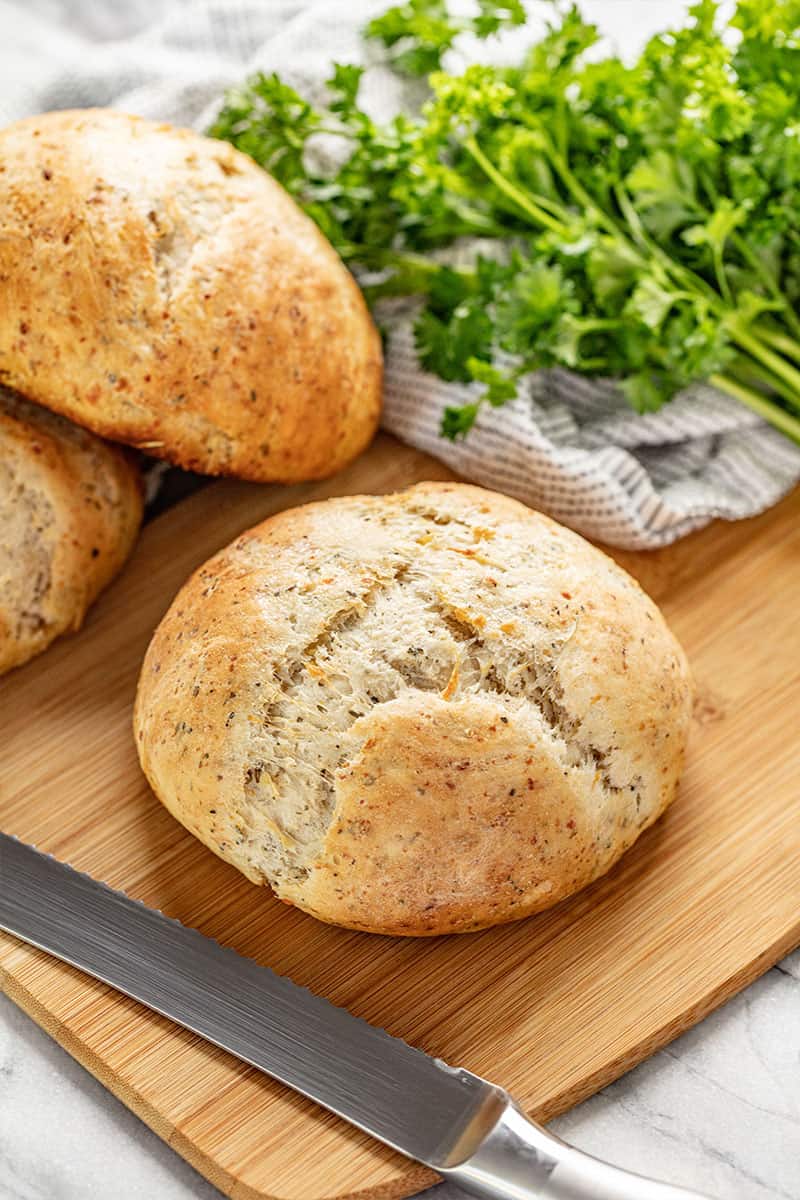
Don’t you love those pretty bread loaves you see in the baskets at fancy grocery stores? You know the ones—they look like the work of a famous baker who has kept a secret family recipe that has been passed down for generations. This bread is one of those breads, except anyone can make it. The recipe is simple and the ingredients are ones you probably have in your pantry. The heady, fragrant herbs will fill your kitchen with the irresistible aroma of those beautiful, artisan loaves you’ve been eyeing at the store.
Savory herbs are mixed in with warm water and yeast to blend the flavors and activate the leavening. Then, the parmesan and flour are mixed in until the dough is formed. Bonus—no kneading necessary! Once the ingredients are combined and the dough has formed, the yeast will take over and do the rest of the work. So minus the rise times and the bake time, it only takes a few minutes to put this bread together. it’s so good, the longest part of making it is waiting a few minutes for it to cool before you can eat it.
Do I have to use a stand mixer for Rustic Garlic Parmesan Herb Bread?
No. This recipe is easy to mix up by hand—no kneading, just make sure the dough is formed.
How should I store the bread once it is made?
It would be surprising if your bread isn’t devoured immediately, but to store these lovely loaves, wrap tightly in tin foil and do not refrigerate. It should keep for up to 4 days.
Can I use fresh herbs in place of dried?
Yes, fresh herbs can also be used. To match up the strength of flavor, you should use about three times the amount of the dried herbs respectively. Make sure to mince the herbs really small so the flavors spread throughout the bread.
Flour Options:
We call for all-purpose flour in this recipe, but you can also use bread flour if desired.

If you liked this bread, you may want to try your hand at some of these other delicious bread recipes:
Watch the video below where Rachel will walk you through every step of this recipe. Sometimes it helps to have a visual, and we’ve always got you covered with our cooking show. You can find the complete collection of recipes on YouTube, Facebook Watch, or our Facebook Page, or right here on our website with their corresponding recipes.
This is amazing! We dip it in Tuscan herb oil. And very easy!
I made this bread today according to directions and omg, this is the best bread ever. It barely had a chance to cool down and we dug right into it. This is going to be a staple in my house. Next time I make pizza, I think I will roll out the dough and use that. Do like the idea from another commentator about leaving it whole and cooking it on parchment in a Dutch Oven. I think I will give that a try as well.
Love this recipe. It’s perfect for so many occasions.
I’ve made this delicious bread once before and it’s amazing plus incredibly easy to make! I only had one problem which is my two loaves don’t really rise much the second time around. Any suggestions anybody? I’m make by it again tomorrow and would appreciate any suggestions. Thanks
I am new to breadmaking. This was easy but more importantly… it is delicious! Your kitchen will smell so amazing, too. Highly recommend. Thanks again, Stay at Home Chef!!
I follow the recipe to a T but my dough does not ever get to the consistency you describe. It rises but is a too soft dough to shape into round loaves. I love the flavor. Just wish it would rise to a round loaf
You might try changing the size of the bowl you put the dough ball in to rise. I put mine in an oiled glass mixing bowl that has very vertical sides (it’s about 5 inches tall and 6.5 inches in diameter). Seems to work perfect. The dough rises to fill that entire bowl – a little more than double its original size – and when I take it out, it already has a round shape from the bowl. Hope that helps!
Made it.. flavor is good.
Think I didn’t knead it enough but will definitely try it again.
Absolutely outstanding! This has already become a family favorite.
Agree with Kristina P – the dutch oven definitely brings the magic to this amazing recipe. I didn’t use parchment paper but that’s a fabulous idea I will definitely try next time. Preheat the oven to 450 degrees (with the dutch oven and lid alongside it on the rack). NOTE: Make sure your lid knob is oven safe! While the oven is preheating, allow the dough to rise a second time in the same oiled bowl, covered with a towel or cling wrap. It will likely double in size again. Carefully plop the entire dough ball into the dutch oven, cover, and bake for 20 minutes. Uncover and bake for an additional 3-5 minutes until the crust is the color you prefer. Cool on a wire rack. I omitted the butter altogether and topped mine instead with a blend of cracked wheat, rosemary, basil, oregano and sea salt (a healthy pinch of each) before baking. We enjoyed our loaf with home made bolognese. Absolutely divine!
Followed the recipe, and very pleased with the results. It did need a couple of minutes past the 20 minute mark (oven thermometer pegged at 375). Nice crust, soft interior, good “thud” when thumped and just great taste. Wouldn’t change a thing, and will definitely make again.
Thanks for a great recipe!