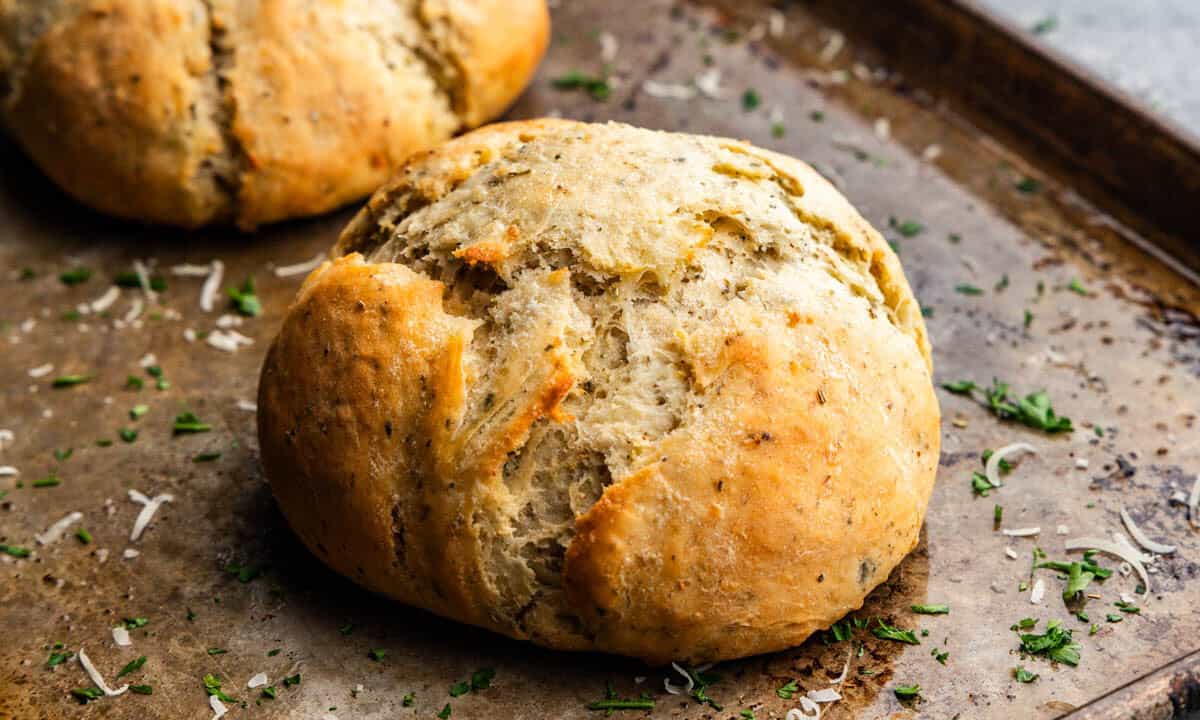
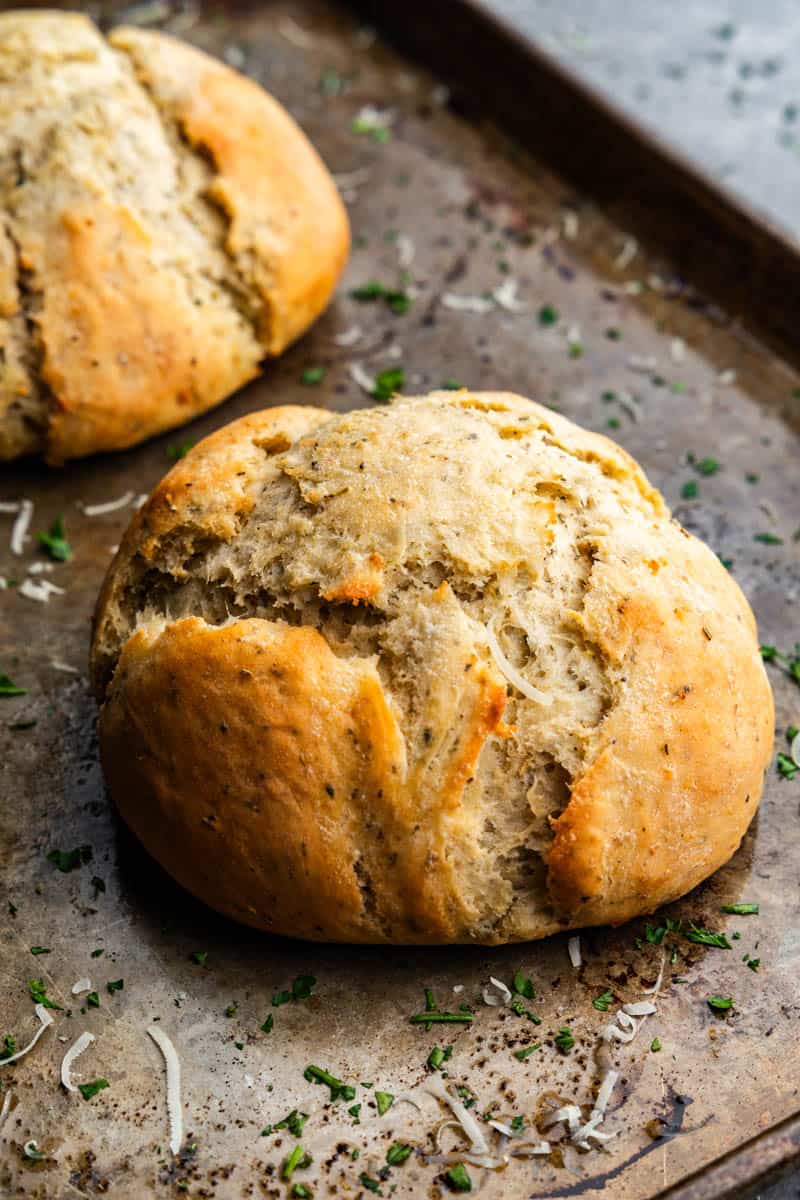
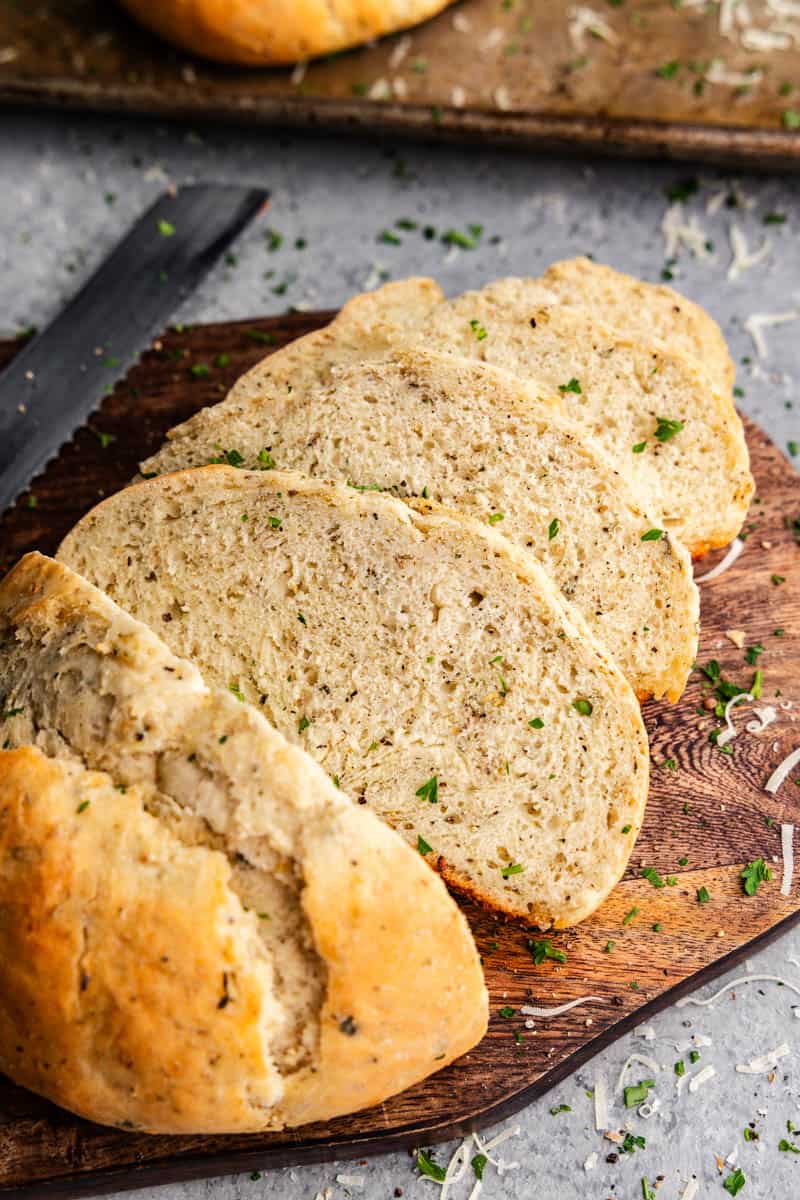
There’s something about those artisan bread loaves that you see at bakeries and in fancy grocery stores. They look so beautiful, smell amazing, and taste great, and are a perfect side for soups or salads. This bread recipe will make you a loaf that tastes just as good as those fancy artisan ones you see in the store, and it’s not nearly as hard as you think it is! This recipe uses simple ingredients that you probably have in your pantry already, plus delicious herbs that will fill your kitchen with the most irresistible smell!
Want to try your hand at making other breads? Try our Jalapeño Cheese Bread or our Garlic Star Bread recipes.
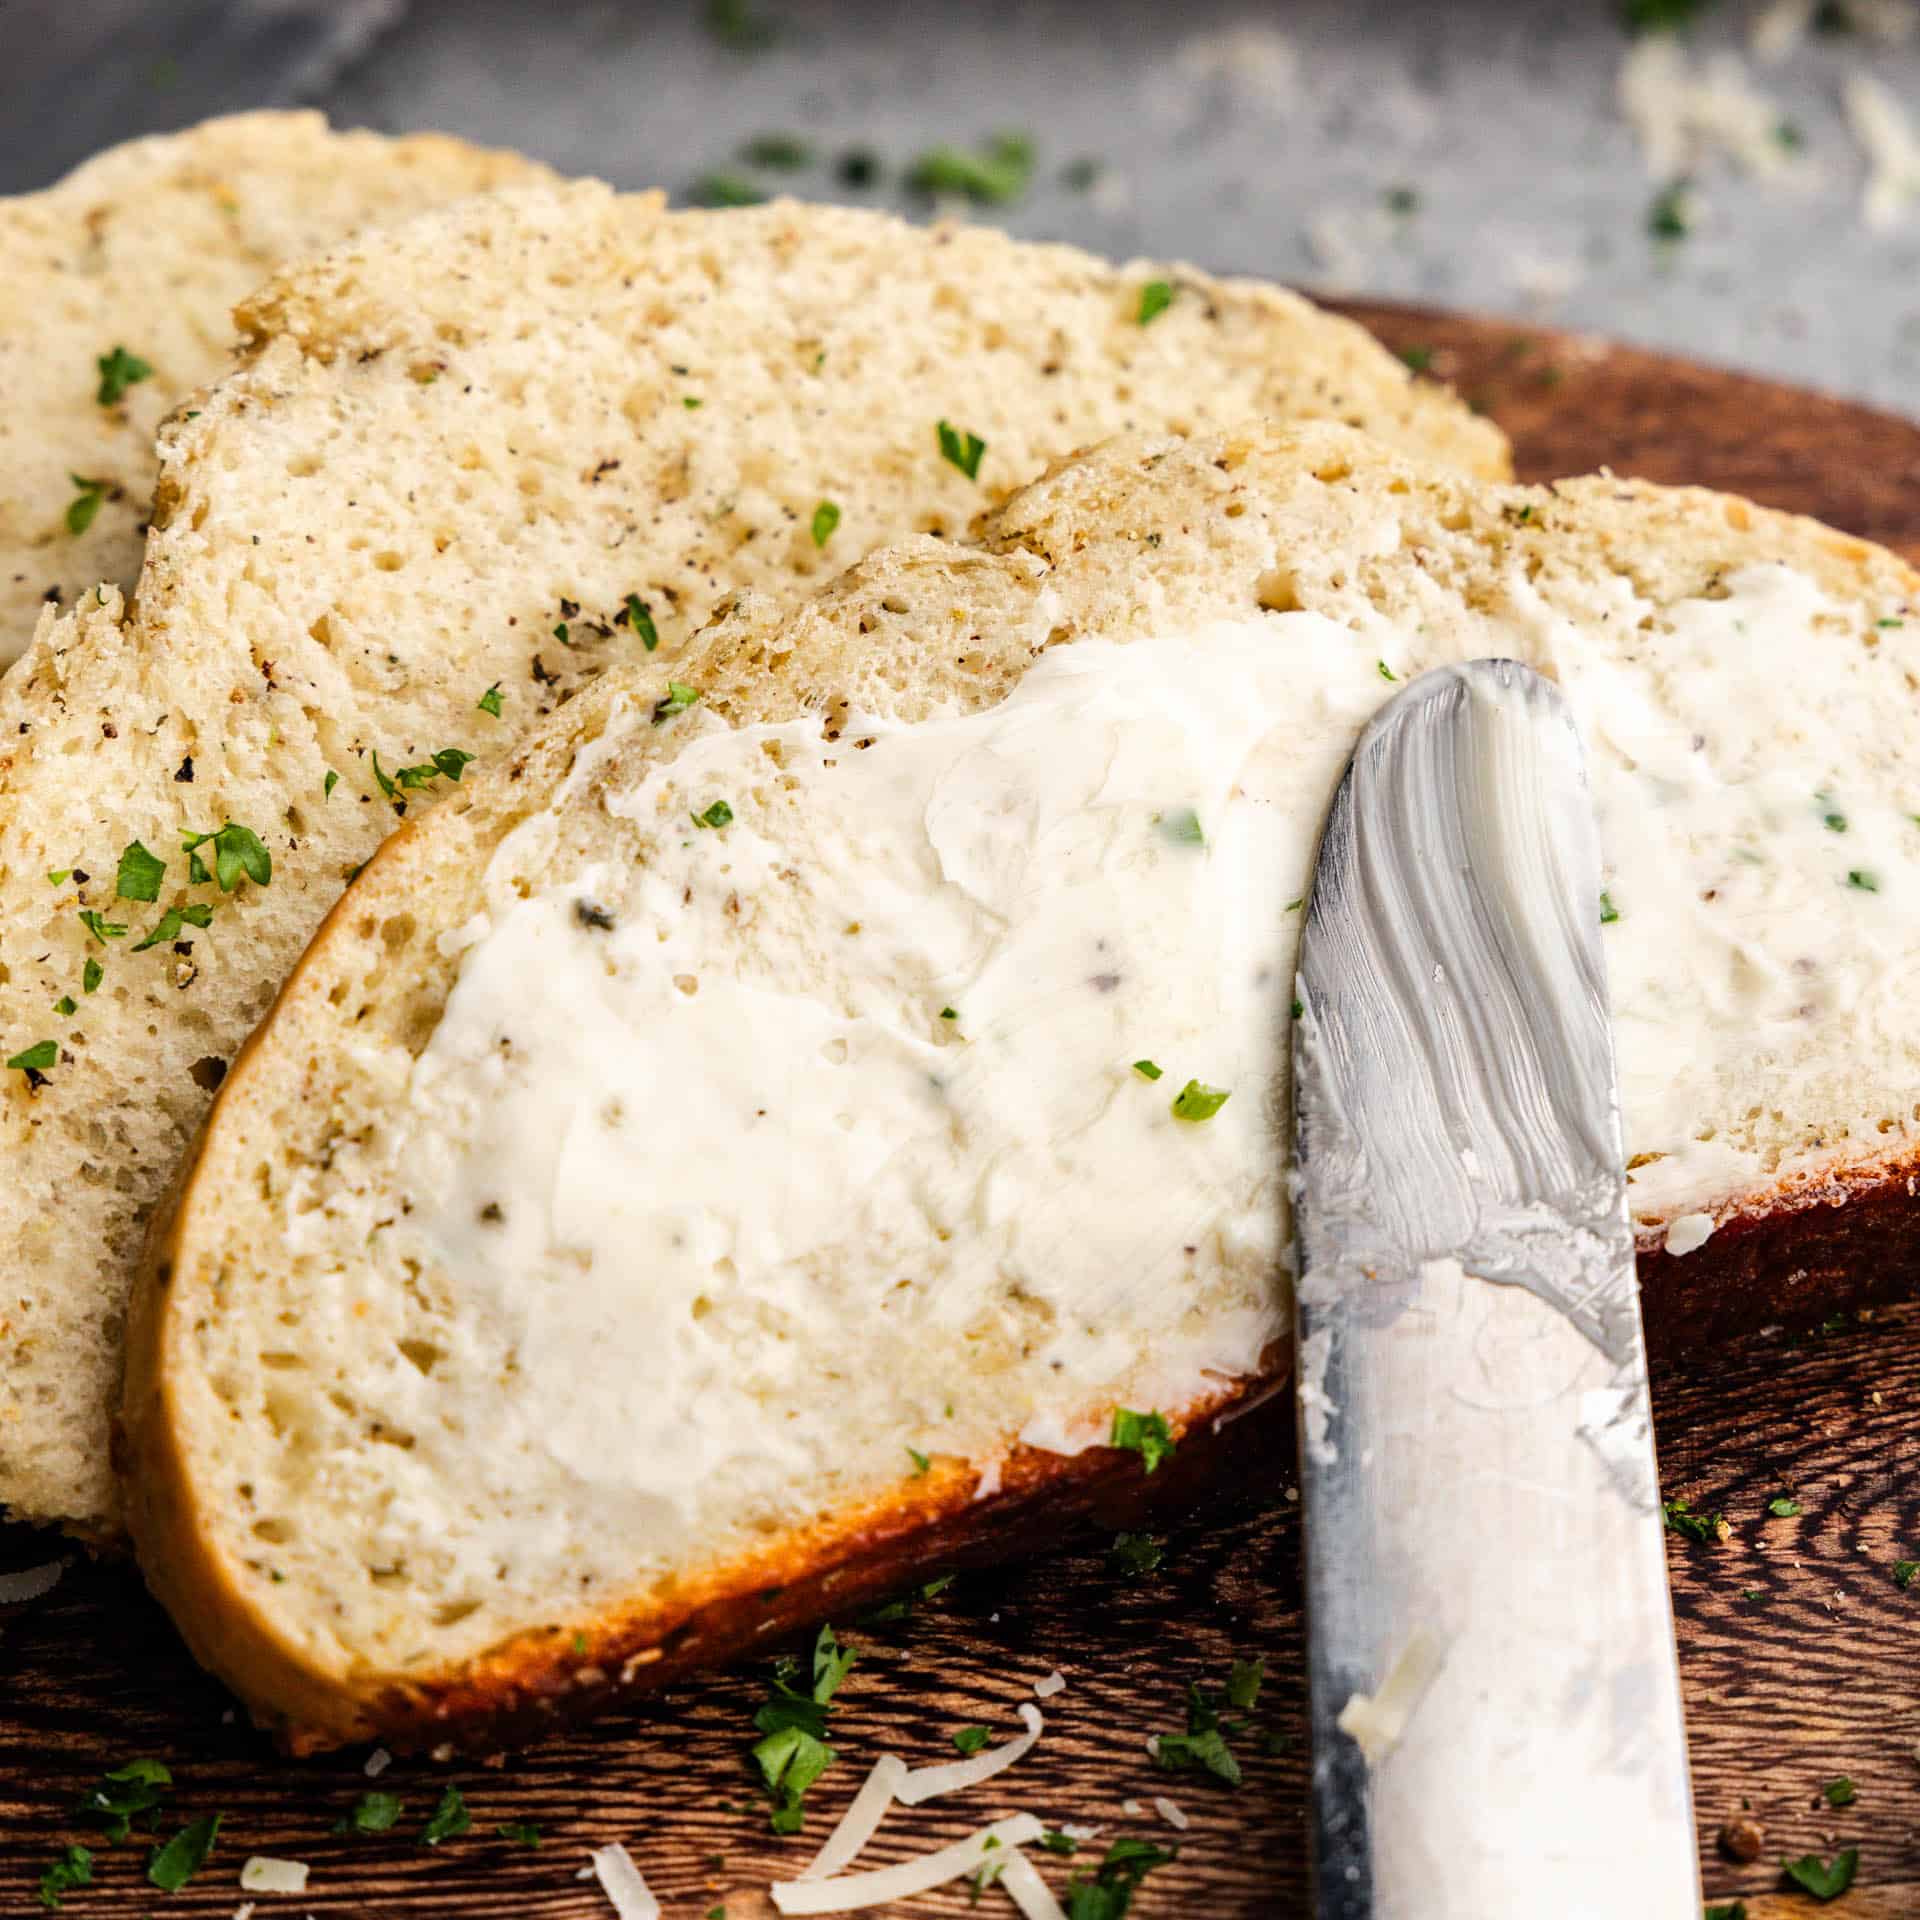
Why Our Recipe
- A bread full of garlic, parmesan, and herbs that smells absolutely incredible as it bakes!
- This recipe is perfect for beginner bread makers, with simple steps that produce amazing results.
- We let butter melt over the top of the loaf to produce a rustic looking loaf with the best crust.
This recipe is adapted from The Craft Patch’s Rustic Rosemary Bread.
Don’t worry if you’re new to bread-making! This recipe is designed for beginners, with easy-to-follow steps and instant yeast to speed up the process. You’ll be amazed at how simple it is to create something so delicious and impressive from scratch. The herbs and cheese and garlic get dispersed throughout the bread to turn it into an almost garlic bread-like loaf. You won’t believe how easy it is to make artisan bread in your own kitchen.
Ingredient Notes
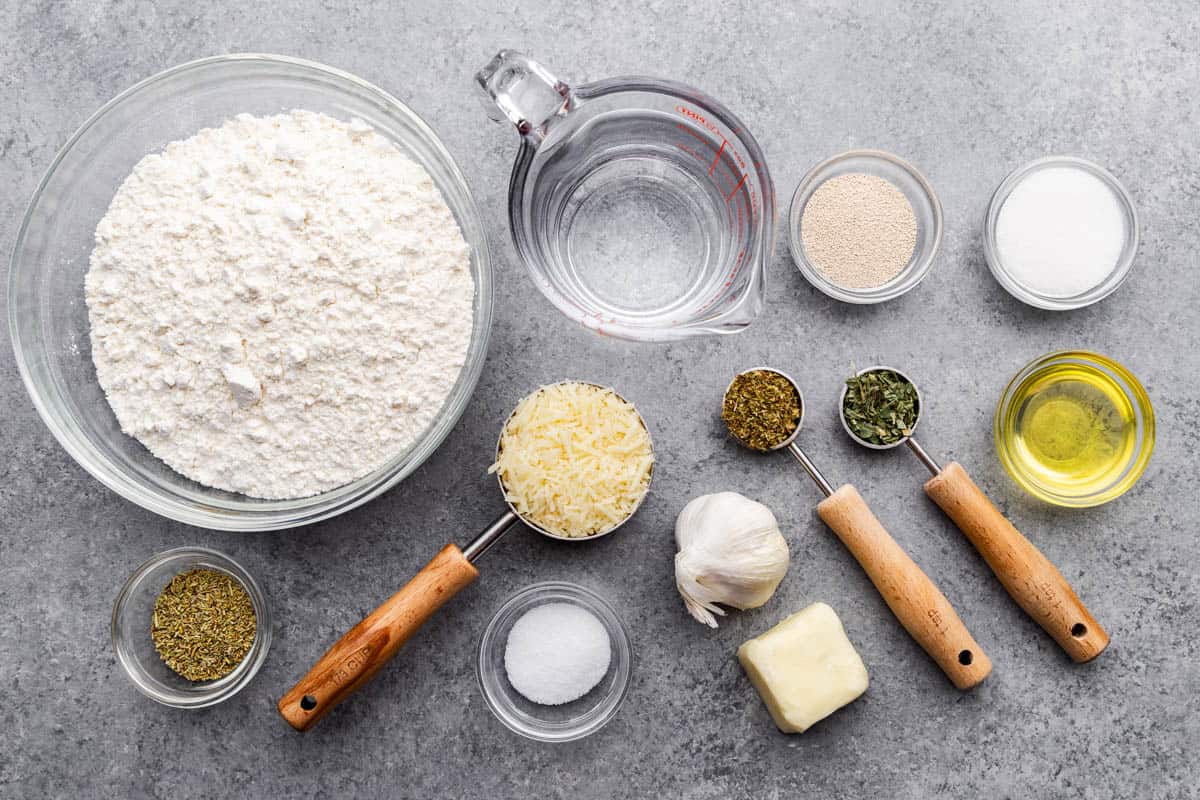
- Instant Dry Yeast: This type of yeast is super easy to work with, but you can also use active dry yeast in the same amount if that’s what you have. Just add about 15 minutes to the rising time.
- Granulated Sugar: This helps the yeast activate.
- Warm Water (100-110°F): Make sure your water is warm, but not too hot. If you don’t have a thermometer, it should feel like a warm bath.
- Dried Herbs (Rosemary, Basil, Oregano): Dried herbs are more concentrated than fresh, so they’re perfect for this bread. If you’d like to use fresh herbs instead, substitute with three times the amount (e.g., 6 teaspoons of fresh rosemary instead of 2 teaspoons dried).
- Garlic: Fresh is best, but if you were to substitute you’d use 1 1/2 teaspoons of garlic powder instead.
- All-Purpose Flour: Start with 2 cups of flour and add more as needed. The dough should be soft and slightly tacky, but not sticky. Avoid over-flouring to keep the bread from becoming too dense.
- Parmesan Cheese: Pre-grated works fine here, but freshly grated is always best.
- Olive Oil: It’s not just to prevent the bread from sticking to the pan. It soaks it up too.
- Butter: A little piece of butter is added on top of the loaf that melts as the bread bakes, creating that rustic cracked look and coating the crust with buttery goodness.
The Right Texture
When it comes to bread making, the amount of flour you add is always an estimate. The actual amount you need can vary due to a variety of factors, including how accurately you measure your ingredients and the humidity in the air. Don’t let that intimidate you though! As long as you know that it is an estimate, you’ll be prepared to go by feel.
You can always add more flour, but you can’t take any away or add more liquids to make up for too much flour. So, add the last portion of flour slowly and gradually. You’re aiming for a dough that is soft and tacky to the touch, but it shouldn’t stick to your fingers or hands.
If you don’t add enough flour in this recipe, your bread might come out looking a little more flat, like a focaccia, rather than a rounded loaf. It’ll still taste great!
No Stand Mixer? No Problem!
You don’t need a stand mixer to make bread. You can always do it by hand the old fashioned way! Start by mixing the dry ingredients together with a wooden spoon or sturdy spatula. As you add in the flour, keep stirring until the dough starts to come together. Once it becomes too thick to stir, switch to using your hands.
Knead the dough in the bowl or on a lightly floured surface for about 5-7 minutes, or until it’s soft and elastic. If the dough feels too sticky, add a little more flour, a tablespoon at a time, until it’s smooth but still tacky to the touch.
Storage Instructions
Store the bread in an airtight container or resealable plastic bag at room temperature for up to 3 days. Make sure it’s completely cooled before storing to prevent condensation from making the crust soggy.
Great soups to go with your bread . . .


Watch the video below where Rachel will walk you through every step of this recipe. Sometimes it helps to have a visual, and we’ve always got you covered with our cooking show. You can find the complete collection of recipes on YouTube, our Facebook Page, or right here on our website with their corresponding recipes.
Can I make this as one loaf in my Dutch oven? If so should I preheat my Dutch oven?
Yes! Preheating the Dutch oven will ensure that the bread does not bond with the cast iron and give it a crispy golden crust.
Without a doubt, this is one of *the* best breads I’ve ever tried. Simply put, it was incredible.
I’m not sure why/how some users need more flour, but I found the 2.5 cups to be perfect. The only thing I changed was using 1 tsp of rosemary instead of 2, but that’s because I was running low.
I’m going to try making this in a Dutch oven next!
I am out of olive oil. Will vegetable oil work in this recipe?
Yes!
Really pleased with the outcome
Made small modifications – only 1-1/2 tsp rosemary, and I made the dough and let rise overnight…the rest as noted. Great texture and taste