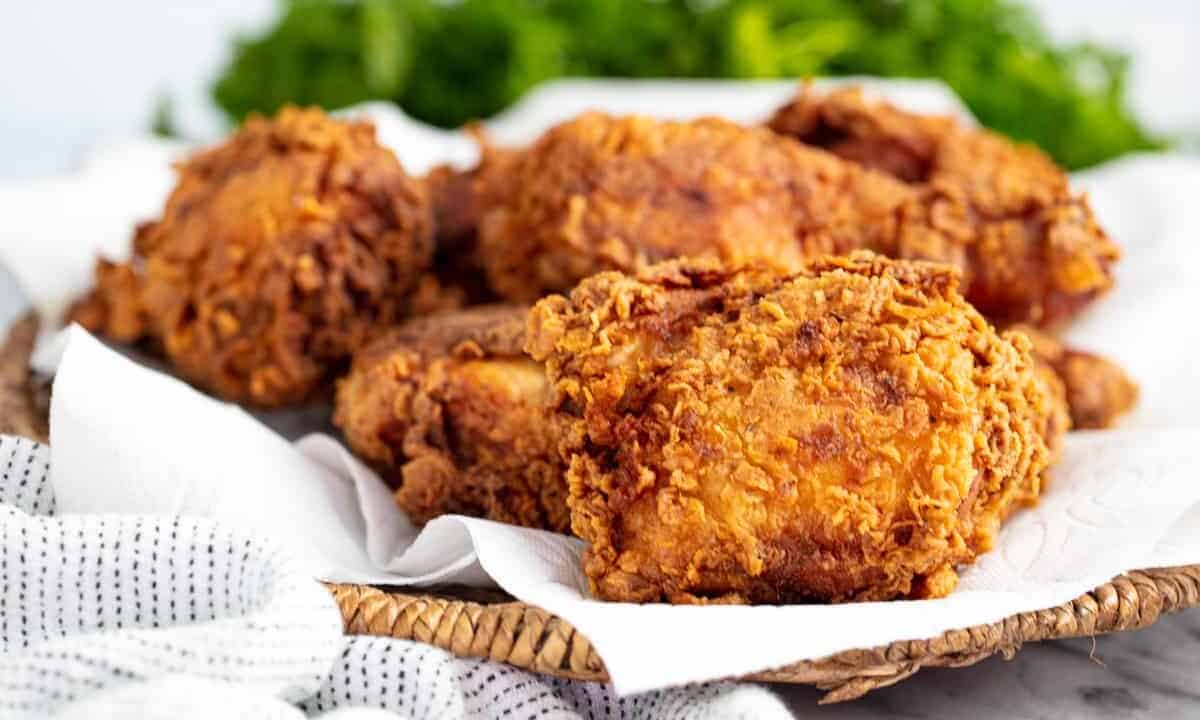
Everything you need to know to make crispy, juicy, finger-licking good fried chicken at home. It might seem intimidating, but it’s actually pretty straightforward and it puts grocery store and fast food fried chicken to shame.
You can also make fried chicken in an air fryer with our easy-to-follow instructions.

Why Our Recipe
- A flavorful buttermilk brine that not only keeps your chicken juicy but also flavors the meat itself.
- Our ultimate blend of herbs and spices puts the colonel’s to shame.
- The secret addition of cornstarch ensures a perfectly crispy coating every time.
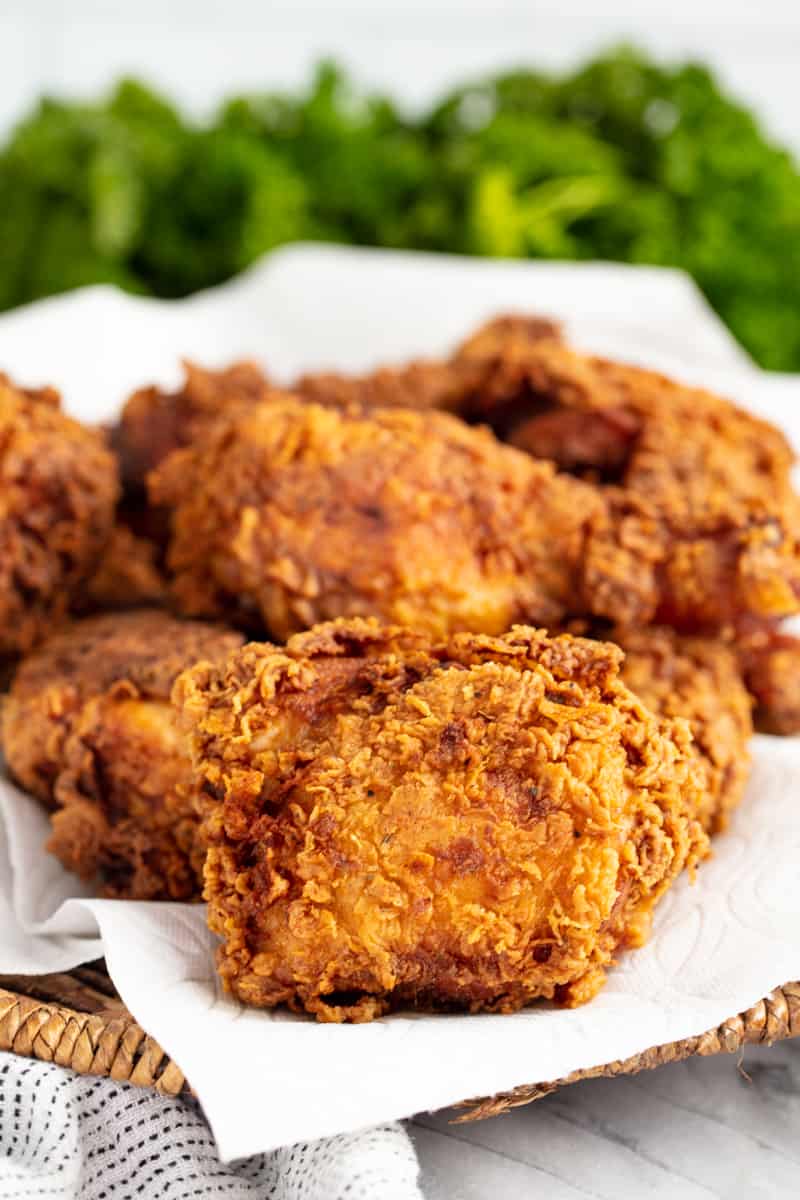
Trust us, the Colonel’s got nothing on our spice blend! We’ll walk you through every step of the process with clear instructions and a video demonstration so you can fry with confidence. Whether it’s your first time or your fiftieth, this recipe is foolproof and guaranteed to deliver.
Ingredient Notes
- Chicken Thighs and Drumsticks: Bone-in, skin-on chicken is a must for the juiciest, crispiest fried chicken. You can also use bone-in, skin-on chicken breast.
- Buttermilk: If you don’t have buttermilk, mix 2 cups of milk with 2 tablespoons of lemon juice or white vinegar and let it sit for 5 minutes.
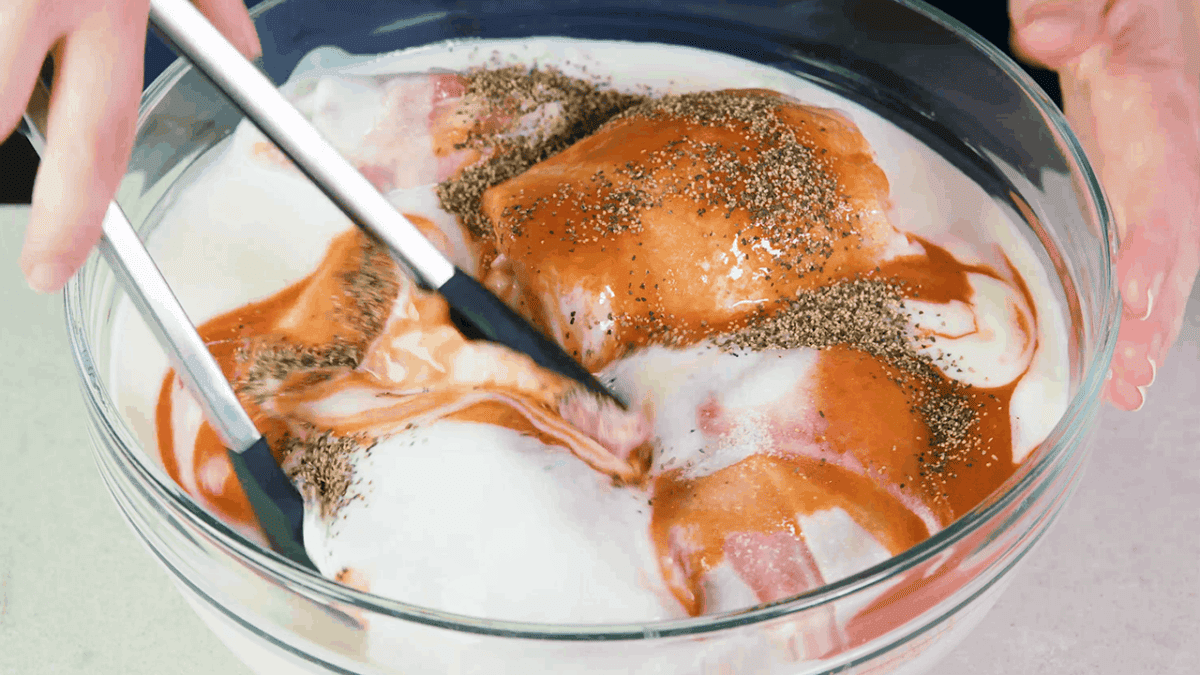
- Buffalo Hot Sauce: We use Frank’s. This really doesn’t add heat or make the chicken spicy. It’s all about flavor.
- All-Purpose Flour: Forms the base of the crispy coating.
- Cornstarch: The secret to an extra-crispy crust. Don’t leave this out!
- Frying Oil: Choose a high-smoke-point oil like vegetable, canola, or peanut oil for frying.
Cornstarch Secret
Cornstarch is the not-so-secret weapon for that extra-crispy coating. It’s used in Japanese cuisine for tempura batters, which are ultra crispy and crunchy. So we decided to take a nod from that and combine cornstarch with the traditional flour coating used in fried chicken. It helps create a delicate, shatteringly crisp crust that’s lighter than flour alone. You’ll notice the difference with every perfectly delicious crunch.
Brining with Buttermilk
The buttermilk brine isn’t just for moisture, it also marinates the chicken with flavor. The acidity tenderizes the meat, while the spices in the brine seep into every bite. Brine for at least 4 hours, but overnight is best for juicy, flavorful chicken. Chicken can brine in buttermilk for up to 24 hours.
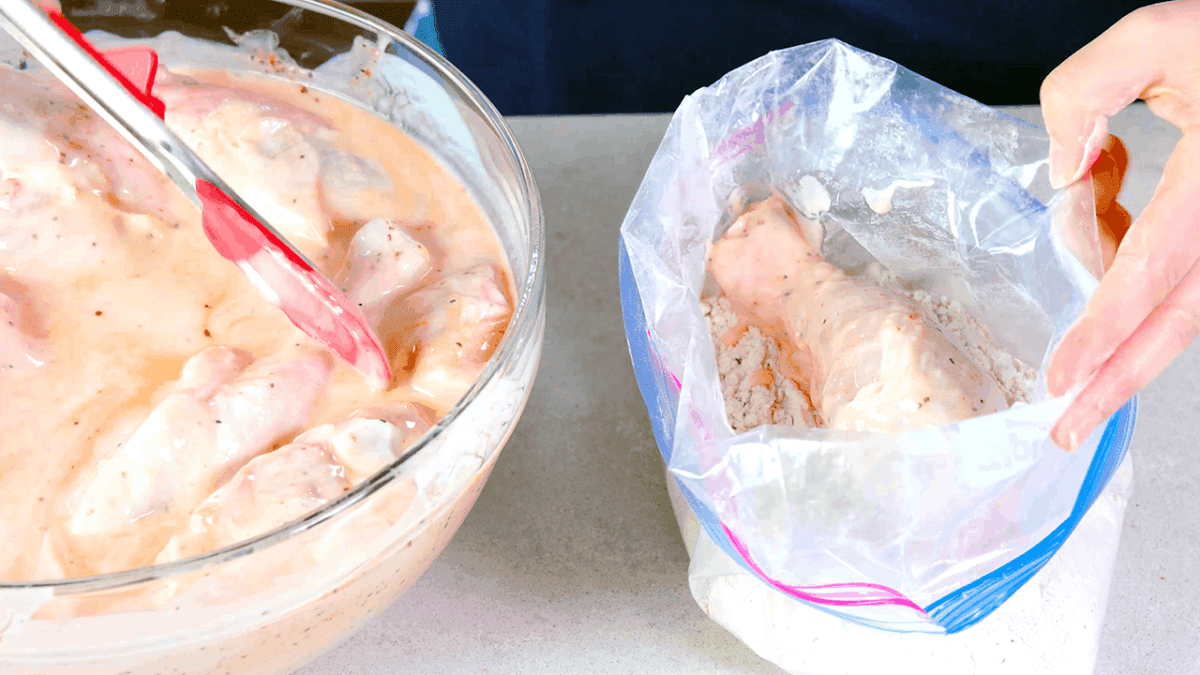
Keep the Breading From Falling Off
The secret to keeping the coating intact is in the prep. Pat the chicken dry before brining, let excess brine drip off, and press the dredging mixture firmly onto the chicken. Don’t skip resting the breaded chicken for 10-15 minutes before frying. This helps the coating stick better during cooking.
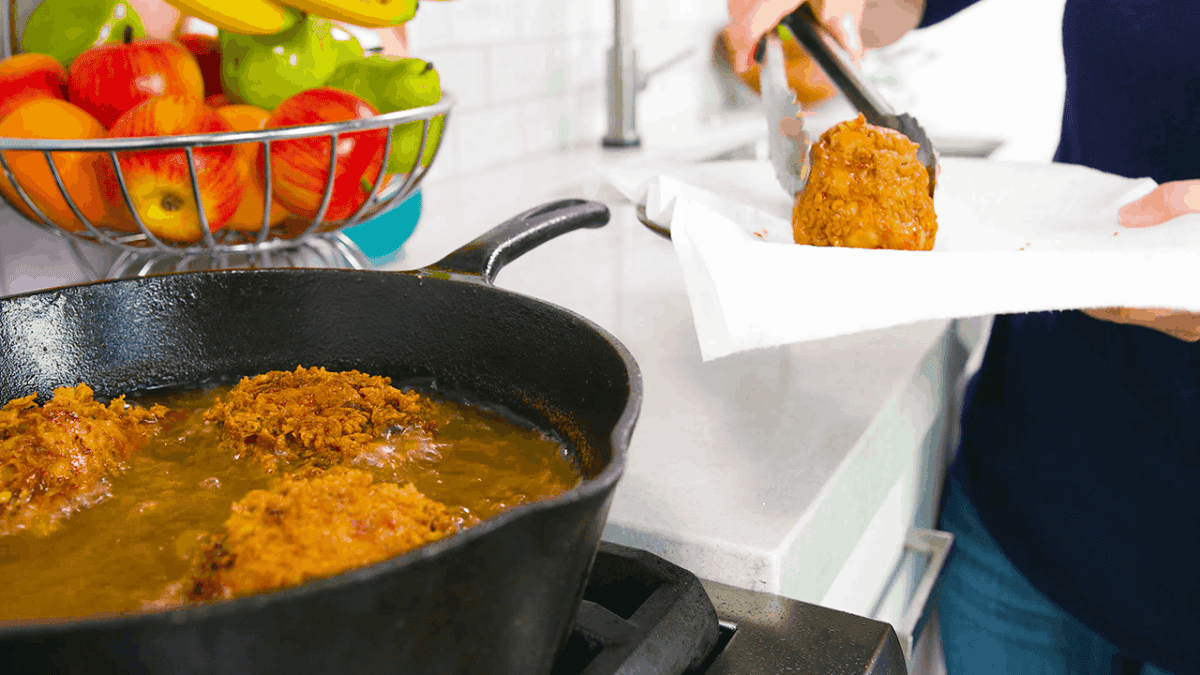
The other thing you can do is to make sure that you don’t overcrowd your pan. You want to make sure that the chicken isn’t bumping against other pieces of chicken which can knock off the breading. Only flip your chicken once while frying. The more you fuss with your chicken, the more likely you are to knock off or disturb some of the crunchy coating.
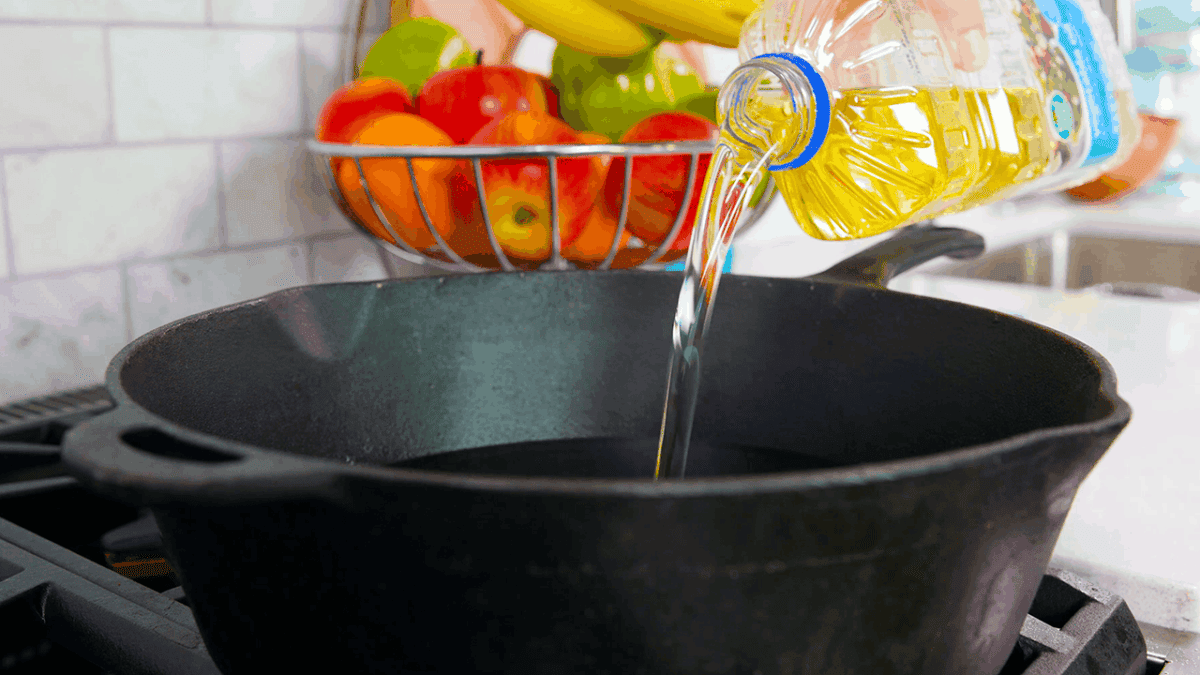
Frying Oils
There are lots of options when it comes to oil used for deep frying. Common options include peanut oil, vegetable oil, canola oil, safflower oil, and corn oil. Vegetable oil is the oil we recommend using for deep frying because it’s neutral and cheap. Peanut oil has a better flavor, but it’s quite a bit more expensive.
To reuse your oil, simply let the oil cool down completely, strain it, and return it to a storage container for later use.
Monitoring Oil Temperature
The key to perfect fried chicken is keeping the oil temperature steady between 300–350°F. Too low, and your chicken gets greasy; too high, and the coating burns before the inside cooks. Use a deep-fry thermometer clipped to your pan or an instant-read thermometer to check frequently. Just be sure to continue to monitor it and adjust the heating element as needed.
Cooking Times
Cooking times depend on the size of the chicken pieces. Thighs and drumsticks take about 14–16 minutes, while smaller pieces like wings cook in 8–10 minutes. Use a thermometer for accuracy.
Checking Internal Temperature
For safe and juicy chicken, aim for an internal temperature of 165°F. Dark meat, like thighs and drumsticks, is best between 170–175°F. Insert the thermometer into the thickest part of the meat for an accurate reading. Be sure you aren’t hitting the bone as that will throw off your measurement.
If you don’t have a thermometer, pierce the thickest part of the chicken with a knife or skewer. If the juices run clear (not pink), it’s done. As a last resort, cut into a piece to ensure there’s no pink meat near the bone.

Keep Warm Before Serving
To keep fried chicken crispy while cooking in batches, place the cooked pieces on a wire rack set over a baking sheet in a 200°F oven. This keeps them warm and prevents sogginess until you’re ready to serve. Never cover with foil as it traps steam and softens the crust.
Storage & Reheating
Fried chicken is best when it is fresh and the skin is still crispy. Leftovers will be good in the fridge for 2 to 3 days. The skin will not be as crispy when reheated.
To reheat in the oven, preheat to 375°F. Place chicken on a wire rack over a baking sheet and heat for 10–15 minutes, flipping halfway through. This keeps the crust crispy.
To reheat in the air fryer, place in the basket and reheat at 350°F for 3–5 minutes, or until warmed through.
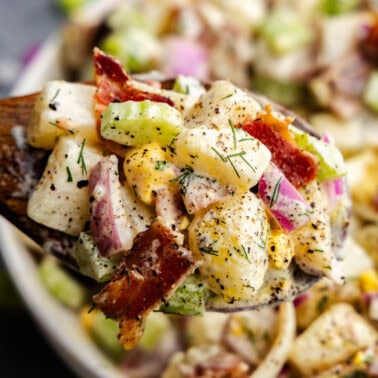
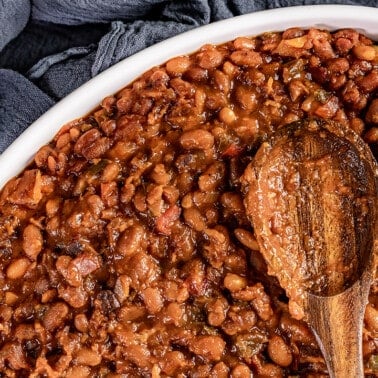
Serve your fried chicken with…
Watch the video below where Rachel will walk you through every step of this recipe. Sometimes it helps to have a visual, and we’ve always got you covered with our cooking show. You can find the complete collection of recipes on YouTube, our Facebook Page, or right here on our website with their corresponding recipes.
Everyone LOVED this chicken.
I want to try this recipe! Can the chicken be cooked in an airfryer?
Here is the air fryer version: https://thestayathomechef.com/air-fryer-fried-chicken/
This fried chicken recipe is a game-changer! The buttermilk brine made the chicken incredibly juicy, and the cornstarch in the coating gave it that perfect crispy crunch. I followed the tip to let the breaded chicken rest before frying, and it really helped the coating stay intact. Served it with mashed potatoes and green beans, and the whole family loved it. This will definitely be my go-to fried chicken recipe from now on—thank you for sharing!
So happy to hear it was a hit! Letting the breading really does help. Thanks for making it and sharing the love.
Every time I search for info, I end up at your blog! You’re amazing at what you do. Thanks for the great content!
Thanks for being here!
I made this last night and it was excellent! So flavourful and delicious. It is definitely a keeper. The only change I made was to add 1 more teaspoon of cayenne to the seasoning as I like spicy food and it was perfect. Thank you for a restaurant worthy fried chicken recipe!
So glad to hear you loved it! Adding extra cayenne for that spicy kick sounds like a perfect twist if you like some heat.