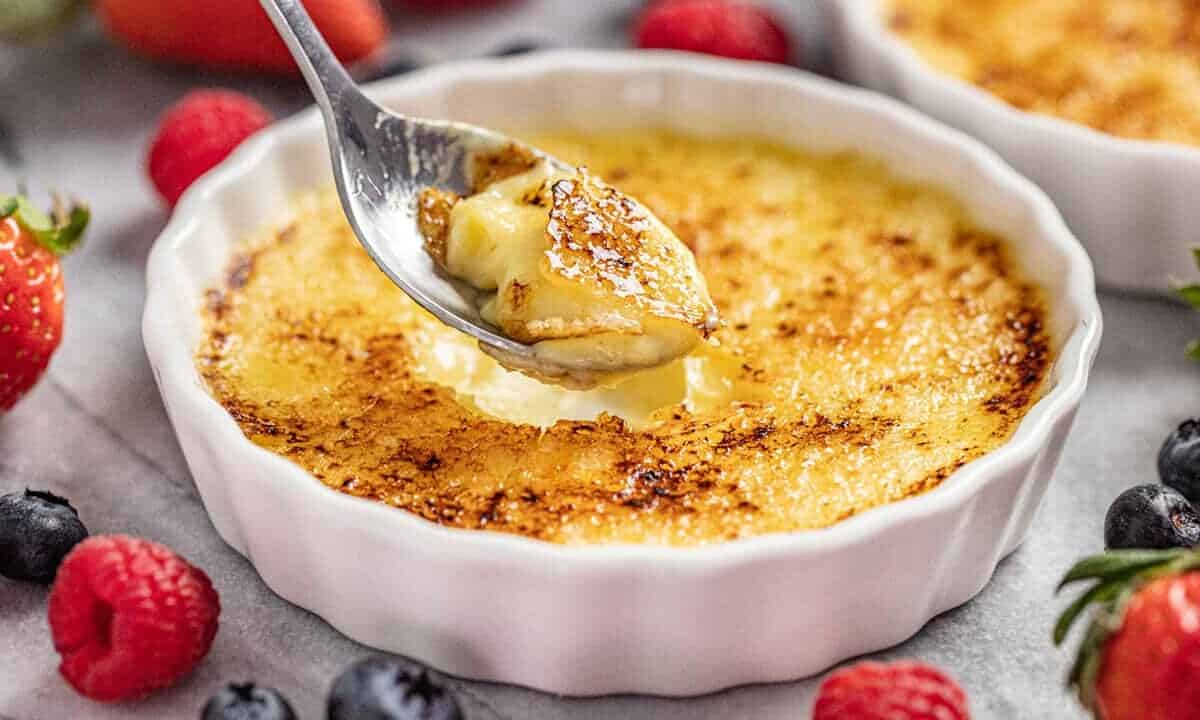
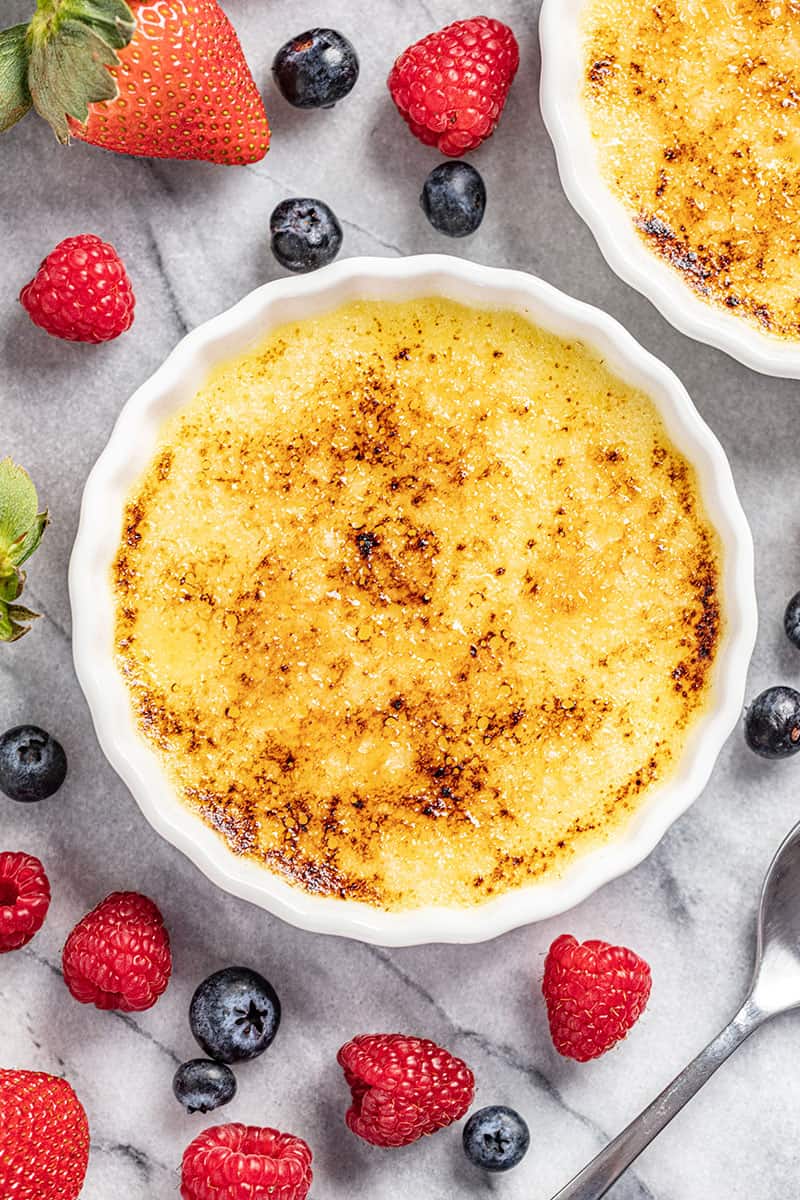
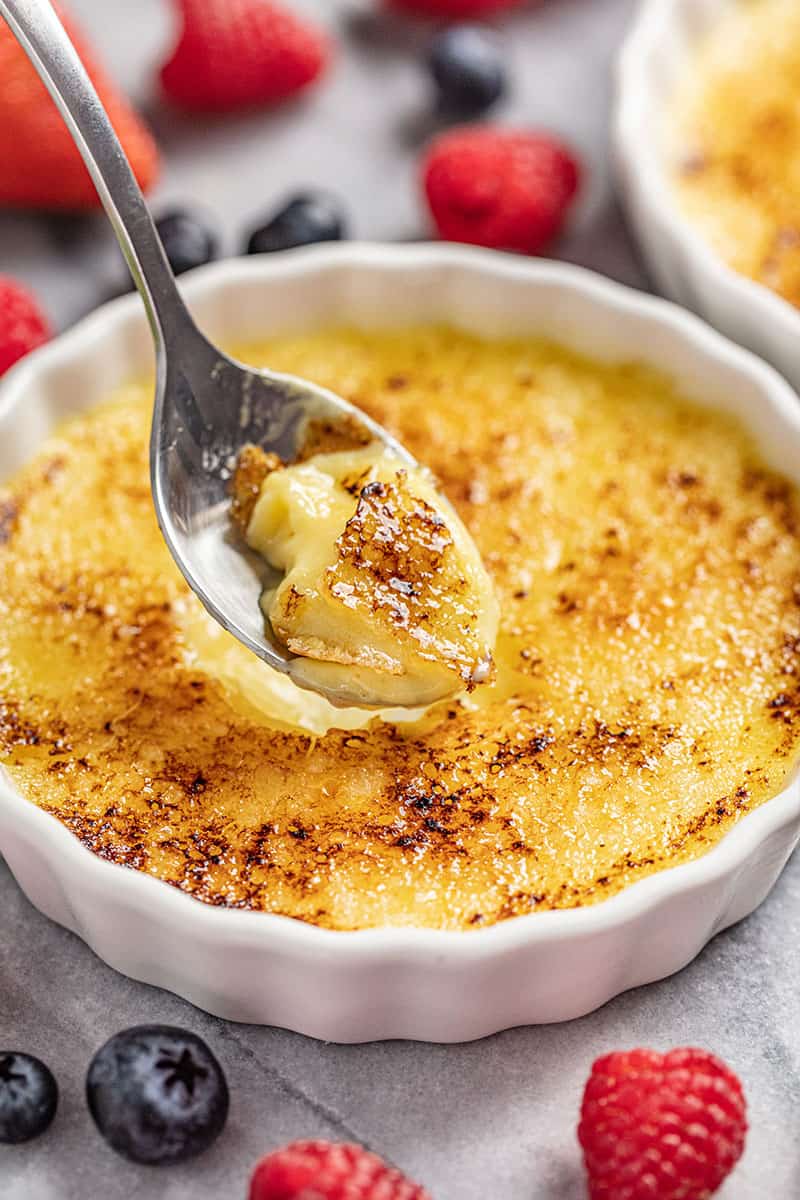
Whether you use a fancy kitchen torch or your oven’s broiler to get that iconic crackly sugar crust, our recipe ensures you’ll have a show-stopping dessert every time. The base of this recipe is a creamy vanilla custard and is super quick to whip up. So many crème brûlée and custard recipes call for heating the milk or cream on the stovetop before baking, but we’ve kept it simple with this easy, classic recipe; no pre-heating required. Just mix it all together and put it straight in the oven!
For more classic desserts, try our New York Cheesecake or our 5 Ingredient Chocolate Mousse.
Why Our Recipe
- No fancy equipment is required! Use a kitchen torch or the broiler setting in your oven to get that crackly crunch.
- Simplified techniques make this dessert easy to master and it only requires 5 ingredients.
- A make-ahead option is super convenient for serving this dessert after special dinners.
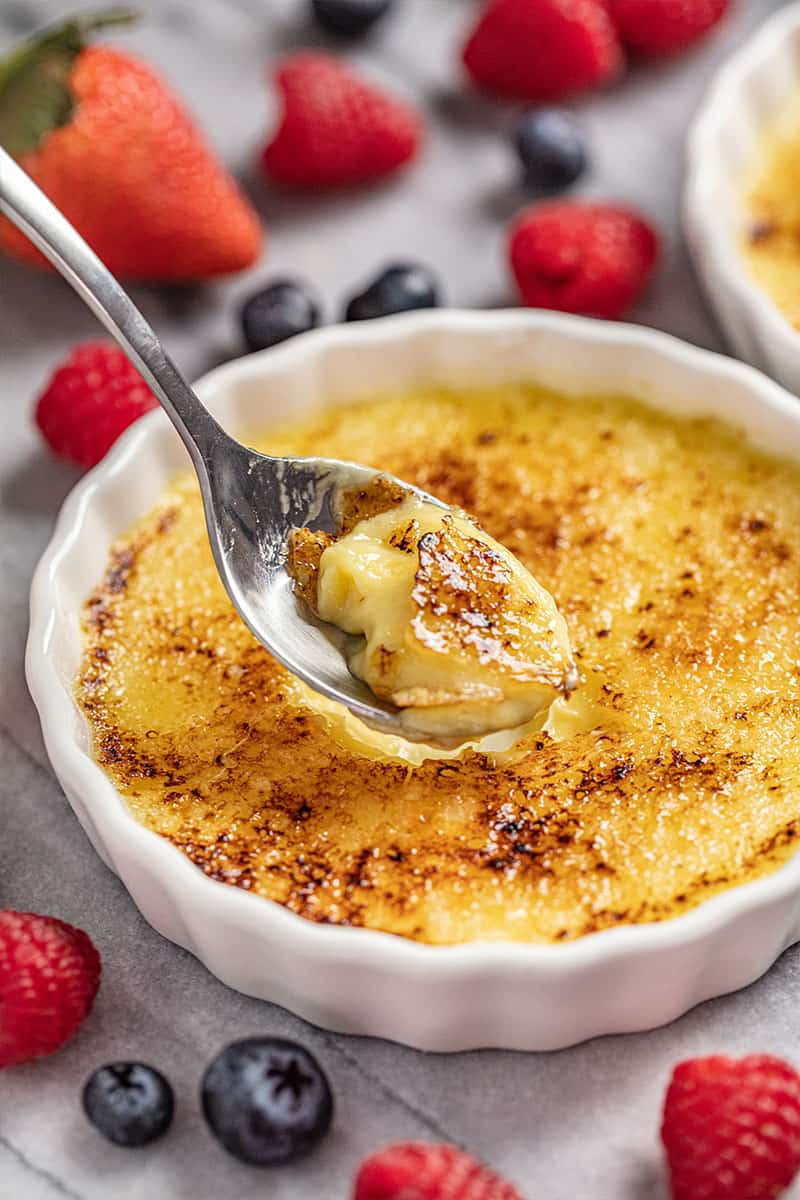
We want you to treat yo’ self (and your loved ones) with this decadent, gluten-free dessert. Crème brûlée may seem fancy, but it’s totally approachable for any home cook. No need to fuss over complicated steps. The option to make it ahead makes it even better for special occasions, but trust us—you’ll want to enjoy this any day of the year. So dust off those ramekins and get ready to savor every bite of this smooth, creamy, and perfectly caramelized treat.
Ingredient Notes
- Egg Yolks: Make sure to separate them carefully. If you’re wondering what to do with the leftover whites, you can save them and make an omelette the next day.
- Sugar: It’s dessert after all!
- Heavy Cream: You’ll need full-fat heavy cream—none of that milk or half-and-half business, or you’ll end up with a runny custard.
- Vanilla Extract or Vanilla Bean Pod: Vanilla is the star of the show here, so make sure you’re using a good one. If you’re feeling extra fancy, scrape a vanilla bean pod for an extra pop of flavor.
- Superfine Sugar: This is for getting that crispy caramelized top. If you don’t have superfine sugar, regular sugar works too, but superfine melts faster and gives you a smoother, glassy finish.
Ramekin Size
The ideal ramekin size for crème brûlée is 6 ounces. These are about 4.8 inches in diameter and 1.1 inches deep. But if you don’t have that exact size, don’t worry—other sizes will work! Just keep an eye on the depth of your custard. No matter the size of the ramekin, aim for about 3/4-inch of custard. This helps ensure even cooking. Keep the oven temperature the same, but start checking for doneness at the original suggested time, and extend as needed until it’s just right.
Kitchen Torch or Broiler
A kitchen torch is a super fun tool to use in the kitchen, but not necessary for crème brûlée. You can absolutely use your oven’s broiler to caramelize the sugar instead. Just be careful—broiling can heat the custard and make it a bit soupy if left too long. If you’re going the broiler route, keep a close eye on those ramekins and pull them out as soon as the sugar turns a deep golden brown.
Water Bath
A water bath might sound fancy, but it’s crucial for that silky smooth custard. It keeps the oven moist, prevents cracking, and gives your custard the perfect creamy texture. We prefer to fill ours before transferring to the oven, but you can add the water after you’ve placed the pan in the oven as well. Just fill your baking dish with hot water so it reaches halfway up the sides of the ramekins. Be careful when adding the water and transferring the pan to the oven—slow and steady wins the race here to avoid splashing water into the custards!
Make Ahead Instructions
Prepare and Bake the Custard: Follow the recipe and bake your custard. Once baked, let the ramekins cool to room temperature.
Refrigerate: After cooling, cover each ramekin with plastic wrap or foil and refrigerate for up to 48 hours. This chill time not only sets the custard but also lets the flavors develop beautifully.
Caramelize the Sugar Right Before Serving: The magic of crème brûlée is that freshly caramelized sugar top! Right before serving, sprinkle superfine sugar over the custards and use a kitchen torch or broiler to get that crisp, crackly crust.
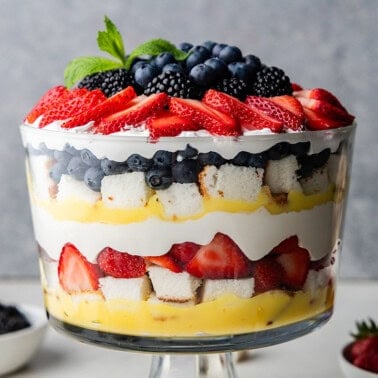
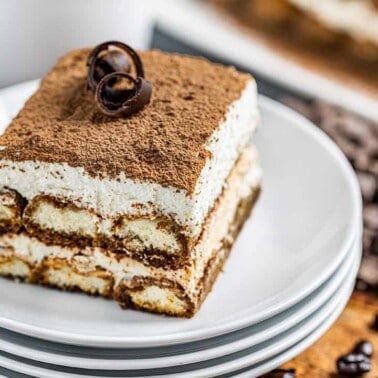
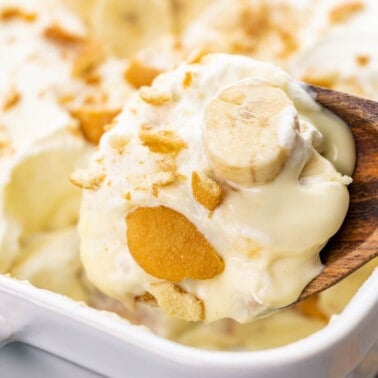
More delicious desserts
Watch the video below where Rachel will walk you through every step of this recipe. Sometimes it helps to have a visual, and we’ve always got you covered with our cooking show. You can find the complete collection of recipes on YouTube, Facebook Watch, or our Facebook Page, or right here on our website with their corresponding recipes.
I have never succeeded in making crème brûlée. Mine always curdles, no matter how closely I follow the directions. 45 minutes seems like a very long bake, when most recipes say to bake for 20 to 30 minutes. Any suggestions?
Welcome! Just follow the recipe as written. You can also check out the accompanying video demonstration where I walk you through every step to give you a visual guide to follow.