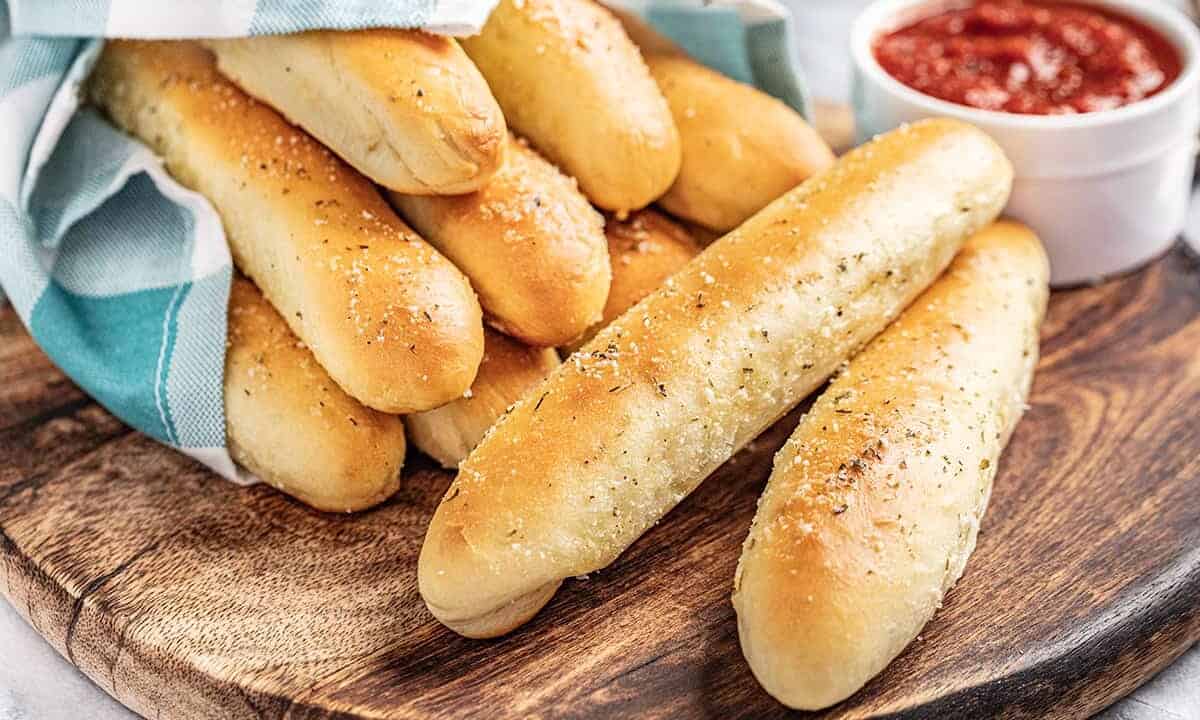
Freshly baked breadsticks make everything better, don’t they? These soft, chewy breadsticks with a golden, buttery garlic topping will have your family running to the table. They are the perfect addition to your favorite soups, salads, and pastas. The only issue you might run into is that 12 breadsticks are never enough!
Serve your breadsticks alongside our easy tomato basil soup, fettuccine alfredo, or a classic Ceasar salad.
Why Our Recipe
- Soft, chewy breadsticks with a golden, buttery garlic topping.
- Easy-to-follow instructions for everyone from beginners to pros.
- Bakery quality results in about 90 minutes, with no mixer required.
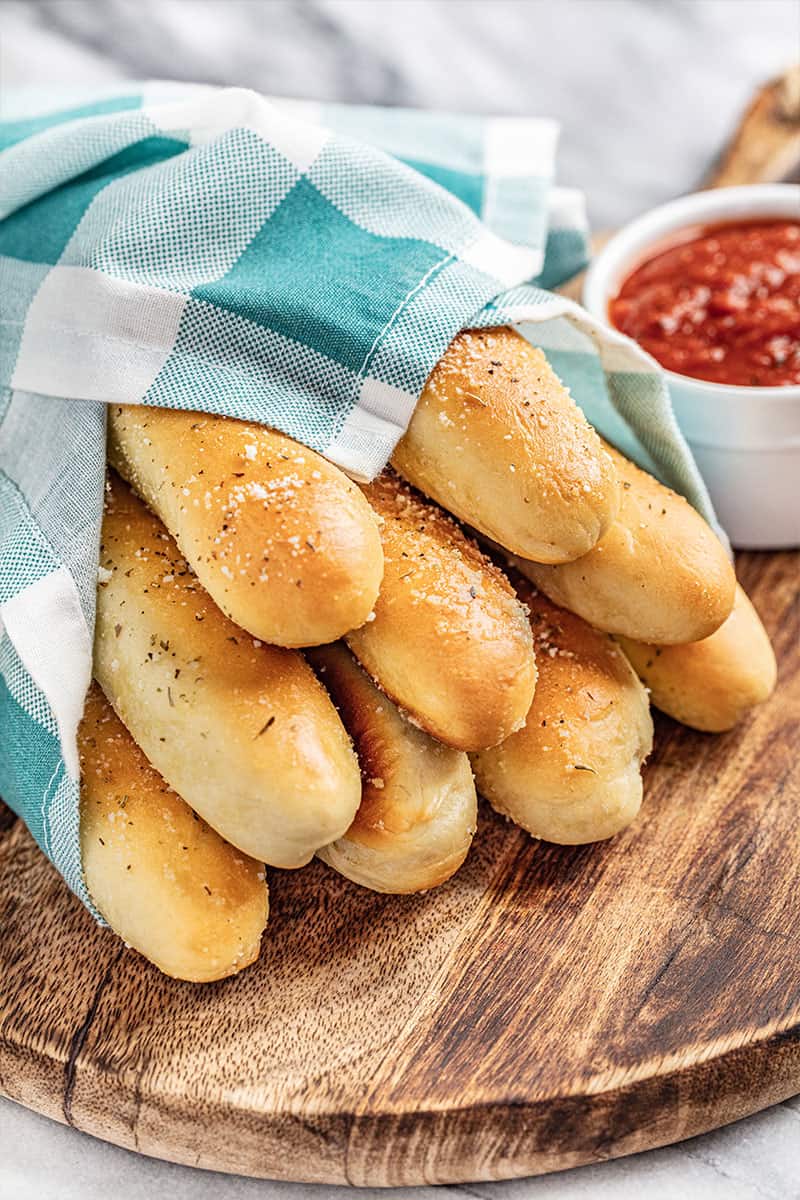
These breadsticks are super easy to make even if you’re new to baking. You don’t need a stand mixer or fancy equipment, just a little time and love. In under two hours, you’ll have bakery-quality breadsticks that you can even enhance with Parmesan, Italian seasoning, or even a sprinkle of sea salt. Your kitchen will smell amazing!
Ingredient Notes
- Warm Water: It should be between 100°F to 110°F. A kitchen thermometer is helpful here! Heat it in the microwave or use warm tap water. Use a thermometer for accuracy or test with your finger—it should feel warm but not hot like bath water.
- Instant Dry Yeast: This recipe uses instant yeast, which doesn’t need to be proofed beforehand. If you’re using active dry yeast, let it sit in the warm water with sugar for 5–10 minutes until frothy before proceeding.
- Sugar: Helps feed the yeast and brown the tops.
- Olive Oil: Use extra virgin olive oil for the best flavor.
- Flour: Use all-purpose flour or bread flour. If you want to substitute with whole wheat don’t use more than 50% whole wheat flour. Any addition of whole wheat flour will produce a more dense breadstick.
- Melted Butter: This is brushed on top after baking for that irresistible golden, garlicky flavor. Melt in the microwave.
- Garlic Powder: A simple way to add bold garlic flavor to the buttery topping.
Optional Toppings
Add a little extra flavor to your breadsticks with one of the following optional topping ideas:
Grated Parmesan Cheese: For a cheesy twist, sprinkle freshly grated Parmesan over the breadsticks right after brushing on the melted butter.
Italian Seasoning: Add a sprinkle of Italian seasoning to give your breadsticks a flavorful, herbed finish.
Everything Bagel Seasoning: Try sprinkling everything bagel seasoning on top of the melted butter.
Cinnamon Sugar: Replace the garlic butter with melted butter and sprinkle with a mixture of cinnamon and sugar for a dessert-like version that’s perfect for dipping in icing or Nutella.
No Mixer? No Problem!
You can make this in either a stand mixer or by hand. If you want to make by hand, you’ll need a large mixing bowl to stir it all together with a wooden spoon. Once it becomes too difficult to stir with a spoon, you can switch to your hands. Proceed to kneading with your hands on a clean, lightly floured surface for 5-10 minutes.
Shortcut for Faster Breadsticks
These breadsticks are ready to eat in just less than 90 minutes. If you need to speed things up, you can allow your breadsticks to rise in a warm place by preheating your oven to 100 degrees F. Allowing your dough to rise in this setting will cut your rising time by about half. Just be sure to remove your breadsticks from the oven before preheating the oven fully for baking. The fastest you can make this recipe using this trick is about 50 minutes.
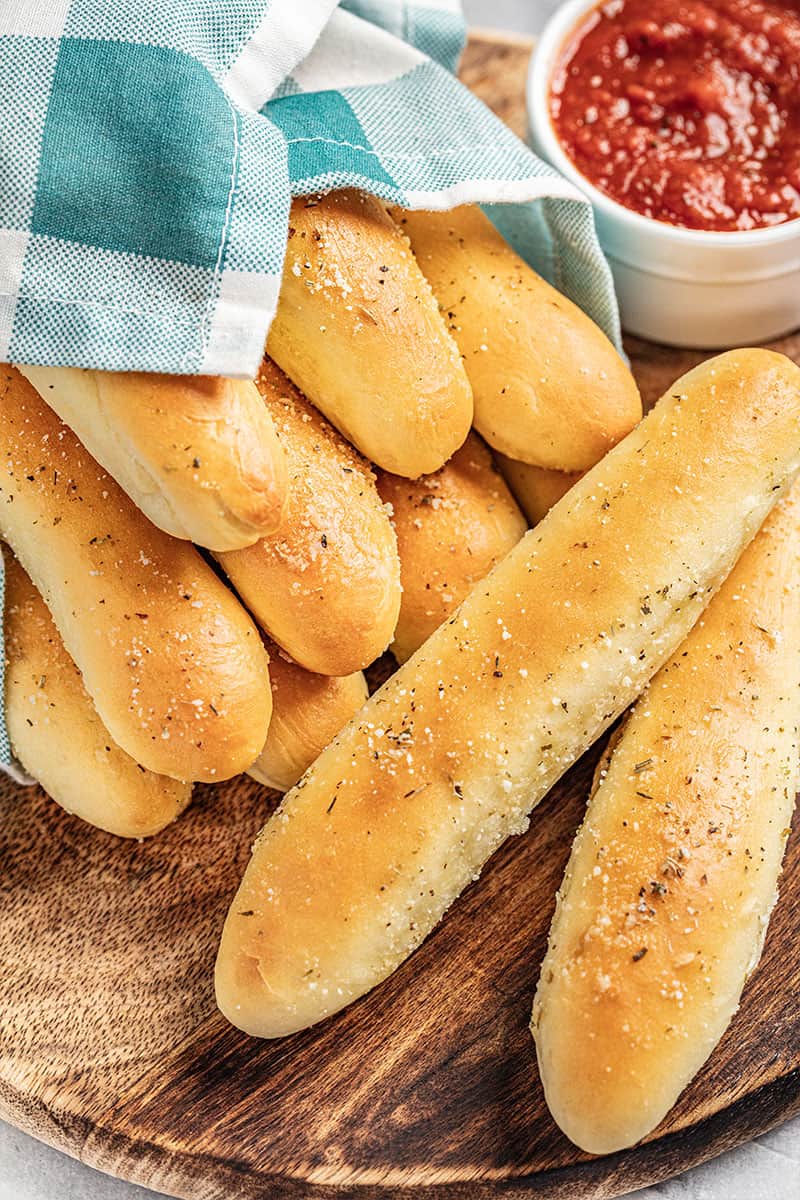
Perfectly Shaped Breadsticks
Using a kitchen scale to weigh your dough and divide it evenly is the best way to get even breadsticks. For extra precision, you can use a ruler to measure the length of your breadsticks and ensure uniformity.
When shaping, use your palms to gently roll each piece of dough on a clean, dry surface, applying light, even pressure. If the dough starts to resist or tear, let it rest for a few minutes to relax the gluten before continuing.
Pull Apart Breadsticks
For pull-apart breadsticks with a softer texture, you can bake them in a 9×13-inch pan instead of a baking sheet. After shaping the dough into ropes, arrange them side by side in the pan, leaving just a small gap between each breadstick to allow for rising.
Freezer Instructions
Freezing the Dough: After shaping the breadsticks, place them on a baking sheet and freeze until solid. Transfer to a freezer bag and store for up to 3 months. When ready to bake, thaw the dough at room temperature, let it rise, and then bake as directed.
Freezing Baked Breadsticks: Once fully baked and cooled, store them in a freezer-safe bag for up to 2 months. Reheat in the oven at 350°F for 5–7 minutes or until warmed through.
Storage Instructions
If you somehow have leftover breadsticks, store them in an airtight container or plastic bag at room temperature for up to 3 days. To reheat, wrap them in foil and warm in a 350°F oven for 5–7 minutes to restore their soft texture. Microwave 5 to 10 seconds at a time.
Can these be made and formed a day ahead and baked when needed ?
Yes. Breads like this can be made the day before and refrigerated before baking. They will continue to rise in the fridge, it’s just at a much slower rate. So take that into account for how long you leave them in the fridge.
These delicious, airy, crispy yet soft on the inside, melt in your mouth breadsticks are my only recipe for breadsticks! My son loves them and asks for them regularly. They always turn out perfect!❤️
I made multiple adjustments to this recipe. 2 Tbs butter, 2 Tbs olive oil, 1/4 c milk, 3/4 c water and ended up using about a cup more flour and added Italian seasoning to the dough. I have never successfully made food bread sticks before. Our oven cooks fast so I just had to watch them. These bread sticks were so fluffy. I had very low expectations bc they looked terrible when I got them on the pan but these will likely be cooked often. I
easy recipe. i have an autistic son that wont eat much, but he loves these!!! i have some rising right now. saves me a lot of money doing it this way. thank you for such an easy to follow recipe for beginners!
I have noticed children with Autism like to use their hands better. Anything handheld!
My autistic son loves to help make these.
I made this recipe a few times for my husband and he absolutely love it! Thank you again for another great recipe!
Never tried it, but it looks amazing.
Made these tonight. They were fluffy and delicious. They required extra flour (another 1/2 cups ). Very easy and quick. Will make again!
You can use honey instead of sugar I do it all the time
Hello! I’m wanting to try making bread for the very first time. Could I not add the sugar? Thanks!
Sugar is an important ingredient that feeds the yeast. You could always try to make it without it but it won’t be the same results as this recipe.
This is now my go to recipe, even my picky 4 year old loves them!!!!
I absolutely loved this recipe! Tried it for the first time today. Went great with my homemade spaghetti and meatballs. I used my bread machine to make the dough and it came out flawless. I used bread flour and bread machine yeast. Thank you for the recipe!
These really are the best breadsticks. They’re absolutely addicting.
Have made these twice. Taste great! In the video doesn’t look like all of the last 1/2 cup of flour was added to dough. Mine needed all of that plus another 1/2 cup so it wouldn’t stick to my hands. First time baked on greased pan and second time on parchment. Definitely softer and less brown bottoms with the parchment. Mine only needed 14-15 minutes so watch at the end of baking time. The reheating and freezing instructions are great. Also use all the topping ingredients! Thank you.