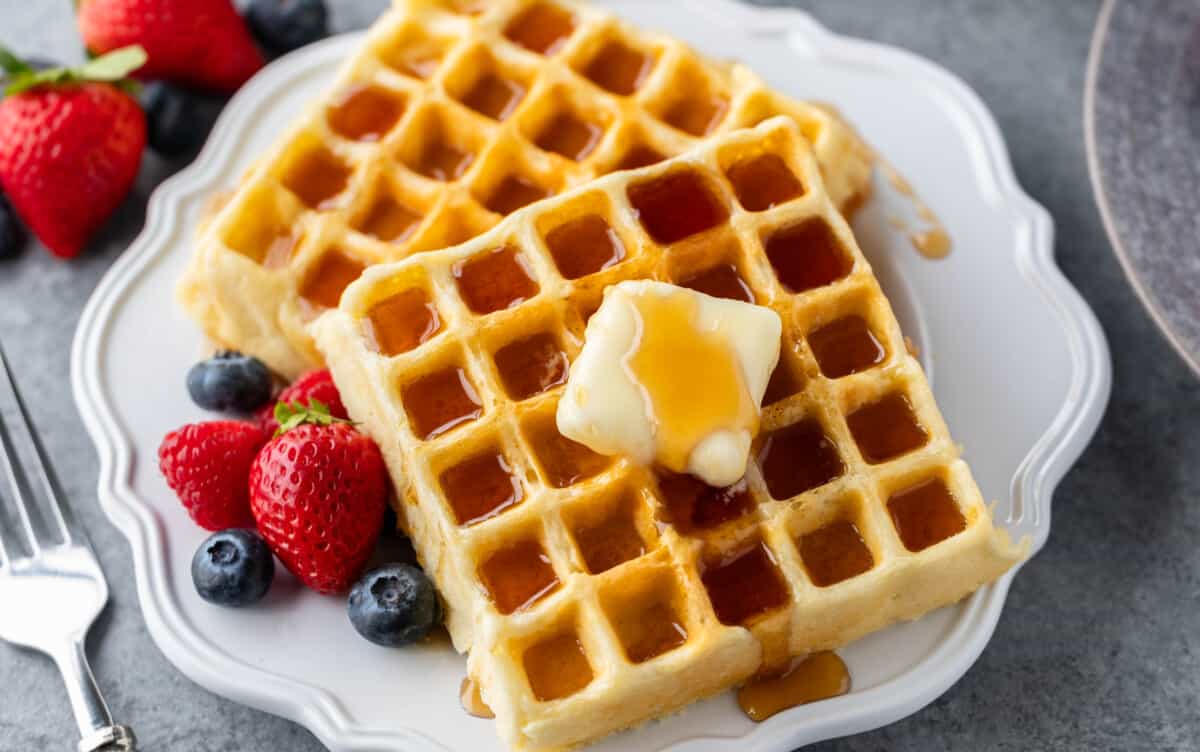
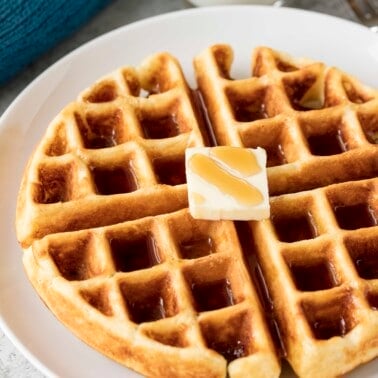
Waffles are one of those breakfasts that always feel like a treat, but they’re surprisingly easy to make at home. This recipe uses ingredients you probably already have in your pantry and fridge, so you can whip them up without making a grocery run.
For an extra special treat serve them with our Liquid Cinnamon Roll Syrup.
Why Our Recipe
- Made with everyday ingredients you probably already have on hand.
- Buttermilk gives these waffles that perfect fluffy texture with a crisp outside.
- Works great for both Belgian waffle makers or American-style.

This waffle mixture is great because it is easy to throw together and you can keep it in the fridge for up to 5 days for quick morning breakfasts. And whether you’ve got a Belgian waffle maker or one of those classic square ones, this batter’s ready for it. Top ’em however you like—syrup, berries, whipped cream, peanut butter—you do you.
Ingredient Notes
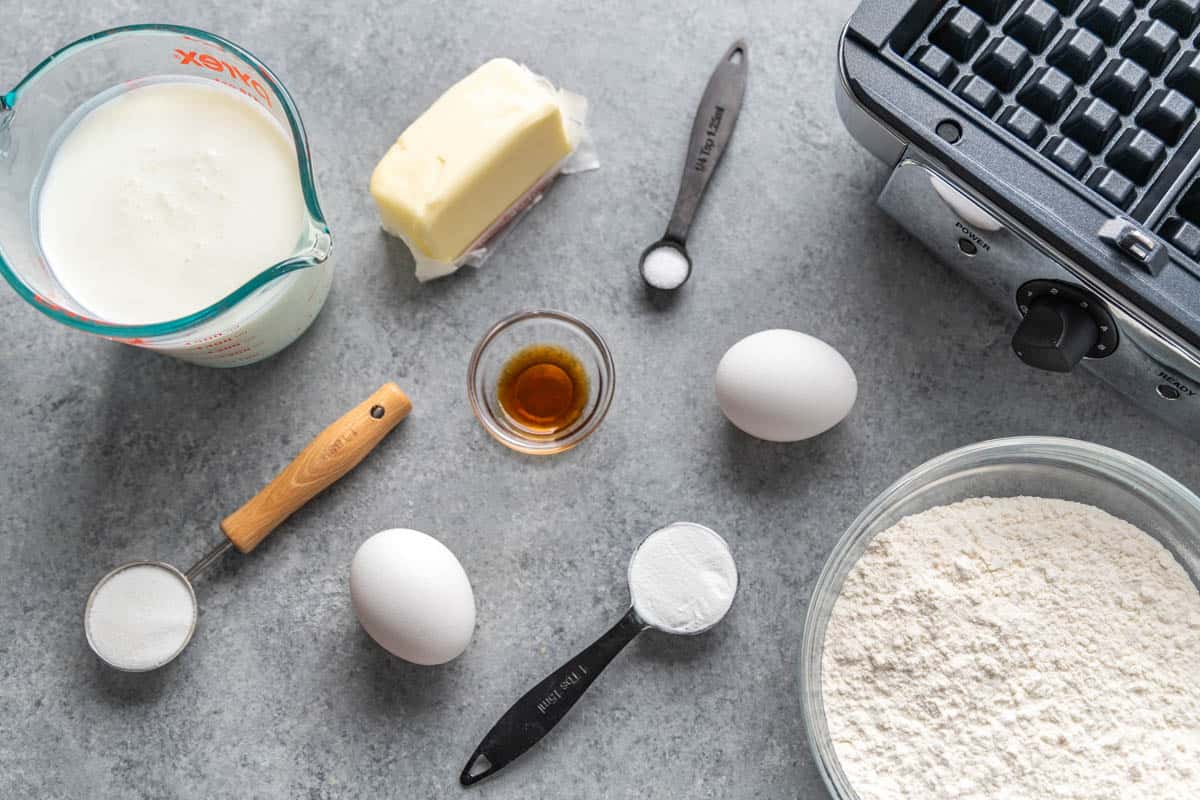
- All-Purpose Flour: Just your standard flour here—nothing fancy.
- Granulated Sugar: Just a tablespoon to sweeten things up and help them brown. If you’re more of a savory waffle person, you can cut it down or skip it.
- Baking Powder: This is what gives your waffles that rise. Make sure it’s fresh.
- Salt: Just a pinch brings out all the flavors. No need to overthink it.
- Buttermilk: This is the magic. It gives your waffles that rich flavor and helps them get nice and fluffy. If you don’t have any, you can make a quick substitute by adding 1 tablespoon of lemon juice or vinegar to 1 3/4 cups of milk. Let it sit for 5 minutes and boom—DIY buttermilk.
- Large Eggs: Two eggs hold everything together. Room temp is ideal, but no stress if they’re cold.
- Vanilla Extract: Just a little splash. If you forget it, the waffles will survive—but you’ll miss a little something in the flavor.
- Melted Butter: Half a cup gives your waffles that rich, buttery goodness.
Waffle Maker Styles
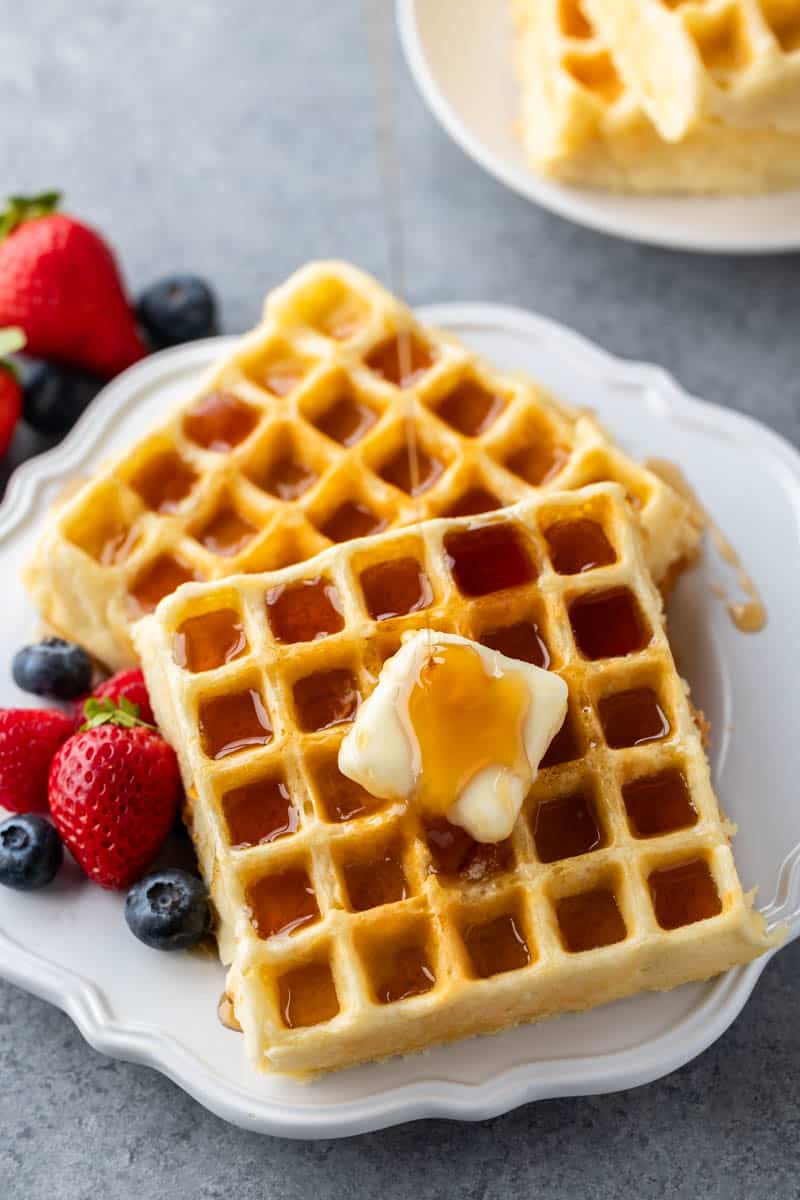
Waffle makers come in all shapes and sizes these days—literally! Belgian-style waffle makers are the thick, fluffy kind with deep pockets just begging to be filled with syrup, butter, or whatever else you’re into. They can be circular or rectangular, but either way, they’ve got that signature height and texture that makes them feel extra fancy.
American-style waffle makers, on the other hand, are thinner with a tighter grid. They’ve got less of the deep-pocket drama, but they’re just as tasty. These waffle irons can be round or square—or shaped like Baby Yoda, flowers, hearts, and everything in between.
Waffle Maker Tips
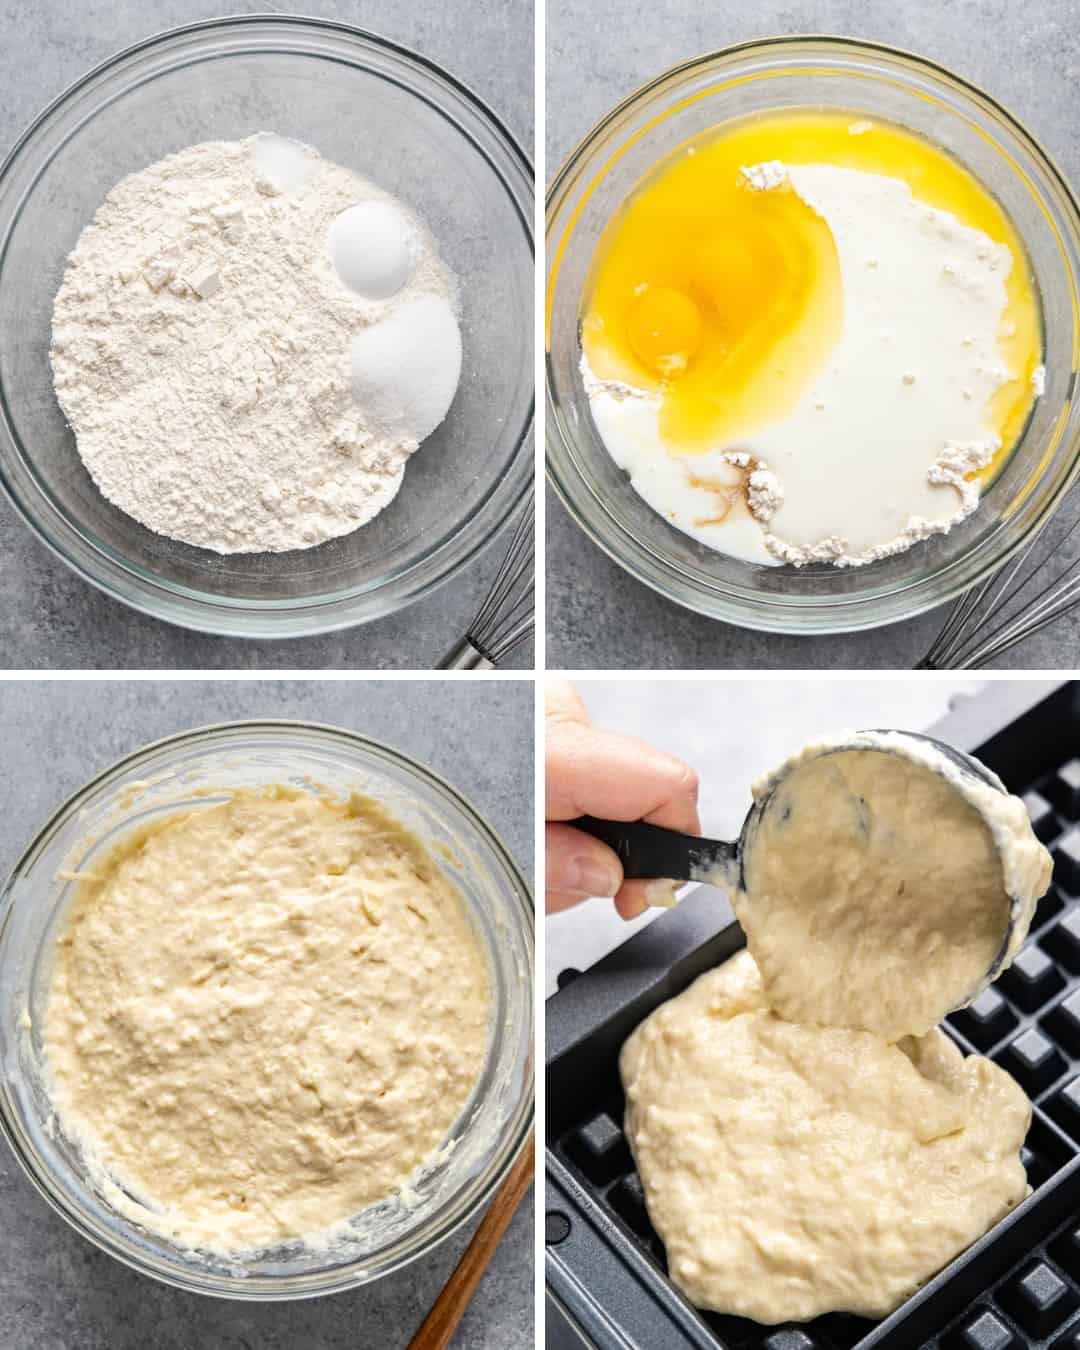
If you want golden, crispy waffles every time, it all starts with treating your waffle maker right. First things first—preheat it. A hot waffle iron is what gives you that crispy outside. You’ll also want to lightly grease it with cooking spray or a brush of oil, especially if your nonstick is starting to act… less than nonstick.
Resist the urge to overfill. It might seem like more batter just makes for a bigger waffle, but really it just makes for a mess. Start with 1/2 cup for Belgian makers and about 1/3 cup for American-style, then adjust from there.
Keeping Waffles Warm and Crispy
Cooking for a crowd? Don’t let your early waffles go limp while you finish the batch. Set your oven to 200°F and place finished waffles in a single layer directly on the oven rack or on a wire rack set over a baking sheet. This keeps them warm and crisp while you finish up the rest—no soggy waffles here.
Make-Ahead Waffle Batter
Waffle batter can be made ahead and refrigerated for later use, which is super convenient when it comes to morning cooking.. Store in an airtight container in the fridge for up to 5 days. Before using, stir well. Some discoloration and graying can occur, but it’s nothing to worry about. Stirring will cause this discoloration to go away.
Storage, Freezer & Reheating Instructions
Store in an airtight container or zip-top bag. They’ll keep in the fridge for up to 3 days. Just make sure they’re fully cooled before sealing them up. Trapping steam will make them soggy.
To Freeze, let them cool completely, then pop them in a single layer on a baking sheet to freeze. Once frozen, transfer to a freezer bag or airtight container. They can last for up to 3 months.
Reheat in the toaster on a medium setting straight from the fridge, or even from the freezer. Toast until warmed through.
More Hot Breakfast Recipes
Watch the video below where Rachel will walk you through every step of this recipe. Sometimes it helps to have a visual, and we’ve always got you covered with our cooking show. You can find the complete collection of recipes on YouTube, our Facebook Page, or right here on our website with their corresponding recipes.
This are thee best waffles ever!!!😍
These are the best waffles!! 🧇 10/10
These turned out delicious. Good go to recipe.
This was FANTASTIC! We use a really big Belgain maker and it made just over two waffles.
Made this recipe especially for my grandson. He loves waffles. He ate every bit of his waffle. So 5 stars
I used the substitute milk plus lemon juice.
It was an easy recipe. I will definitely make these again🙂
This recipe is perfection!!!!! I needed a quick and easy recipe and this delivered tenfold! I added a bit more sugar and vanilla to the recipe but otherwise followed it. Thanks for a perfect recipe!
Absolutely delicious. We did not have milk so used 1 1/4 C water and 1/2 C whipping cream and 1.5 TB lemon juice for the milk.
Why are these so good? I made these for my kiddo’s birthday breakfast, and she loved them. I added some chocolate chips to the wet ingredients and used regular milk instead of buttermilk. They have a nice texture and flavor. Thanks so much!
Love this recipe! I accidentally added too much buttermilk substitute, but they just ended up being a little less airy then they should’ve been. Good flavor, crispiness and appearance!
Good recipe for waffles