
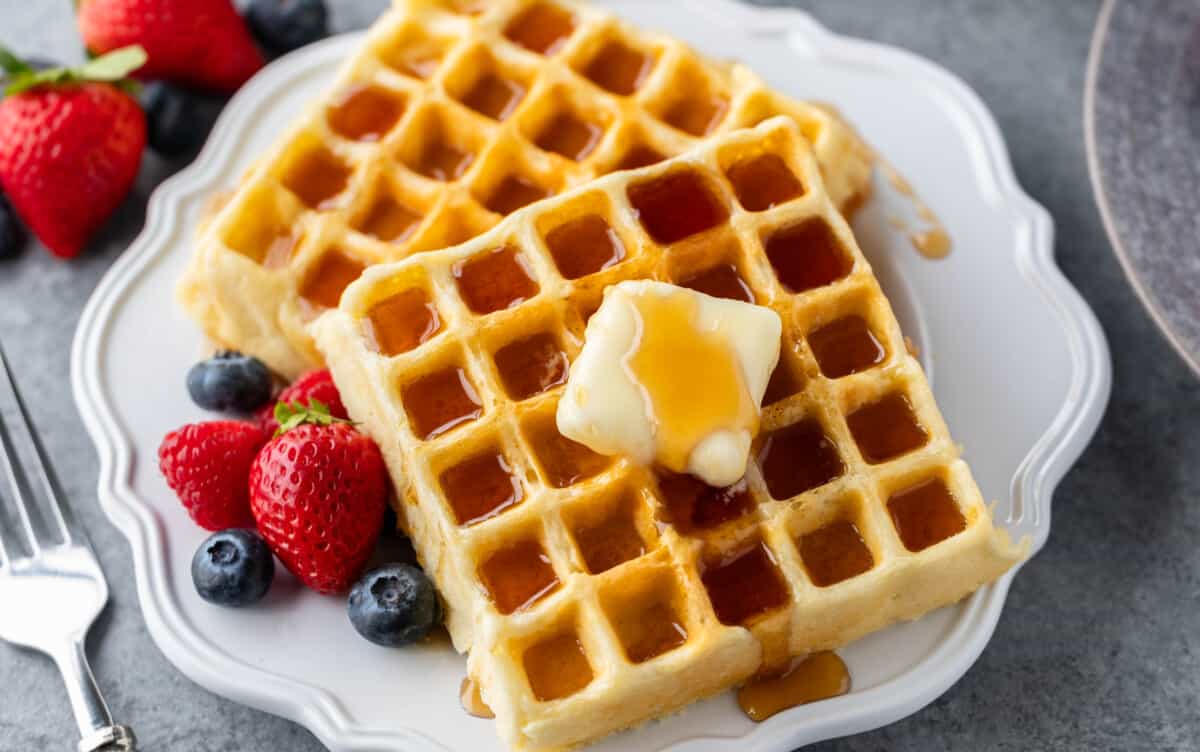
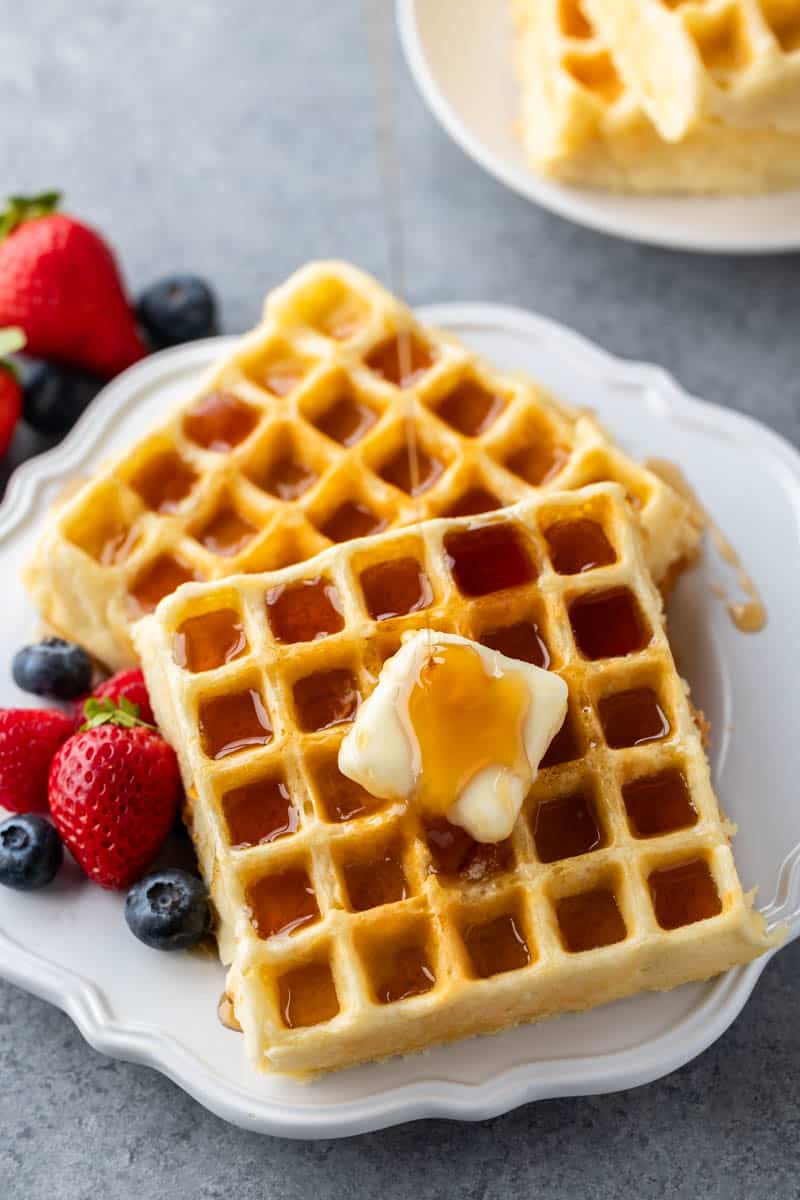
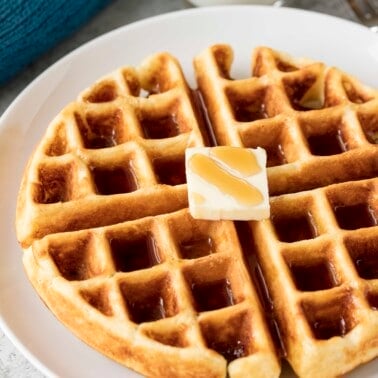
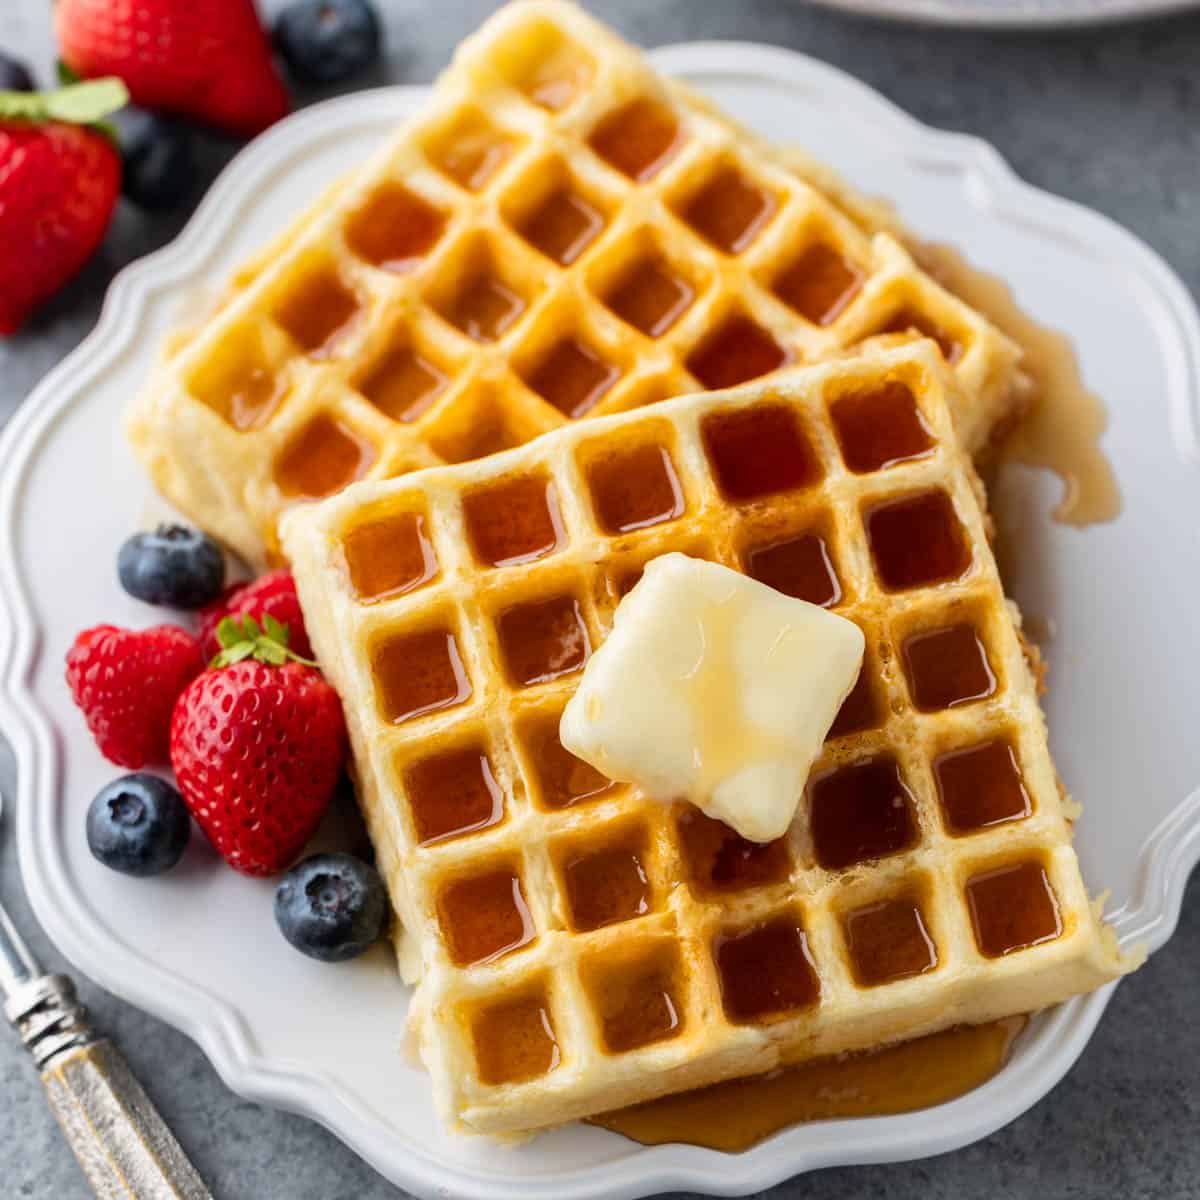
There’s something truly special about homemade waffles. Their golden-brown, crispy exterior gives way to a soft, airy center, making each bite a delightful experience. The key ingredients – buttermilk and melted butter – contribute to their rich flavor and tender texture. Preparing them is a joy, whether it’s a lazy Sunday morning or a busy weekday. The sizzle as the batter hits the hot iron, the steam rising as they cook, and the final golden product all contribute to the experience. It’s a recipe that brings families together, creating memories over a stack of delicious waffles. Perfect for any skill level in the kitchen, they’re sure to become a beloved part of your breakfast rotation.

Ingredient Breakdown & Substitutions
Understanding each ingredient and its role in homemade waffles can elevate your cooking experience. Here’s a breakdown of the key components and some handy substitutions to cater to different dietary needs or pantry availability.
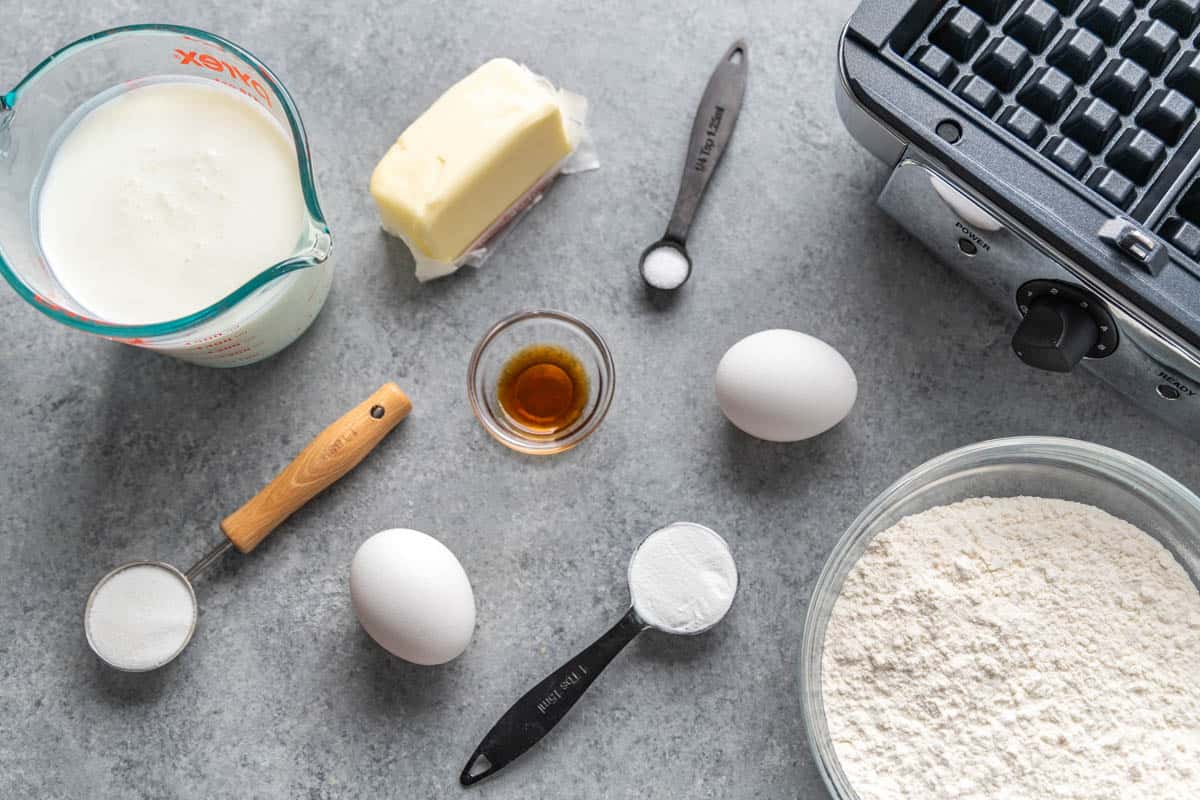
- All-purpose flour: The base for structure. Whole wheat flour can be used for half the amount for a healthier option. A cup for cup gluten-free flour blend can be used as needed.
- Sugar: Adds a hint of sweetness. Can be reduced if preferred.
- Baking powder: Leavens the waffles, making them fluffy.
- Buttermilk: Adds richness and tanginess. Substitute with milk and vinegar/lemon juice mixture if unavailable.
- Eggs: Provide structure and richness. Flax eggs or a commercial egg replacer can be used as needed.
- Melted butter: Contributes to the waffles’ rich flavor and crispy texture. Can be substituted with a neutral oil.
Using substitutions may affect final taste and texture.
Frequently Asked Questions
This recipe works best in a traditional waffle iron. For waffle cones, you’d need a thinner batter.
Waffle batter can be made ahead and refrigerated for later use. Store in an airtight container in the fridge for up to 5 days. Before using, stir well. Some discoloration and graying can occur. Stirring will cause this discoloration to go away.
This recipe, as written, yields approximately 2 cups of batter, which makes approximately 4 Belgian style waffles or 6 American style waffles. The actual amount of batter needed can vary from iron to iron. Consult the owner’s manual that comes with your particular model of waffle maker. This recipe can easily be doubled or tripled.
Place cooked waffles on a wire rack in a warm oven. This keeps them crispy and warm until serving.
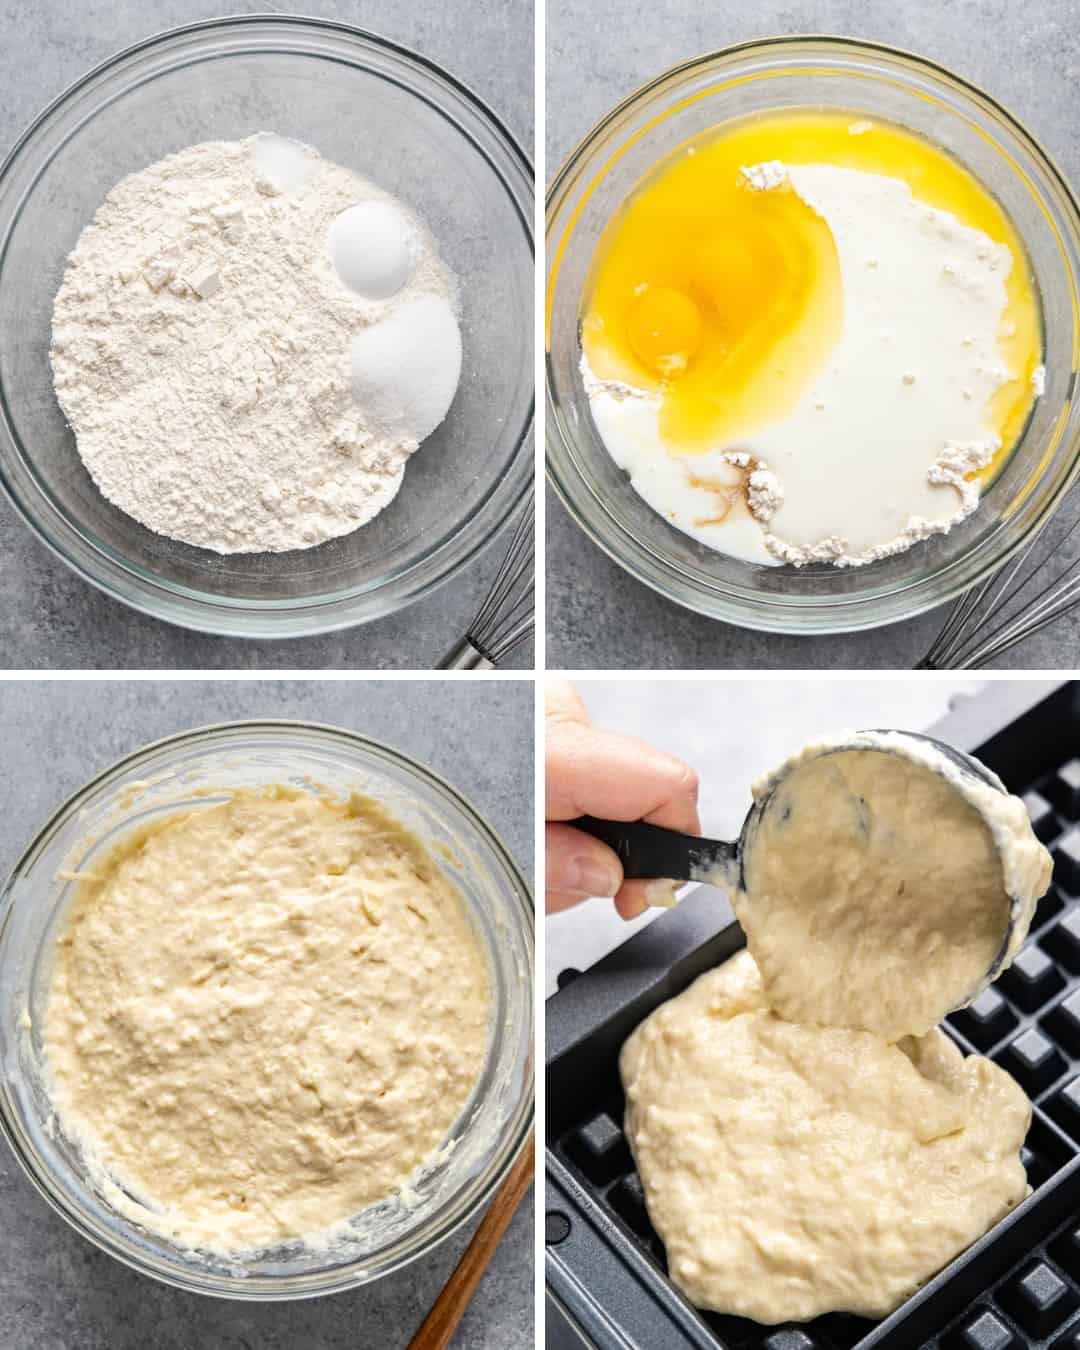
Visual Guide to Making Waffles
Waffle Makers
The type of waffle iron you choose can greatly influence the texture and shape of your homemade waffles. Here’s a look at the different varieties available:
- Belgian Waffle Makers: Known for producing thick, fluffy waffles with deep pockets, Belgian waffle makers are perfect for those who love a good crunch on the outside and a soft, airy inside. These waffles are ideal for holding generous amounts of syrup and toppings.
- Standard Waffle Makers: If you prefer thinner, crisper waffles, a standard waffle maker is your go-to. It creates waffles with shallower pockets and a more uniform texture, reminiscent of the classic American diner-style waffles.
- Ceramic Waffle Makers: These are a newer addition, known for their non-stick surfaces without the use of chemicals. Ceramic waffle makers are easy to clean and are a great choice for health-conscious cooks.
- Cast Iron Waffle Makers: For the traditionalists, a cast iron waffle maker can be a delightful choice. It requires seasoning and careful maintenance, but the results are unparalleled in flavor and texture, with a perfect golden crust every time.
- Mini Waffle Makers: Mini waffle makers are a fun, kid-friendly option. They create small, snack-sized waffles that are perfect for little hands or for waffle appetizers. These irons are often more compact, making them easy to store.
Troubleshooting
- Batter too thick: Add a little more buttermilk or milk to reach desired consistency.
- Waffles sticking to iron: Ensure your waffle iron is properly greased and heated.
- Waffles too soft: Cook them a bit longer for extra crispiness.
- Batter too runny: Add a bit more flour to thicken it.
Tips From the Chef
- Preheat your waffle iron fully for evenly cooked waffles.
- Avoid over-mixing the batter; lumps are okay.
- For uniform waffles, use a measuring cup to pour the batter.
- Serve waffles immediately for the best texture.
Storage, Freezer & Reheating Instructions
Cool any leftover waffles and store them in an airtight container. They can be refrigerated for up to 3 days or frozen for up to a month. Reheat in a toaster, oven, or microwave.
To Freeze:
- Cool Completely: Allow the waffles to cool to room temperature after cooking. This prevents condensation and ice crystals from forming during freezing, which could make them soggy when reheated.
- Layer Separately: Place a sheet of parchment paper or wax paper between each waffle. This prevents them from sticking together, making it easier to separate individual waffles for reheating.
- Store in Freezer-Safe Bags or Containers: Transfer the waffles into freezer bags or airtight containers. Squeeze out as much air as possible before sealing to prevent freezer burn. Label the bags or containers with the date, so you can keep track of how long they’ve been stored.
- Freeze: Place the waffles in the freezer. Properly stored, they can last for up to 3 months.
To Reheat:
You can reheat waffles directly from the freezer, no need to thaw. Choose one of the following methods to reheat.
- Toaster or Oven: For best results, reheat waffles in a toaster or an oven preheated to 350°F. This method helps retain the waffles’ crispiness. In the toaster, use a medium setting. In the oven, place them on a wire rack for even heating, and heat until warmed through and crispy, about 10 minutes.
- Microwave: While not ideal for crispiness, you can use the microwave for a quick reheat. Microwave on high for about 30 seconds to 1 minute, but be aware this method may result in softer waffles.
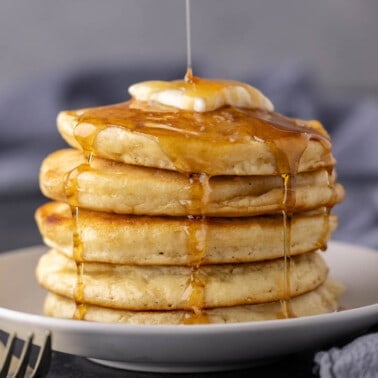
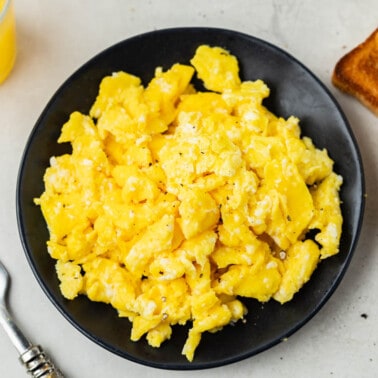
More Hot Breakfast Recipes

Watch the video below where Rachel will walk you through every step of this recipe. Sometimes it helps to have a visual, and we’ve always got you covered with our cooking show. You can find the complete collection of recipes on YouTube, Facebook Watch, or our Facebook Page, or right here on our website with their corresponding recipes.
Best waffles we’ve ever had. Light, crispy, tender inside, great flavor even plain.
I doubled the recipe and found I needed to add about a 1/4 cup of milk (I’d used up the buttermilk so I just used the 2% I had open) to loosen the batter so it would spread on the waffle iron more easily. They came out perfectly. Thank you!
I have tried all the name brand waffle
mixes but yours was hands down the very best. Thanks.
We made the waffles today and they are great. I didn’t have buttermilk but we had buttermilk powder and it worked perfectly. Another recipe to add to my list of family favorites. We are true blue SAHC Fans! We love that we can use your healthy recipes and know what is in the food we eat. Thank you Rachael and Caitlyn you both Rock!