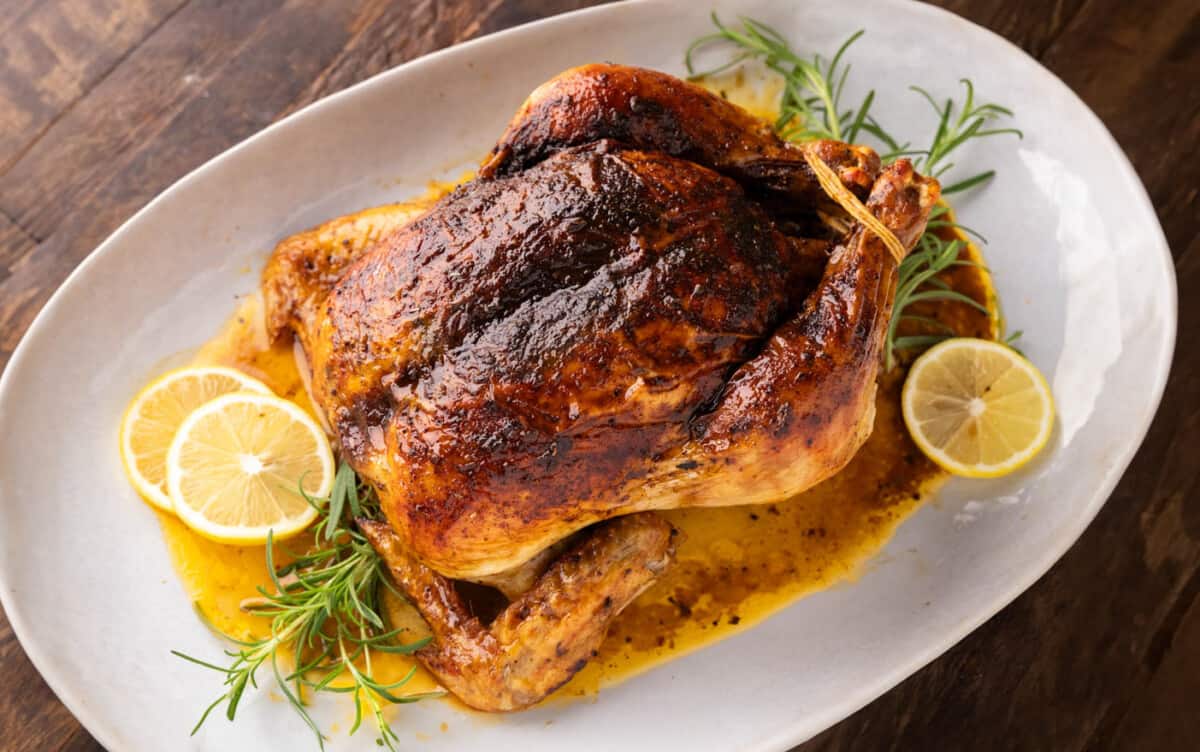
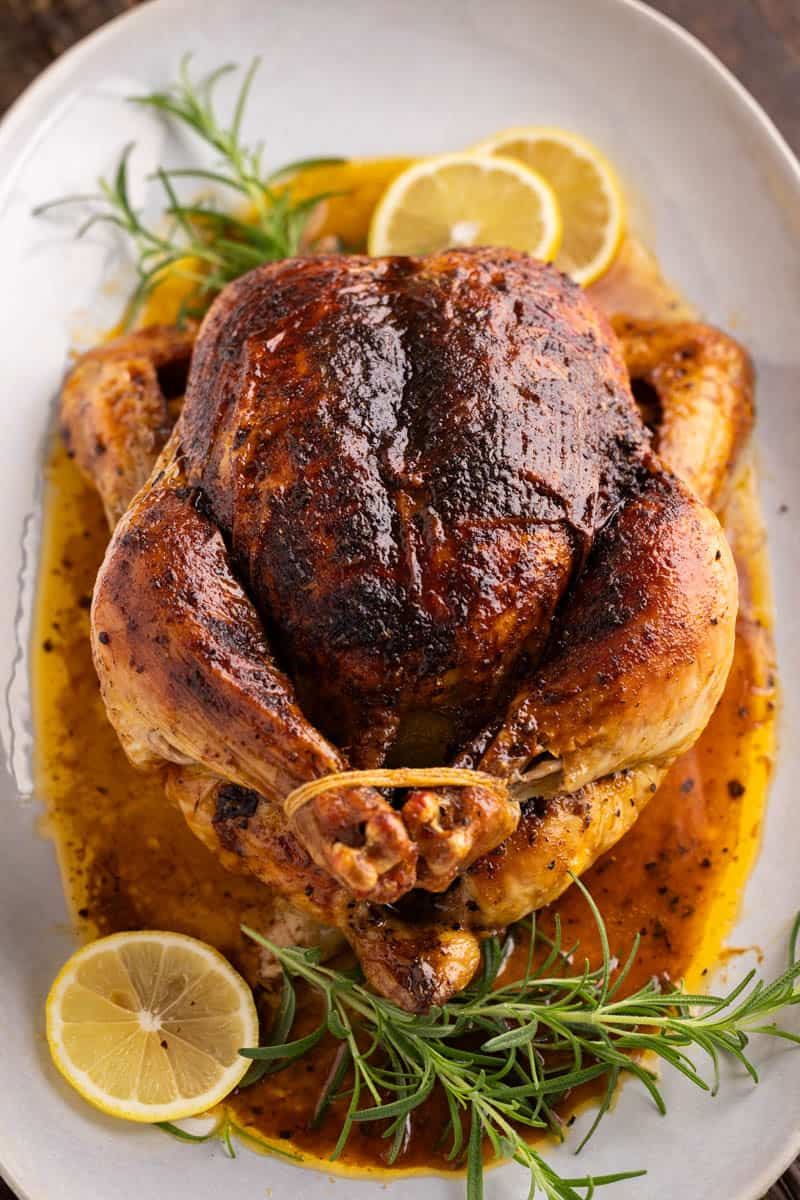
There’s something undeniably comforting about the aroma of a chicken roasting in the oven. This classic dish, with its golden-brown skin and juicy interior, has been a staple at family gatherings, holiday feasts, and everyday dinners. Roasted chicken is more than just a meal; it’s a symbol of home, love, and the simple joys of life.
Ingredient Notes
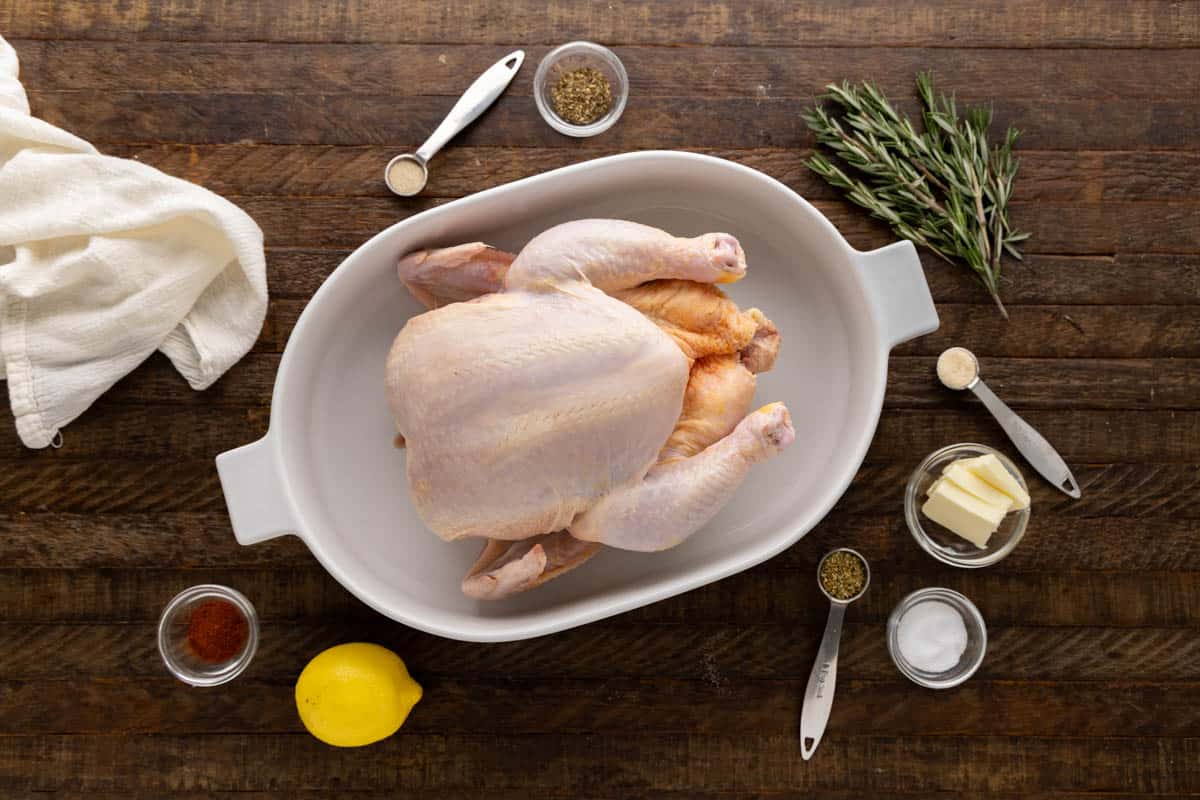
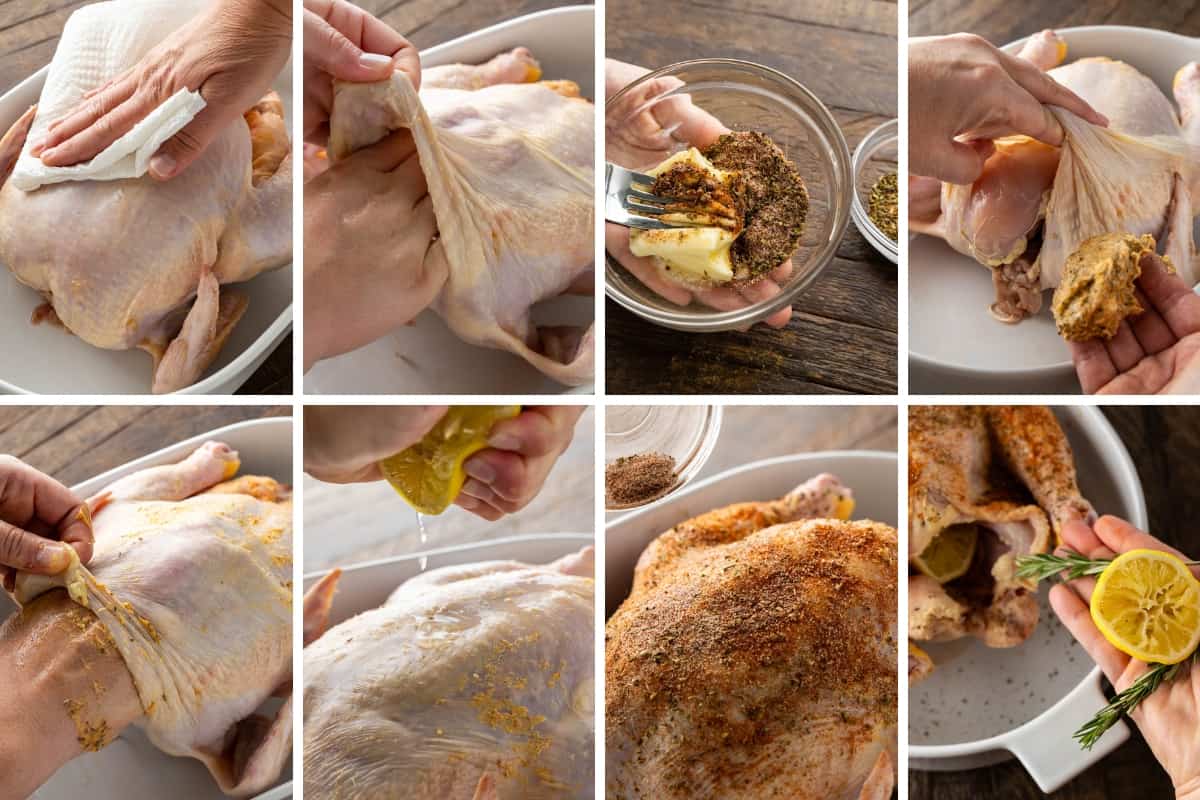
- Whole Fryer Chicken: Use any size. Just be sure to remove anything inside the cavity of the chicken and ensure it’s fully thawed.
- Dried Basil and Oregano: Fresh herbs can be used (increase quantity by three times). Other herbs like thyme, sage, or rosemary are also great alternatives.
- Paprika: This will add color to the chicken as well as a little flavor. You can use a smoked paprika to add a smoky flavor.
- White Pepper: You can use black pepper instead, but white pepper gives a better visual.
- Salted Butter: Keeps your meat moist, but also helps the skin crisp up. You can use olive oil instead of butter and rub that over the skin.
- Fresh Rosemary: This is an aromatic that will infuse flavor into your meat, but also make your house smell amazing as the chicken roasts.
Food Safety: Don’t Rinse Your Chicken
The CDC cautions home cooks to not rinse their chicken. We know, it’s something our grandparents used to do. However, food health and safety data shows that we increase the risk of cross-contamination of food-born pathogens when we rinse raw chicken. The USDA tells us that those pathogens are killed during the cooking process, so we do not need to worry.
We strongly encourage you to follow CDC and USDA guidelines to prevent illness.
Baking Pan Options
When it comes to roasting a chicken, the pan you choose can significantly affect the outcome of your dish.
- The traditional roasting pan, often made from heavy-duty materials like stainless steel or aluminum, is a common choice. Its high sides are great for containing splatter and making gravy from the drippings, but it can be cumbersome to handle and store.
- For those seeking simplicity, a sturdy baking sheet paired with a wire rack can serve well; it allows for excellent air circulation resulting in crispy skin, though it offers little in the way of collecting juices.
- Cast iron skillets are another favorite; their excellent heat retention ensures even cooking, but they can be heavy and require proper seasoning to maintain their non-stick properties.
- A lightweight, enamel-coated Dutch oven can also be used, trapping moisture for a juicier bird, but it may prevent the skin from crisping as effectively as open-air methods.
Each option has its unique benefits and potential downsides, so consider your priorities—crispy skin, easy cleanup, gravy preparation—when selecting your pan.
To Baste or Not to Baste
In theory, basting is a great idea. Unfortunately, heat is lost each time the oven door is opened to baste, and we do not recommend basting because of this oven temperature fluctuation. If you do decide to baste, do it as minimally, quickly, and safely as possible.
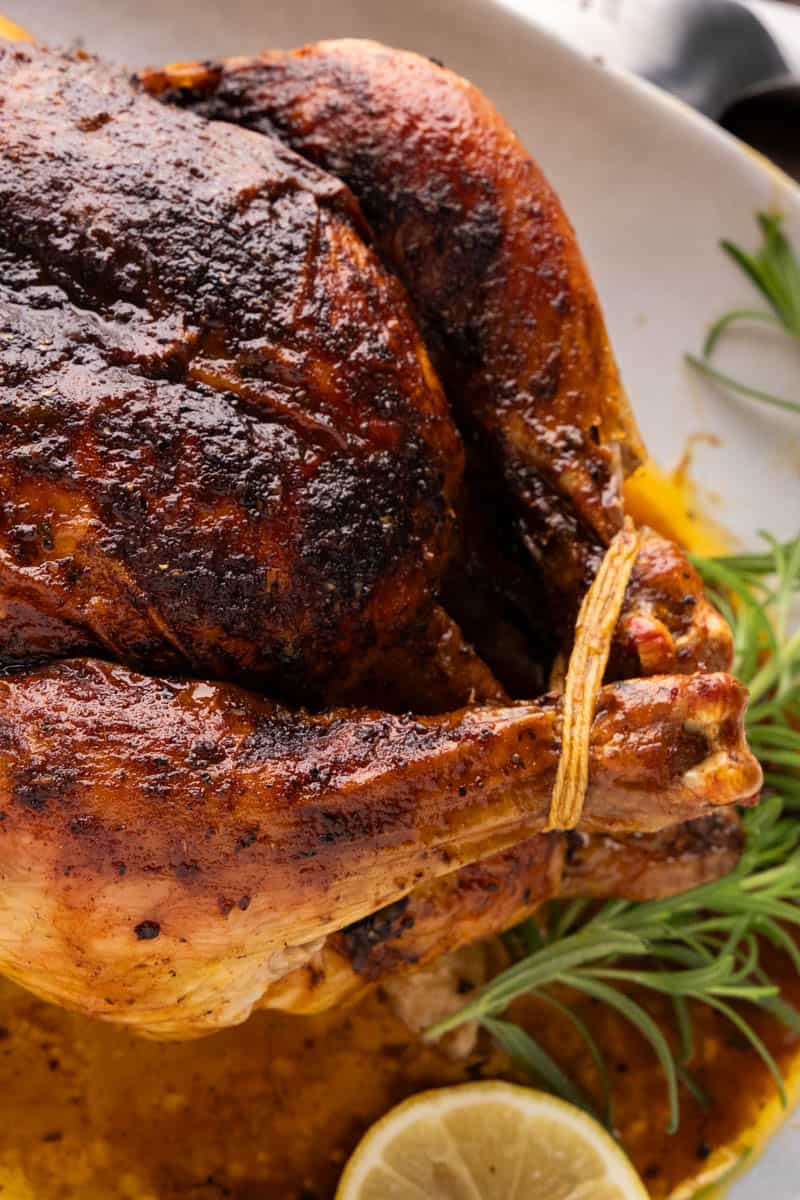
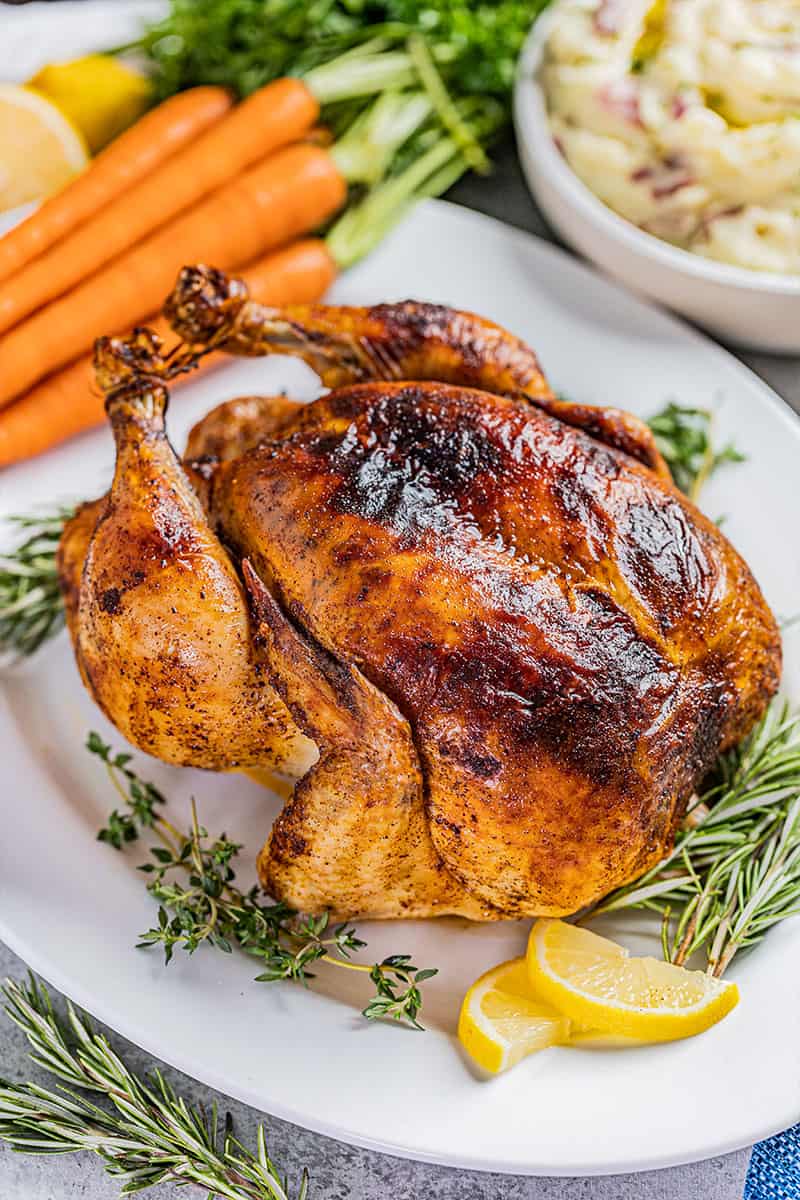
How to Carve a Roasted Chicken
- Once your chicken is cooked it’s time to carve it. You can either carve it at serving, or you can remove all the meat from the bones for later use.
- If you look at the breast there is a line running down the center. Place a sharp knife just to one side of that line and press down firmly. You’ll hear ribs crack. Do the same on the other side as well and you’ll be able to remove the center bone.
- At this point you’ll be able to fold open the chicken and see exactly where your knife needs to go to remove the breast meat in one swoop. You’ll be able to remove all the chicken fairly quickly.
- Now don’t throw away the bones quite yet. Either put them in the fridge or freezer and use them to make homemade chicken stock.
Storage & Reheating Instructions
Leftover roasted chicken should be refrigerated within two hours of cooking. Store in an airtight container in the refrigerator for up to 4 days. When reheating, place the chicken in an oven set to 325 degrees Fahrenheit until it’s warmed through.
If you’re freezing leftovers, ensure it’s properly wrapped to avoid freezer burn. Thaw in the refrigerator before reheating.
More Favorite Roasting Recipes
Watch the video below where Rachel will walk you through every step of this recipe. Sometimes it helps to have a visual, and we’ve always got you covered with our cooking show. You can find the complete collection of recipes on YouTube, Facebook Watch, or our Facebook Page, or right here on our website with their corresponding recipes.
I downloaded this recipe in October 2019 and we have used this recipe ever since. It is a full proof never fail recipe. We have never altered the recipe once and is our favorite.
In 2019 it had 10 – 5 Star review and in 2025 it now has 47 Votes. This recipe should be have over 1K, 5 star reviews. I would recommend getting this all over social media and this would increase traffic to your site.
Is it okay to add potatoes and carrots under the roast chicken while cooking? Thank you.
Yes, you can add potatoes and carrots surrounding your chicken to roast alongside it.
Nice recipe. Do you roast it covered or uncovered?
This chicken is roasted uncovered.
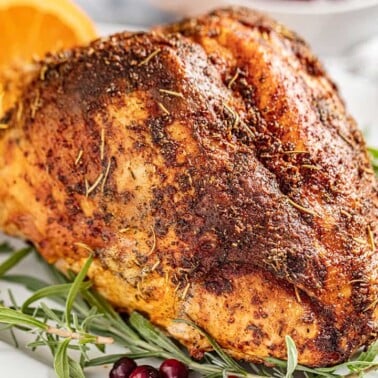
Love this recipe! I also add the juice of an orange to the outside of the bird and cram the orange into the cavity with the lemon for all that citrus goodness….comes out perfect every time. (I also do this with my Thanksgiving turkey and never have a problem with the white meat being dry)
I’ve made this recipe several times now and it always comes out delicious! Juicy, tender chicken with crispy skin. Very easy recipe, so glad I found it.