Vanilla cake lovers, rejoice! This recipe for The Most Amazing Vanilla Cake is here! What makes this cake so special? It’s all in the details. With a full tablespoon of vanilla extract, you’ll experience an unbeatable vanilla flavor, and a combination of butter and vegetable oil balances flavor with a perfectly moist cake. Say goodbye to boxed mixes forever—you’ve got a new go-to vanilla cake recipe!
You may also be interested in our Amazing Strawberry Cake or our showstopping Chantilly Cake.
Why Our Recipe
- Uses a full tablespoon of vanilla extract for maximum vanilla flavor.
- A combination of butter and vegetable oil gives the best of both worlds for great flavor and a moist cake.
- Perfect for cakes or cupcakes with easy adjustments.
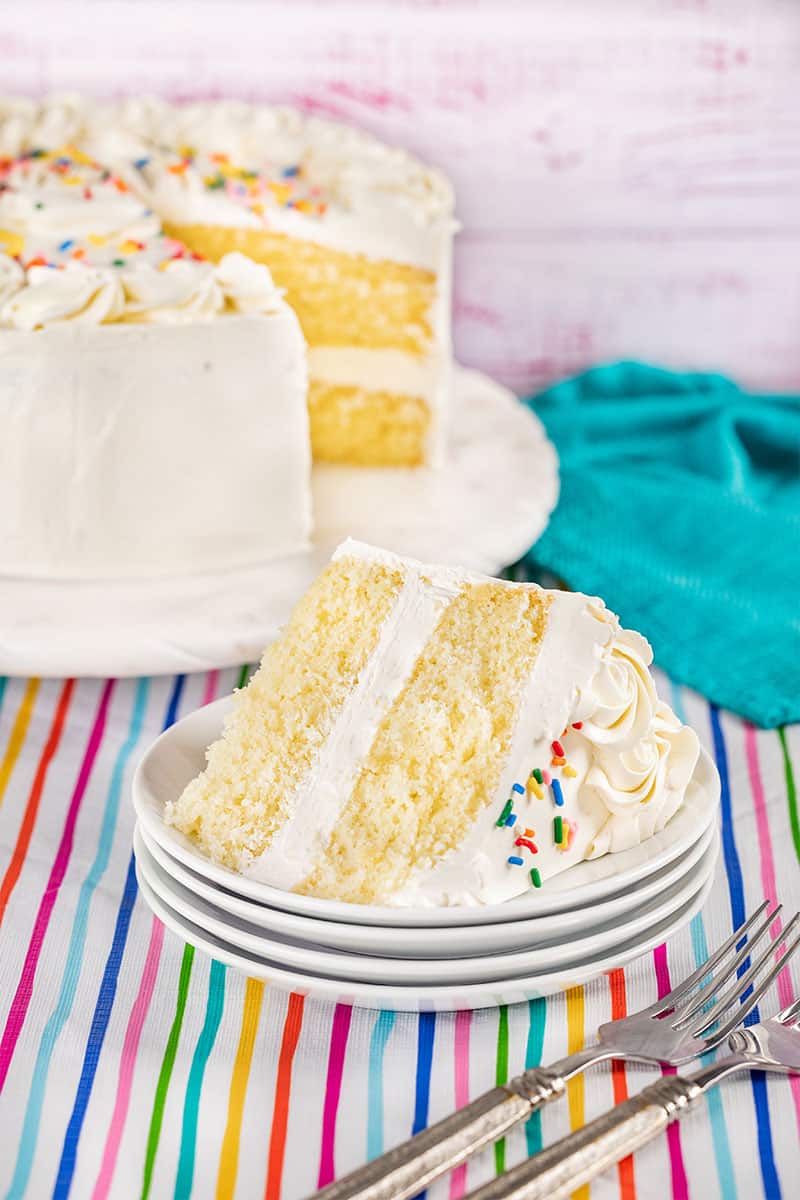
This recipe is great whether you are using it for a celebration or just a casual treat. Create a stunning layered cake or whip up some quick and easy cupcakes. No matter how you choose to make it, this vanilla cake will quickly become a favorite in your recipe collection.
Ingredient Notes
- Salted Butter: Used for convenience and flavor, as most home cooks have it on hand. For unsalted butter, add an extra pinch of salt (about 1/8 teaspoon) to the recipe.
- Vegetable Oil: Provides essential moisture that complements the butter for the softest cake texture.
- Granulated Sugar: Stick with standard granulated sugar for best results.
- Buttermilk: Adds moisture and a slight tang to balance the sweetness. Warm it in the microwave for 20-30 seconds to bring it to room temperature quickly.
- Eggs: Room-temperature eggs make for a fluffier cake. To warm eggs quickly, submerge them in a bowl of warm water for 5 minutes.
- Vanilla Extract: Use a full tablespoon to bring out the bold vanilla flavor. Opt for pure vanilla extract if possible for the best results.
- Cake Flour: Creates a light, tender crumb. Don’t substitute with all-purpose flour unless necessary; if you do, measure carefully and sift it to avoid a denser texture.
- Baking Powder: Helps the cake rise evenly. Check the expiration date to ensure it’s fresh.
Room Temperature Ingredients
Several of the ingredients in the recipe are listed as being room temperature. By following this method you’ll have a better texture in the end so it is worth the patience. Room-temperature ingredients mix together more easily, creating a smooth batter and ensuring an even bake. To speed up the process:
Buttermilk: Microwave for 20-30 seconds until just warm.
Butter: Cut it into smaller pieces to soften quickly.
Eggs: Submerge them in a bowl of warm water for 5 minutes.
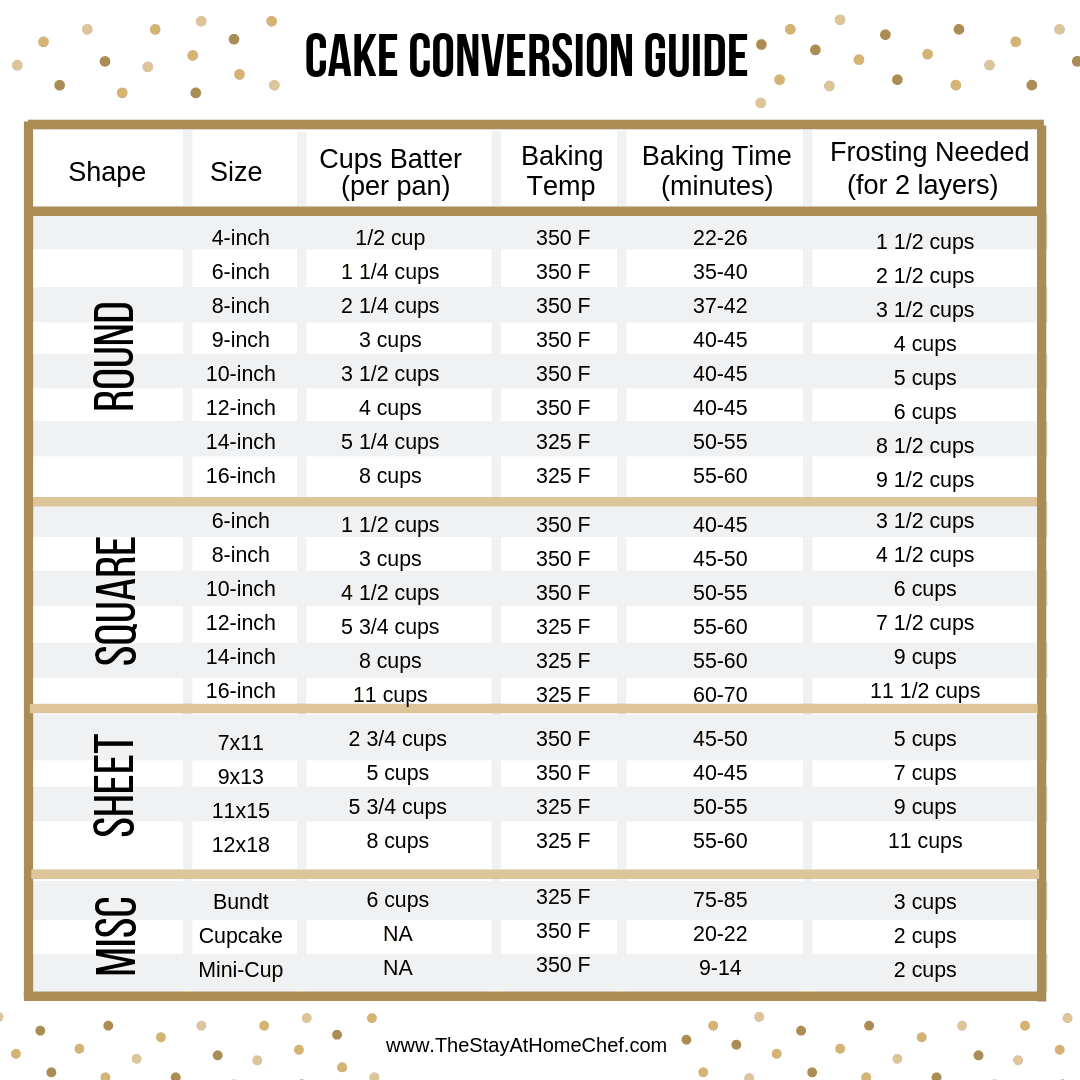
Cake Conversions and Pan Sizes
Alternative Pan Sizes: Adjust the cooking times when using other pan sizes. For an 8-inch pan, expect slightly thicker layers; for a 10-inch pan, expect thinner ones. Always fill pans no more than two-thirds full to prevent overflow.
Cupcakes: This batter works wonderfully for cupcakes! Bake in lined muffin tins for 18-22 minutes at 350°F.
Three-Layer Cake: You can easily make three thinner 9-inch layers by dividing the batter evenly among three pans. Reduce the baking time slightly and check for doneness after 20-25 minutes.
Troubleshooting
Why is my cake dense? This could be due to overmixing the batter or using ingredients that were too cold. Be gentle when mixing and ensure all ingredients are at room temperature.
Why did my cake sink in the middle? This may happen if you open the oven door too early or if the batter was overbeaten. Avoid peeking until at least 20 minutes into baking.
Why is my cake dry? Overbaking is usually the culprit. Check for doneness with a toothpick at the minimum baking time.
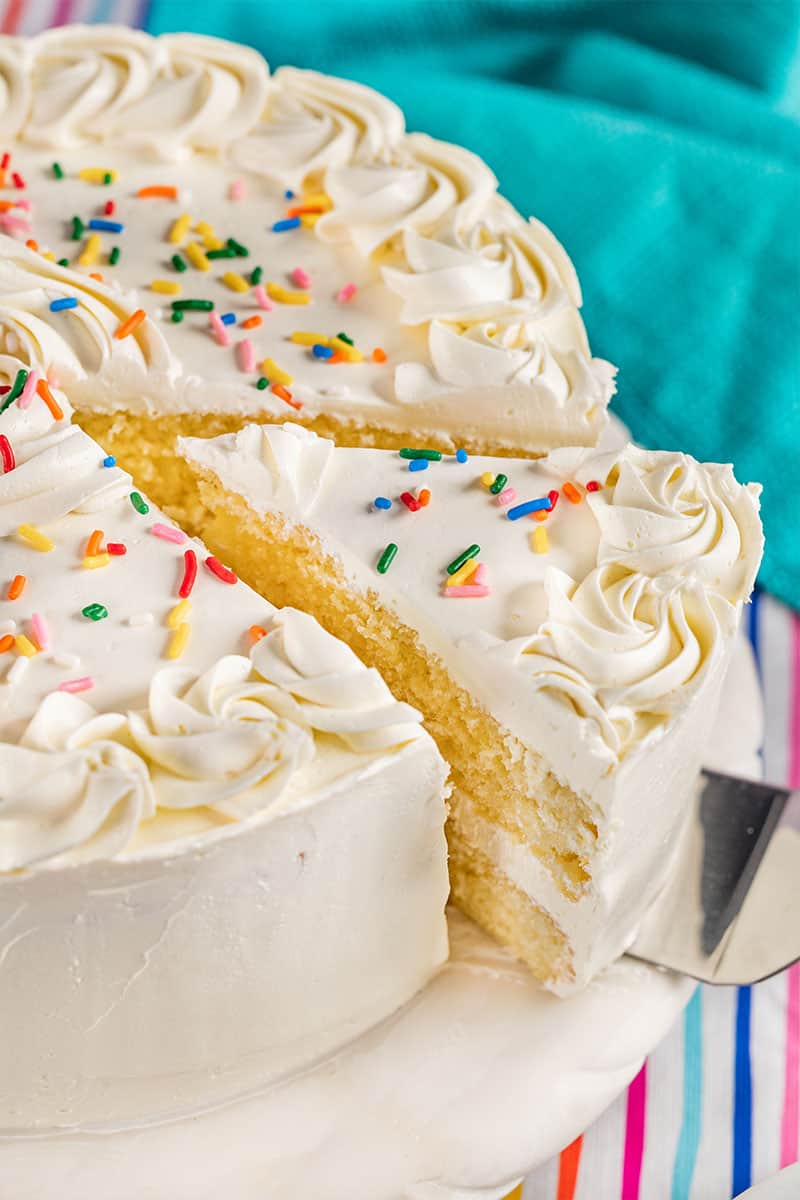
Even Layers Like a Pro
Weigh the Batter: Use a kitchen scale to divide the batter equally between the pans. Weigh the empty pans first, then weigh them again with the batter to ensure they’re evenly distributed.
Level the Batter: Once the batter is in the pans, gently tap each pan on the counter to release any air bubbles and even out the surface.
Trim After Baking: After the cakes are fully cooled, use a serrated knife or a cake leveler to trim any domed tops. This step ensures a flat surface for stacking.
Use Baking Strips: Baking strips wrapped around the outside of the pans can help prevent doming and create more uniform layers.
Use a Filling
Consider using a filling between your cake layers instead of—or alongside—traditional frosting. Avoid overfilling—too much filling can cause the layers to slide. Use a piping bag to create a dam of frosting around the edge of each layer to prevent the filling from spilling out.
Fruit Preserves or Jam: Spread a thin layer of raspberry, strawberry, or apricot jam for a sweet, tangy contrast to the vanilla cake.
Fresh Fruit: Add a layer of sliced strawberries, bananas, or peaches for a burst of freshness. Combine with whipped cream for an airy texture.
Pastry Cream or Custard: For a rich and creamy filling, use vanilla pastry cream. It pairs perfectly with the vanilla cake.
Lemon Curd: Add a bright, citrusy layer for a refreshing twist.
Nut Butter or Nutella: Spread a layer of almond butter, peanut butter, or Nutella for a sweet and nutty surprise.
Storage & Freezing Instructions
Store the assembled cake in an airtight container or cake dome at room temperature for up to 2 days. For cream cheese or perishable frostings, store in the refrigerator for up to 4 days.
Freeze Unfrosted Layers: After wrapping in plastic wrap, add a layer of aluminum foil to prevent freezer burn. Label with the date and freeze for up to 3 months. Thaw in the refrigerator overnight before decorating.
Freeze Frosted Cakes: Freeze in a single layer on a baking sheet until solid, then wrap tightly in plastic wrap and aluminum foil. Store for up to 2 months. Thaw in the refrigerator overnight before serving.
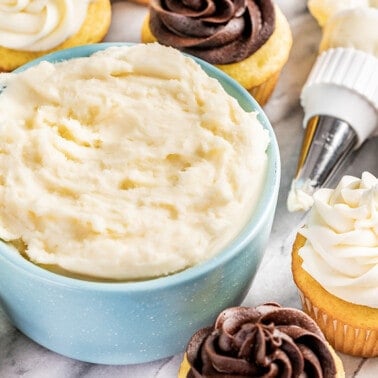
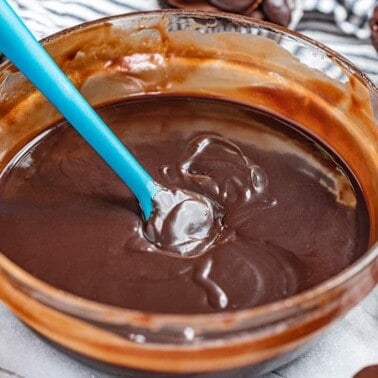
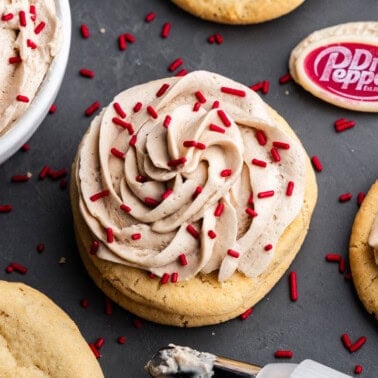
Frosting Options
Watch the video below where Rachel will walk you through every step of this recipe. Sometimes it helps to have a visual, and we’ve always got you covered with our cooking show. You can find the complete collection of recipes on YouTube, our Facebook Page, or right here on our website with their corresponding recipes.

Could I simply exchange the vanilla extract for almond to make this into an almond cake or would I need to make other adjustments?
You can definitely do that. Or you can use my recipe for white cake which is the one with the almond flavor: https://thestayathomechef.com/most-amazing-white-cake/
This recipe sounds amazing. Could it be baked in a Bundt pan? I know most Bundt cakes are more sturdy and wasn’t sure if this recipe would be too tender.
This isn’t my favorite to bake in a bundt pan. Those bundt pans require such a long cooking time, it can really dry out a delicate cake like vanilla or white.
Hi Rachel can you make cupcakes with this recipe. Any alterations required? I’ve tried your chocolate cake it was great, going to try this vanilla cake recipe soon.
Thanks for your reply
You sure can! Here are the instructions: https://thestayathomechef.com/vanilla-cupcake-recipe/
Hi Rachel,
Looking to bake a vanilla cake for my granddaughter’s 13th birthday in a few weeks. Thought I’d give this one a try.
Do you have a vanilla frosting recipe you would recommend for this cake?
BTW, LOVE all your recipes!
Sharon McKendrick
Can’t go wrong with a simple buttercream!
https://thestayathomechef.com/buttercream-frosting/
And then you can find all the other delicious frosting options I’ve got here: https://thestayathomechef.com/category/dessert/otherdesserts/frosting/
Can I bake this in 3 8” pans
Yes you can, but they will be thinner layers.
Made it and we enjoyed it. Easy to do.
Yay! So glad you enjoyed this one.
Is 4 tsp baking powder correct?
Sure is!
Can I do this recipe without the butter?
It’s really important for cake to have a fat source. In this case, that is butter so it can’t simply be left out.
Can I bake this cake in a 9×13 pan?
Yes you can, without making any adjustments. The cooking time will be 30 to 35 minutes.
What a wonderful vanilla cake! This has to be the best cake recipe that I’ve made, thank you, Rachel for this kitchen tested recipe! I love your recipes that you’ve developed, perfected, and tested! There’s a reason your recipes are delicious!
You’re welcome! I definitely spend a lot of time on my cake recipes so thank you for recognizing and appreciating it. Cakes can be so frustrating to test and all of the have been done over the course of at least a year, and some multiple years, but the end result is always something I’m proud of.