
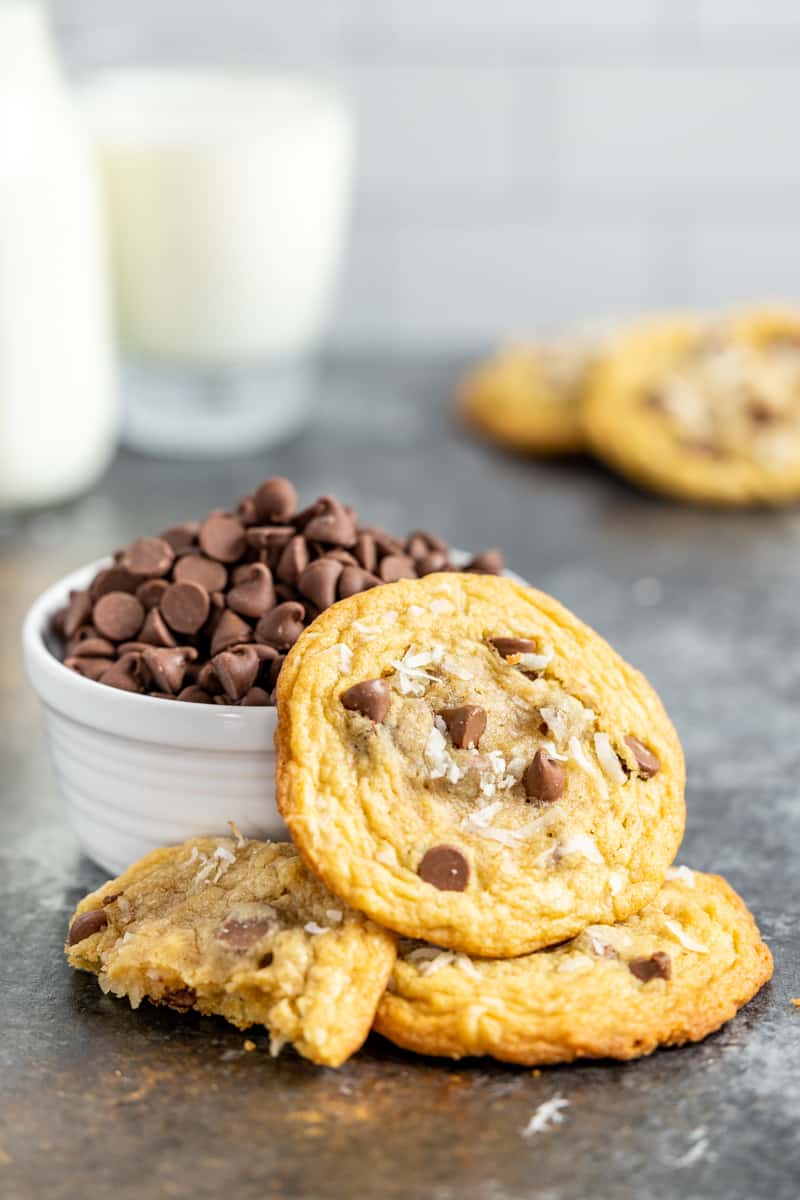
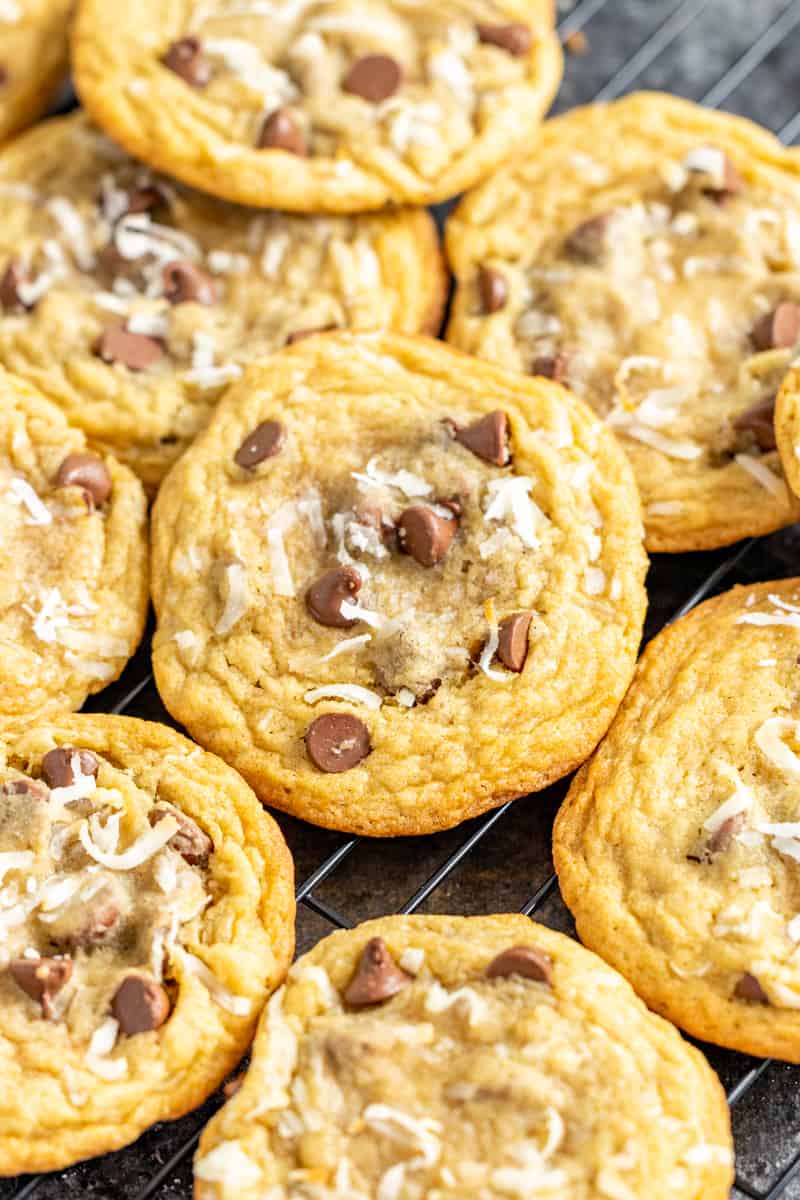
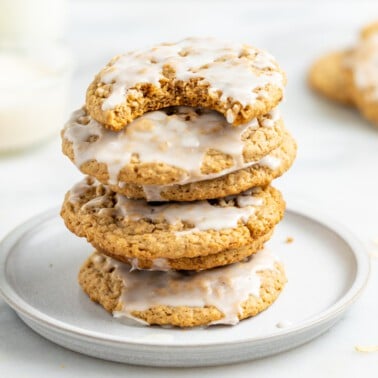
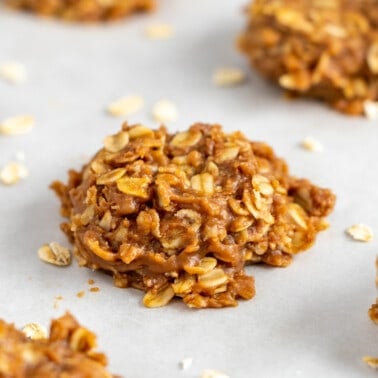
Coconut chocolate chip cookies are more than just a sweet treat; they’re a delightful journey into the world of baking. The perfect blend of coconut and rich chocolate chips results in a cookie that’s irresistibly soft and chewy. With a quick prep time, they are an excellent choice for busy moms who want to enjoy homemade cookies without spending hours in the kitchen. The warm, inviting aroma of these cookies baking is sure to make your kitchen the most popular room in the house.
Why You’ll Love This
- Quick and Easy: Ready in under 30 minutes, perfect for busy schedules.
- Delicious Flavor Combo: The tropical taste of coconut mixed with classic chocolate chips.
- Freezer-Friendly: Dough can be frozen for up to 3 months, making it convenient for future baking.
Coconut Chocolate Chip Cookie Ingredients & Substitutions
The key to a great cookie lies in understanding your ingredients. Here’s a quick guide:
- Salted butter: Adds richness and depth. Plant-based butter or unsalted butter with a pinch of salt can be substituted as needed.
- Brown sugar: Provides moisture and a caramel-like flavor; light or dark can be used interchangeably.
- White sugar: Adds sweetness and helps with the cookie’s texture.
- Eggs: Bind the ingredients together. Substitute with flax eggs or a commercial egg substitute from the grocery store.
- All-purpose flour: The base of the cookie; for a gluten-free version, use a 1:1 gluten-free flour blend.
- Milk chocolate chips: Sweet and creamy; dark chocolate chips are a good alternative for a less sweet option.
- Coconut flakes: Adds a tropical twist; if you’re not a fan, omit or replace with nuts for added crunch.
Frequently Asked Questions
Absolutely! Chopped almonds or pecans would make a great addition.
While not essential, parchment paper helps with even baking and easy cleanup.
Store it in an airtight container in the fridge for up to 3 days or freeze for up to 3 months
As written, this recipe will make 24 cookies using about 2 tablespoons of dough per cookie. If you make half-size cookies, you’ll end up with 48 cookies that cook a few minutes faster. Keep a close eye on baking times when altering the size of your cookies.
Troubleshooting
- Cookies spreading too much? Make sure your butter isn’t too soft and chill the dough for 30 minutes before baking.
- Cookies too hard? Don’t overbake; they should still be soft in the center when you take them out of the oven.
- Dough too dry? Add a tablespoon of milk or water to adjust the consistency.
Tips From the Chef
- Don’t Overmix: Mix until just combined to keep the cookies tender.
- Bake in Batches: Avoid overcrowding the baking sheet for even cooking.
- Cool on Baking Sheet: Let cookies cool for a few minutes on the baking sheet before transferring to a wire rack.
Cookie Readiness Indicators
- Color: The edges should be a light golden brown, while the center remains a bit lighter.
- Texture: The edges will be set and slightly crisp, the tops slightly cracked, and the center should still be soft.
- Size: The cookies will spread and puff up slightly as they bake. They should appear fuller, not flat.
- Aroma: A sweet, fragrant smell with hints of coconut and chocolate should fill your kitchen.
Storage & Freezer Instructions
Room Temperature Storage
- Cooling: Allow cookies to cool completely on a wire rack before storing. This prevents condensation inside the container, which can make cookies soggy.
- Container: Use an airtight container to maintain freshness. You can layer the cookies with parchment or wax paper to prevent them from sticking together.
- Location: Store the container in a cool, dry place away from direct sunlight or heat sources.
- Duration: Properly stored, the cookies will stay fresh for 3 to 5 days.
Freezing Cookie Dough
- Shaping: Shape the cookie dough into balls as you would when preparing to bake.
- Freezing: Place the dough balls on a baking sheet lined with parchment paper. Freeze them until solid, about 1-2 hours. This prevents the dough balls from sticking together.
- Storage: Once frozen, transfer the dough balls to a resealable plastic freezer bag or an airtight container. Label the bag or container with the date.
- Duration: The dough can be stored in the freezer for up to 3 months.
Baking Frozen Dough
- Thawing: Preheat your oven. You can bake the dough straight from the freezer, or let it thaw on the baking sheet while the oven is preheating.
- Baking Time: Frozen dough may require an additional 2-3 minutes of baking time compared to unfrozen dough. Keep an eye on the cookies and look for the usual signs of doneness.
Freezing Baked Cookies
- Cooling: Ensure cookies are completely cool before freezing.
- Pre-Freezing: Lay the cookies in a single layer on a baking sheet and freeze until solid. This prevents them from sticking together in the freezer bag.
- Storage: Transfer the frozen cookies to a resealable plastic freezer bag or an airtight container. Separate layers of cookies with parchment paper.
- Duration: Baked cookies can be frozen for up to 3 months.
Thawing Baked Cookies
- Room Temperature: To thaw, take out the desired number of cookies and let them sit at room temperature for about 15-20 minutes.
- Reheating (Optional): For a warm, fresh-baked flavor, you can reheat the thawed cookies in the oven at 350°F until warm, about 5 minutes.
More Delicious Cookie Recipes
Watch the video below where Caytlin will walk you through every step of this recipe. Sometimes it helps to have a visual, and we’ve always got you covered with our cooking show. You can find the complete collection of recipes on YouTube, Facebook Watch, or our Facebook Page, or right here on our website with their corresponding recipes.
Delicious!!! A big hit at the Super Bowl party. Made us think of Mounds candy bars. I used dark chocolate chips and they were amazing.
Amazing! My husband loved them. He never cares for cookies I make. But those ones he said wow my favorite cookies you’ve made so far. I always added 1/2 cup of walnuts.