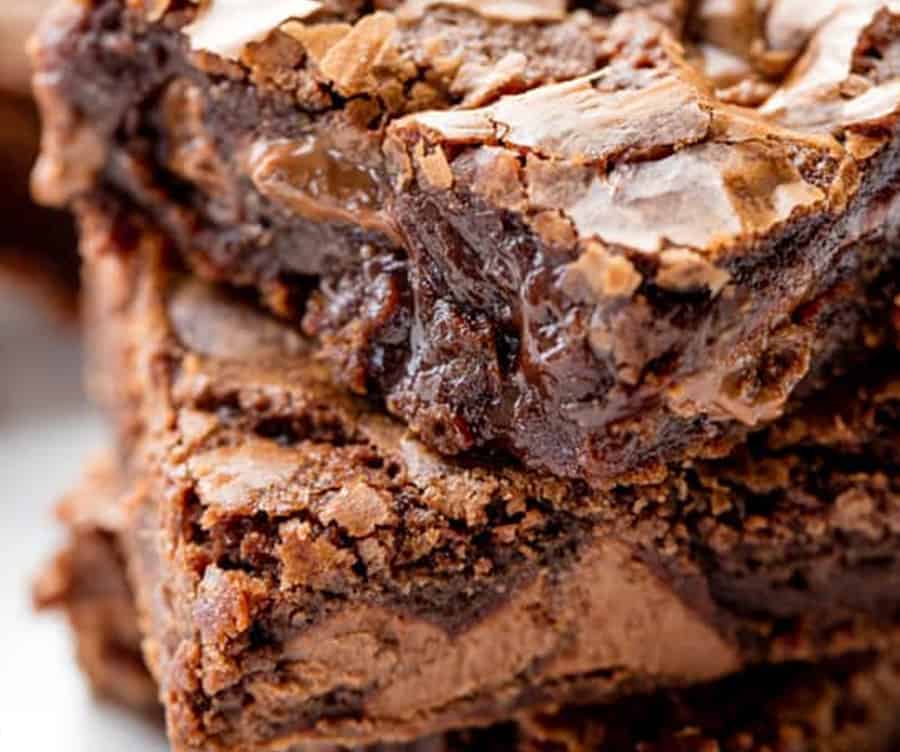
When it comes to brownies, everyone has their go-to recipe or favorite box mix—but what if you could have something even better? This recipe is the result of rigorous testing with over 100 taste-testers involving a showdown against the 12 most popular boxed mixes. The verdict? This homemade brownie won hands down. It’s the ultimate recipe for anyone seeking fudgy brownies with that signature crackly top.
These homemade brownies don’t just compete with boxed mixes—they leave them in the dust!
Why Our Recipe
- Taste tested by 100 people against the 12 most common box mixes to make sure it can beat every single one.
- An ultra fudgy brownie with the perfect crackly top every time.
- Combines melted chocolate, cocoa powder, and chocolate chips for ultimate chocolate flavor.
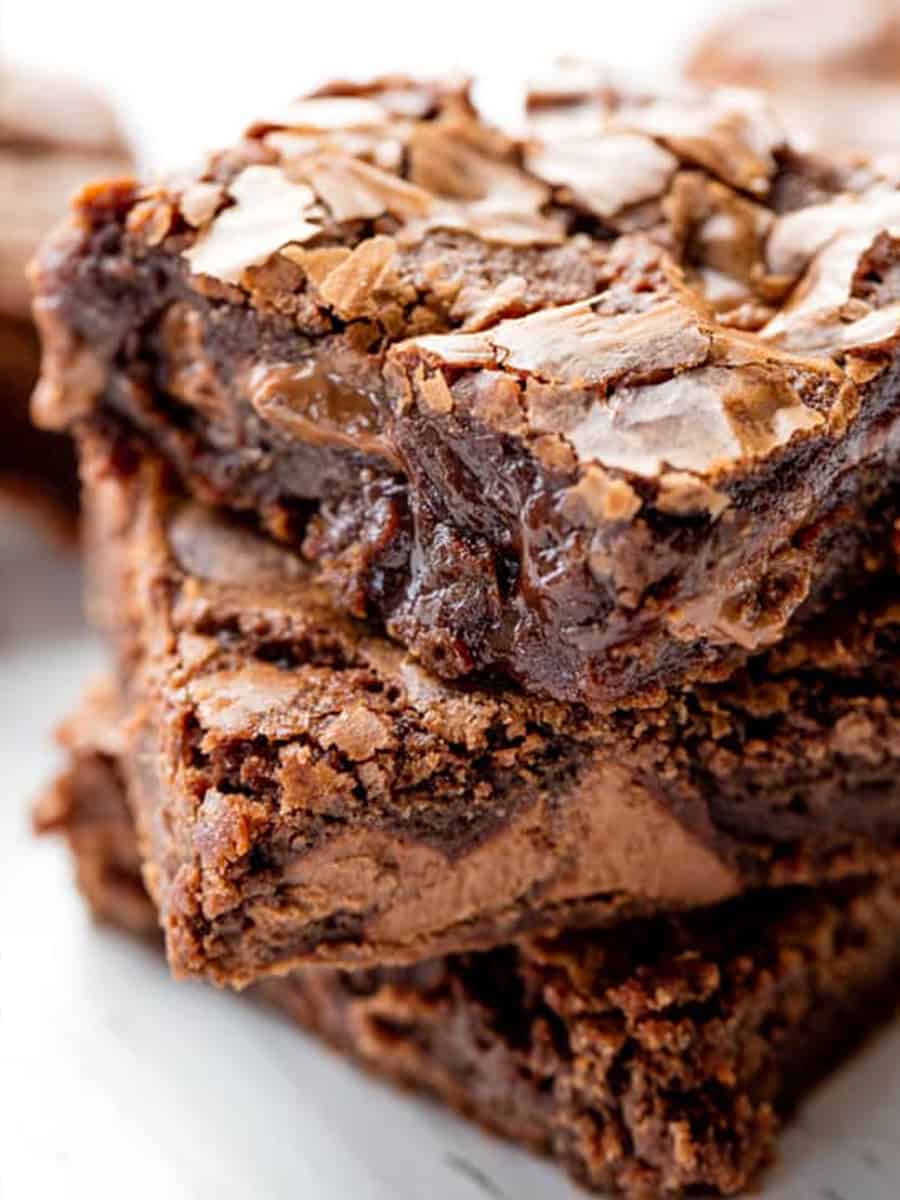
We conducted a blind taste test of 12 boxed brownie mixes on our live show and threw our old homemade brownie recipe into the mix. All of our friends, family, and neighbors thought they would win for sure, but alas, they did not. We went back to the drawing board to come up with the ultimate homemade brownie recipe that could knock any boxed mix out of the water. We then had a number of groups with over 100 people conduct their own taste tests with our new and improved recipe. Every single taste-tester came back with the same result: this is the recipe that can beat them all!
Ingredient Notes
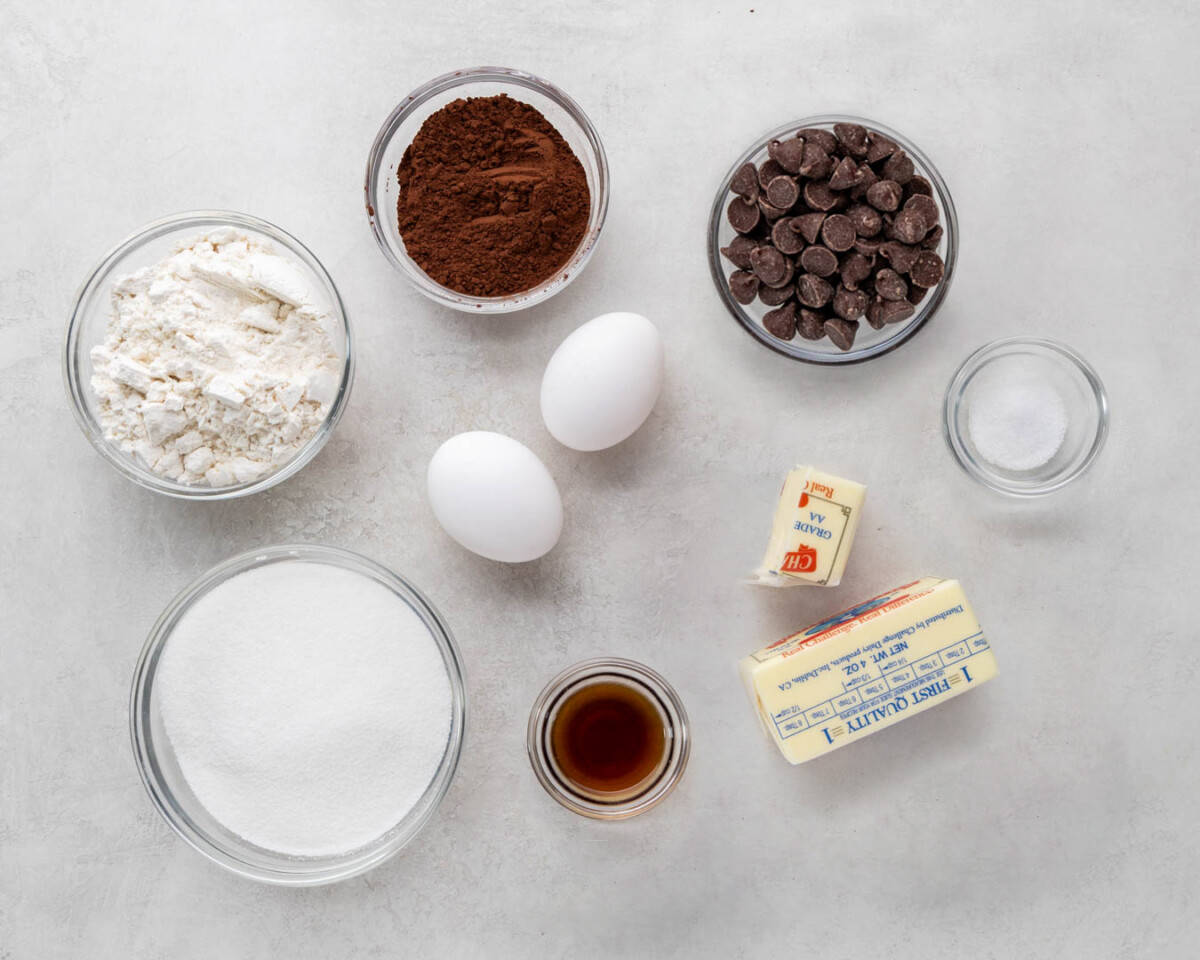
- Butter: We use salted here for convenience. If you are using unsalted, add an additional pinch of salt as it does enhance the flavor of chocolate.
- Granulated Sugar: Ensures the classic crackly top on the brownies. Brown sugar can be used to add a rich, caramel-like flavor that results in a denser, chewier brownie, but note that the edges will not be quite as crisp and you likely won’t get the crackly top.
- Eggs: Use grade AA large eggs.
- Vanilla Extract: Enhances the chocolate flavor. Pure, real vanilla extract is recommended.
- Chocolate Chips (Melted): Contributes to the fudgy texture. Use semi-sweet chocolate chips if you like darker chocolate, or milk chocolate for those with a sweeter tooth.
- All-Purpose Flour: This recipe has been thoroughly tested using both all-purpose and bread flour which both work great. Alternative flours have not been fully vetted.
- Unsweetened Cocoa Powder: Go for a high-quality, Dutch-processed cocoa for a richer flavor. We used Hershey’s unsweetened cocoa powder in this recipe. In addition, it was also tested with Guittard red dutch process and Ghiradelli unsweetened cocoa powder, all of which worked successfully. Hershey’s was our favorite.
- Chocolate Chips (Whole): These are optional, but they add pockets of melty chocolate throughout. Once again, use semi-sweet or milk chocolate. You can also use chocolate chunks.
For a cakey brownie, reduce the butter to 8 tablespoons, add an additional egg, and add 1/4 teaspoon baking powder.
Fun Additions
This brownie recipe is perfect as is, but totally ready for some fun add-ins if you want to make it your own! Here are a few easy ways to switch things up:
Candy: Mix in 1/2 cup of M&Ms or chopped candy bars instead of the whole chocolate chips.
Nuts: Toss in 1/2 cup of chopped walnuts, pecans, or almonds.
Swirls: Add 1/3 cup of peanut butter, Nutella, or caramel sauce and swirl it into the batter before baking. Trust me, it’s delicious.
Espresso Powder: Stir in 1/2 to 1 teaspoon for a deeper, richer chocolate flavor. A little goes a long way!
The Secret to a Crackly Top
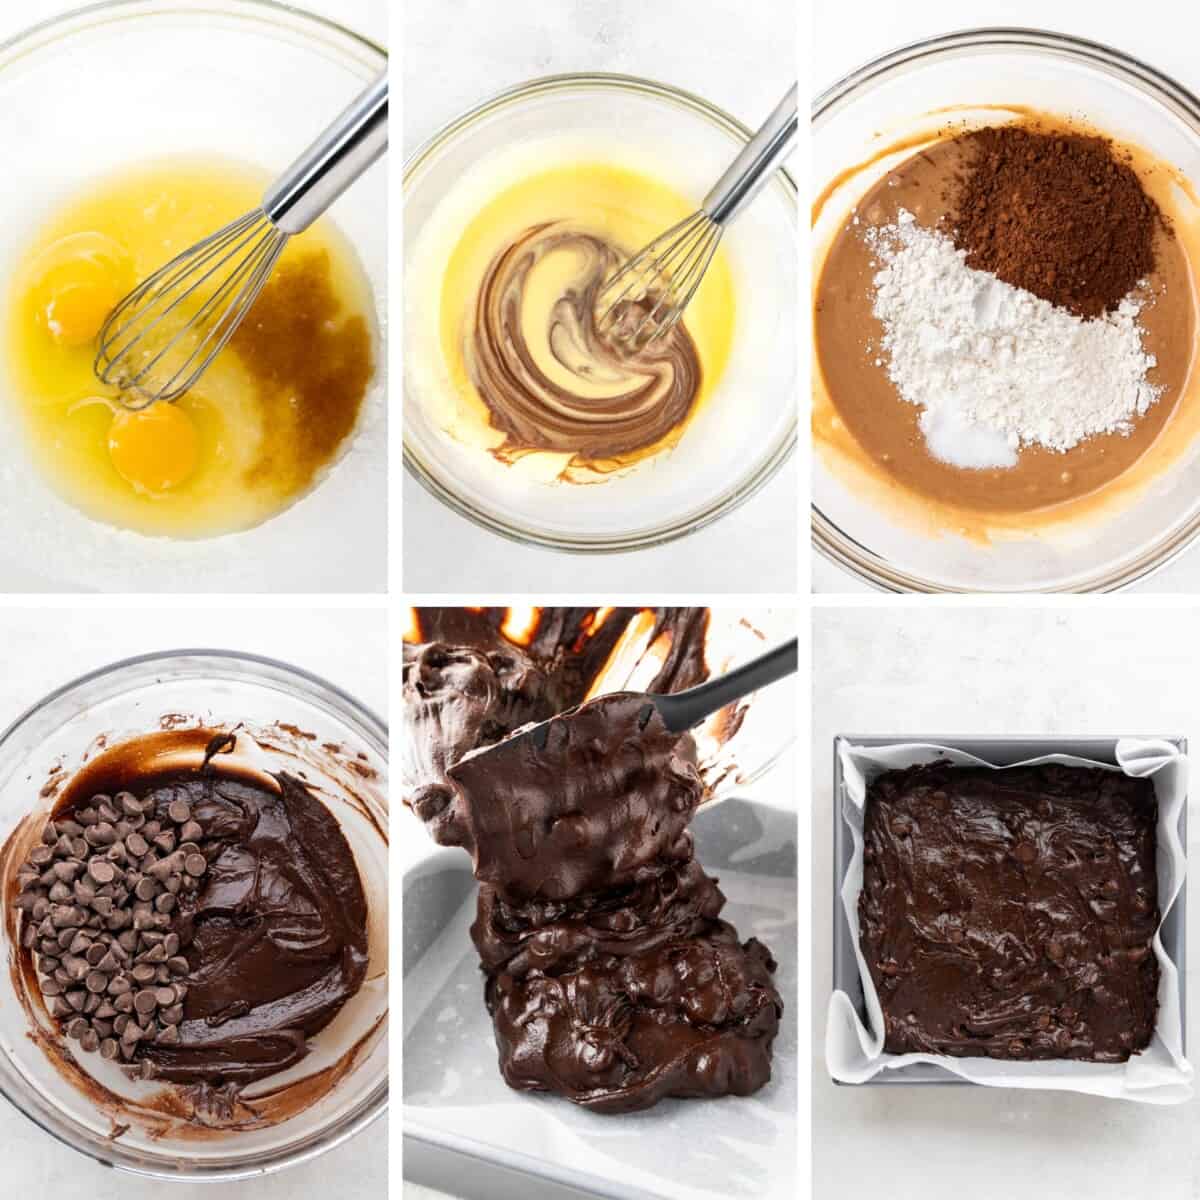
That irresistible crackly top? It’s all about how you whisk the sugar and eggs after mixing the sugar with melted butter. The key is to create a shiny, thin batter layer that bakes up into a crackly crust. It’s simple, but it makes a difference.
Whisk Like You Mean It: After you’ve combined the sugar and melted butter, add the eggs and whisk vigorously for about 1 minute. You’re aiming for the mixture to lighten in color and look a bit frothy. It should drip smoothly off your whisk in ribbons. That’s your sign to stop!
Gentle Hands After Flour: Once you’ve added the flour and cocoa powder, switch to a rubber spatula and gently fold everything together. Over-mixing at this stage can knock out the air you just worked so hard to incorporate—and we definitely don’t want that.
Choosing Your Pan
Did you know the pan you use can totally change the texture of your brownies? For the best results, I recommend a 9×9-inch metal pan (not dark). It’s the sweet spot for those perfect chewy edges and fudgy centers.
Metal Pans: These are your best bet for crispy edges and fudgy centers. If you’re using a dark or non-stick pan, just lower the oven temperature by 25°F.
Glass Pans: Glass heats up a bit slower, so your edges will be softer. You’ll need to add 5–10 extra minutes to the baking time.
Ceramic Pans: Similar to glass, ceramic pans bake a little slower. Start checking for doneness at the recommended time, but don’t be surprised if they take a few extra minutes.
Line with Parchment Paper
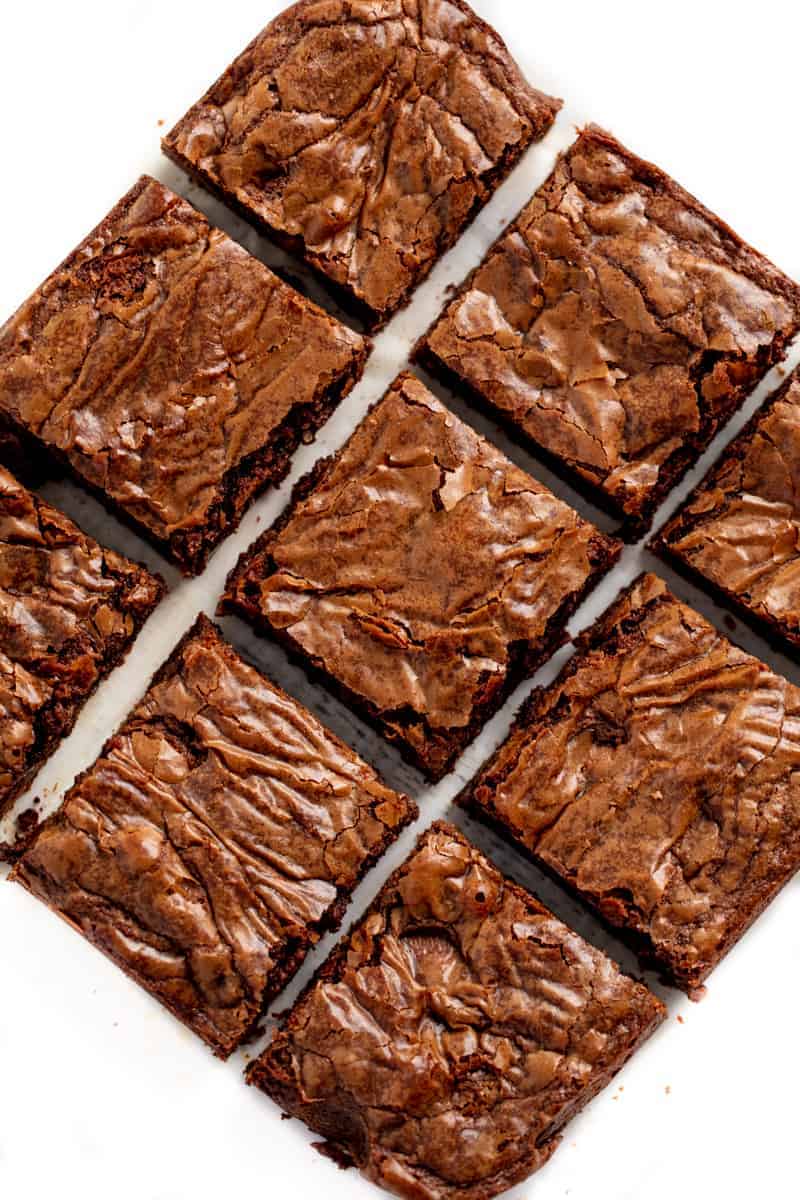
You can lightly grease your pan with a little nonstick cooking spray or butter, and your brownies will still come out great. But if you’re looking for the best results, lining your pan with parchment paper is the way to go. Greasing the pan can sometimes leave your brownies with a slightly greasy feel, and it makes removing them more prone to sticking to the pan.
To line your pan, cut the parchment a little bigger than the pan, leave some overhang on two sides for easy lifting, and secure it with a quick spritz of non-stick spray underneath. Once you try it, you’ll see why parchment paper is the way to go!
Scaling the Recipe
Got a crowd to feed or just baking for yourself? This recipe is super flexible!
Half Batch: Cut all the ingredients in half and bake in an 8×4-inch loaf pan. Check for doneness around 20–25 minutes.
Double Batch: Double everything and bake in a 9×13-inch pan. You’ll need to add a little more time—start checking at 35 minutes.
Muffin Tin: Want individual portions? Spoon the batter into a greased or lined muffin tin, filling each cup about 2/3 full. Bake at 350°F for 18–22 minutes. This is a fun option for parties or easy grab-and-go treats.
Storage Instructions
Store brownies at room temperature in an airtight container for up to 3 days. If stacking, place a sheet of parchment paper between layers to prevent sticking.
To freeze, wrap individual brownies tightly in plastic wrap and place them in a resealable freezer bag or airtight container. They’ll keep in the freezer for up to 3 months. To thaw, leave them at room temperature for 1–2 hours or pop them in the microwave for 10–15 seconds.
Take your brownies over the top…
Best Cheesecake Brownies
55 mins
Peanut Butter Crunch Brownies
1 hr 10 mins
Decadent S’mores Brownies
55 mins
Ultimate Slutty Brownies
1 hr 20 mins
Watch the video below where Rachel will walk you through every step of this recipe. Sometimes it helps to have a visual, and we’ve always got you covered with our cooking show. You can find the complete collection of recipes on YouTube, our Facebook Page, or right here on our website with their corresponding recipes.

These are so delicious. Friends and myself think these are possibly the best brownies we have ever tasted. I added choc chips for extra chocciness! Just need to cool completely before cutting.
Just made the brownies and they are absolutely delicious! Thanks for sharing this recipe!
These really are THE BEST BROWNIES EVER!!! Followed the recipe exactly, and sifted sugar, flour, cocoa powder as added insurance and OMG!!! DELISH! Definitely 5/5!
Just wondering. I always use unsalted butter. Do you find the salted butter makes much difference
Nope. Most people keep salted butter on hand so I just try and design my recipes for salted butter whenever possible to keep things easy. Some recipes absolutely require unsalted butter, but most you can get away with using either just fine.
I had a question, do we have to use salted butter or can we use unsalted butter, what would be the difference. Also, if we don’t want our brownies to come out to chocolately can I hold off from adding the cup of chocolate chips or would that make my brownies not sweet enough?
Either salted or unsalted butter will work. There’s not a noticeable difference in this recipe. You can also omit the chocolate chips if you’d like.
Made these for my husband for Valentine’s Day and they are delicious!! Will never use another brownie recipe again. Thanks for sharing it!
P.S. I only had an 8×8 metal pan, so used that. Didn’t adjust bake time and still turned out perfectly!
Great recipe! I had to increase the baking time as well. I think it’s hard to tell when they are done because the gooeyness of melted chocolate chips keeps knife/toothpick from coming out clean. Once they sit for a while, they set up nicely.
I’ve never made a good brownies. Followed yourrecipe and these are the best brownies ever! So simple!
All my homemade brownies have been fails until this recipe. Thank you so much!
I’ve tried over 6 different brownie recipes in the past and all of them have failed! This is the very best brownie I’ve ever made and had! They are so chewy and give you the real feel of what brownies supposed to taste like. This deserves more than a 5 star rating. Thank you!