Whether you’re hosting a backyard barbecue or simply craving a steakhouse-quality meal at home, this recipe will guide you through the process, making you look like a grillmaster every time. From selecting the best cuts and managing flare-ups to mastering cooking techniques and using an instant-read thermometer, we’ve got you covered. We’ll also explore the differences between charcoal and gas grills, and provide you with tips to ensure your steak is cooked to perfection every time.
Why Our Guide
- Straightforward instructions including a video demonstration.
- Covering every part of the process including determining doneness by touch.
- A traditional seared steak option for the grill as well as a reverse sear.
Ingredient Notes
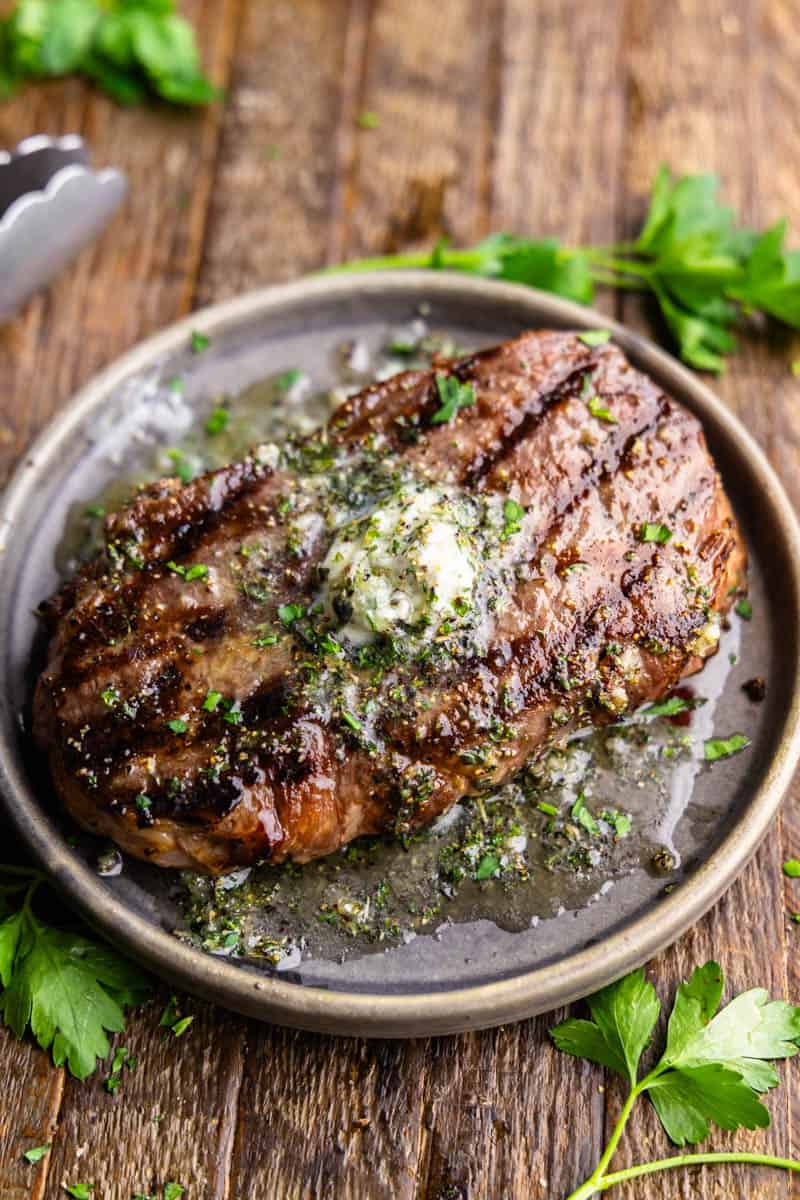
- Steaks: Choose steaks that are 1 to 2 inches thick. Thicker cuts help retain juiciness and ensure even cooking on the grill.
- Olive Oil: helps create a beautiful sear on the steaks. You can also use other high-heat oils like vegetable or canola oil.
- Seasonings: keeping it simple to let the flavor of the meat itself shine through. The combination of both white and black pepper adds a complex flavor with more bite.
- Butter: adds juiciness to the crust of the steak You can also use a compound butter or resting butter for an extra flavor boost.
Cuts Best Suited for Grilling
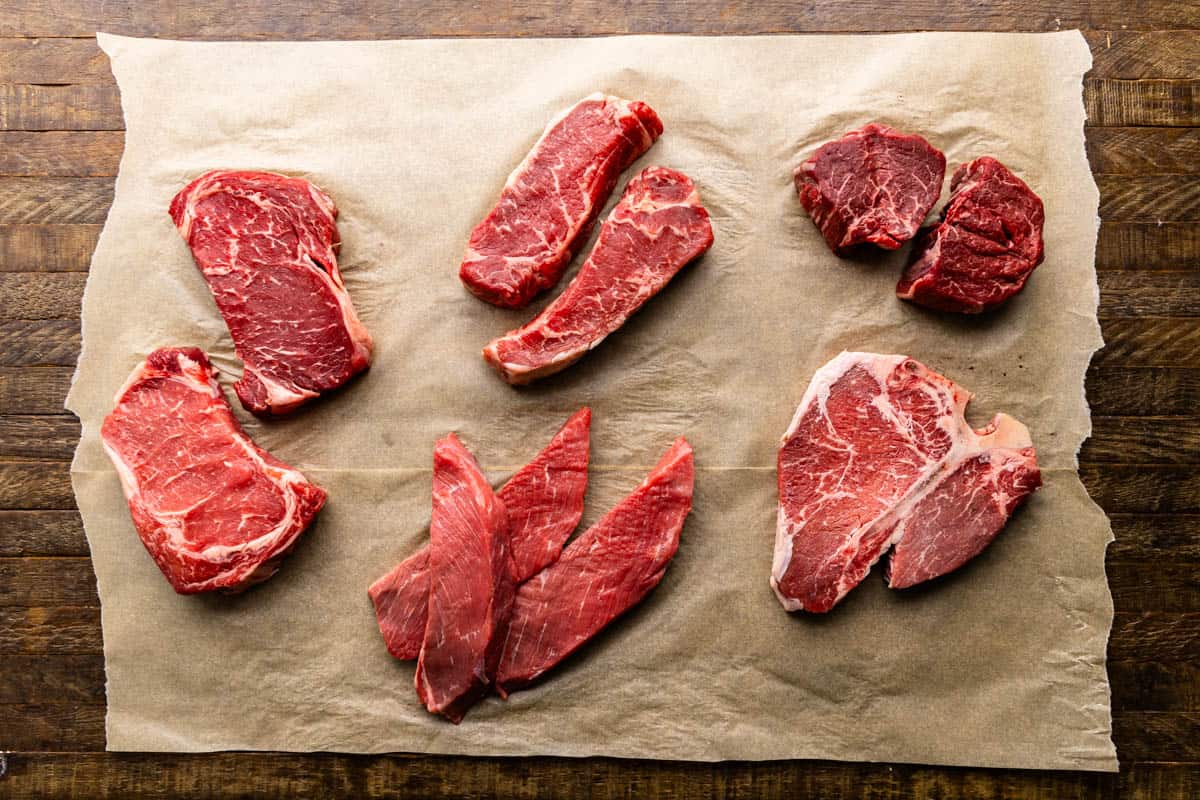
Ribeye: Known for its marbling and rich flavor, ribeye is a top choice for grilling. The fat content helps keep the steak juicy, but be cautious as this can also cause flare-ups.
New York Strip: This cut offers a great balance of tenderness and flavor with a bit less marbling than ribeye, making it a solid option for grilling with fewer flare-ups.
Filet Mignon: Extremely tender and lean, filet mignon is less likely to cause flare-ups due to its lower fat content. It cooks quickly and evenly on the grill.
T-Bone and Porterhouse: These cuts include both the tenderloin and strip steak, offering a combination of textures and flavors. The bone adds flavor but can cause uneven cooking if not managed properly.
Sirloin: A more budget-friendly option, sirloin is leaner than ribeye and strip steak but still flavorful. It’s less likely to cause flare-ups due to its lower fat content.
Flank and Skirt Steak: These thinner cuts are perfect for quick grilling and are best cooked to medium-rare. They have less fat, reducing the risk of flare-ups.
Grades of Beef
There are three grades of beef steak that you will find in a US supermarket: Select, Choice, and Prime.
Select is generally the grade of sale-priced, or advertised meat. If it is choice grade, it will be advertised as such. Select grade is just above what the USDA deems edible. So if you buy Select grade meat, don’t be surprised when it isn’t that great. It will always be worth it to pay the extra money per pound for the Choice grade. If your supermarket carries Prime grade, lucky you!
PRO TIP: Only buy Choice or Prime Grade steaks.
Gas Grills vs Charcoal Grills
Choosing between a charcoal and gas grill ultimately depends on your priorities and grilling style. If you value the smoky flavor and don’t mind the extra setup time and cleanup, a charcoal grill is a great choice. If you prefer convenience, quick heating, and precise temperature control, a gas grill is your best bet. Both produce delicious steaks so choose whichever one works for you.
Charcoal Grills
Charcoal grills impart a distinct smoky flavor to steaks, which many grill enthusiasts prefer. The natural wood smoke soaks straight into the meat which does add an extra firey flavor. However, they do take longer to heat up compared to gas grills. You need to allow time for the charcoal to ash over and reach the desired cooking temperature. It can also be more challenging to control and maintain a consistent temperature. For more detailed information on charcoal grilling, check out this complete guide to getting your charcoal grill ready.
Gas Grills
While gas grills lack the smoky flavor of charcoal, they heat up quickly, allowing you to start grilling within minutes. Simply turn on the gas, ignite the burners, and you’re ready to go. It’s also super easy to maintain a consistent temperature as you only have to adjust knobs to do so. For the best of both worlds you can purchase smoker boxes or wood chip trays to add a smokey element.
Managing Flair Ups
Flare-ups happen and we’re here to help. Ribeyes or T-bones are the most likely steaks to cause flair-ups due to their delicious extra fat. Here are some tips to manage and prevent flare-ups so you can keep both you and your steaks safe.
Keep a Cool Zone: Set up your grill with a hot zone and a cool zone. If flare-ups occur, you can quickly move the steaks to the cooler side until the flames die down.
Trim Excess Fat: Before grilling, trim any excess fat from the edges of your steaks. This reduces the amount of fat that can drip onto the flames and cause flare-ups.
Keep the Lid Closed: Keeping the grill lid closed helps control the temperature and reduces the amount of oxygen that can fuel flare-ups.
Have a Spray Bottle Ready: Fill a spray bottle with water and keep it near the grill. If a flare-up occurs, use a quick spritz of water to control the flames. Be careful not to use too much water, as it can create steam and ash.
Doneness Levels
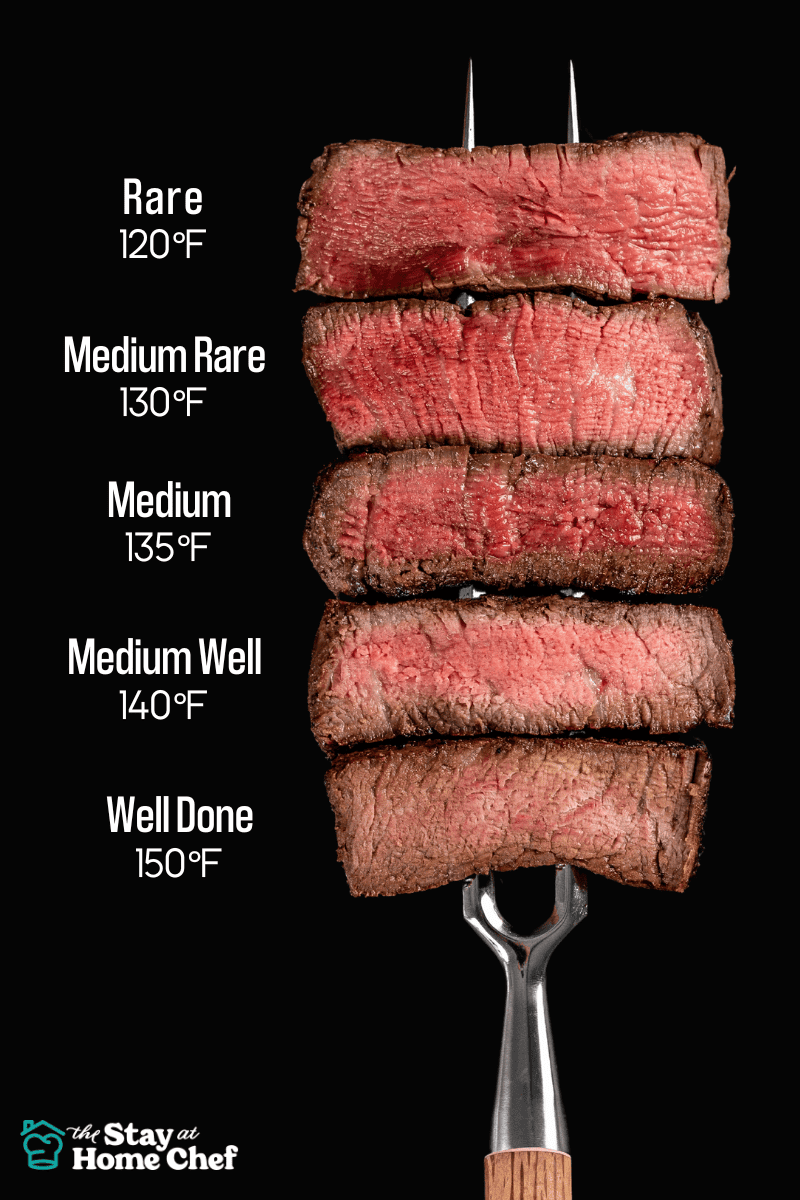
Whether you like your steak practically mooing or cooked until it’s dry as a bone, this steak doneness guide has you covered. The chef’s favorite is always medium-rare, where the steak is tender, juicy, and melts in your mouth if cooked just right. Keep in mind, cooking times vary with the thickness of the cut.
Instant-Read Thermometers
The best way to ensure your steak is perfectly cooked is by using an instant-read thermometer. This handy tool takes the guesswork out of the equation, giving you an accurate reading in seconds. Just insert the probe into the thickest part of the steak, avoiding any bones or fat. Remember, try not to poke too many holes, as this can cause those precious juices to escape.
Cooking Steaks By Feel: “The Thumb Test”
Not everyone has an instant-read thermometer, and that’s okay! With practice, you can judge a steak’s doneness by touch. Here’s how to use “the thumb test” to get it just right:
- Rare: Should feel very soft and yielding. Lightly touch your thumb to your index finger and feel the fleshy area under your thumb. It should feel very soft, similar to raw meat.
- Medium-Rare: Should feel soft with a bit of resistance. Lightly touch your thumb to your middle finger and feel the same area under your thumb. It should feel slightly firmer, but still soft.
- Medium: Should feel firm but with some give. Lightly touch your thumb to your ring finger and feel the area under your thumb. It should feel firmer and more springy.
- Medium-Well: Should feel firm with very little give. Lightly touch your thumb to your pinky finger and feel the area under your thumb. It should feel quite firm with very little softness.
- Well-Done: Should feel very firm with no give. Squeeze your thumb to your palm tightly and feel the area under your thumb. It should feel very firm, similar to well-done meat.
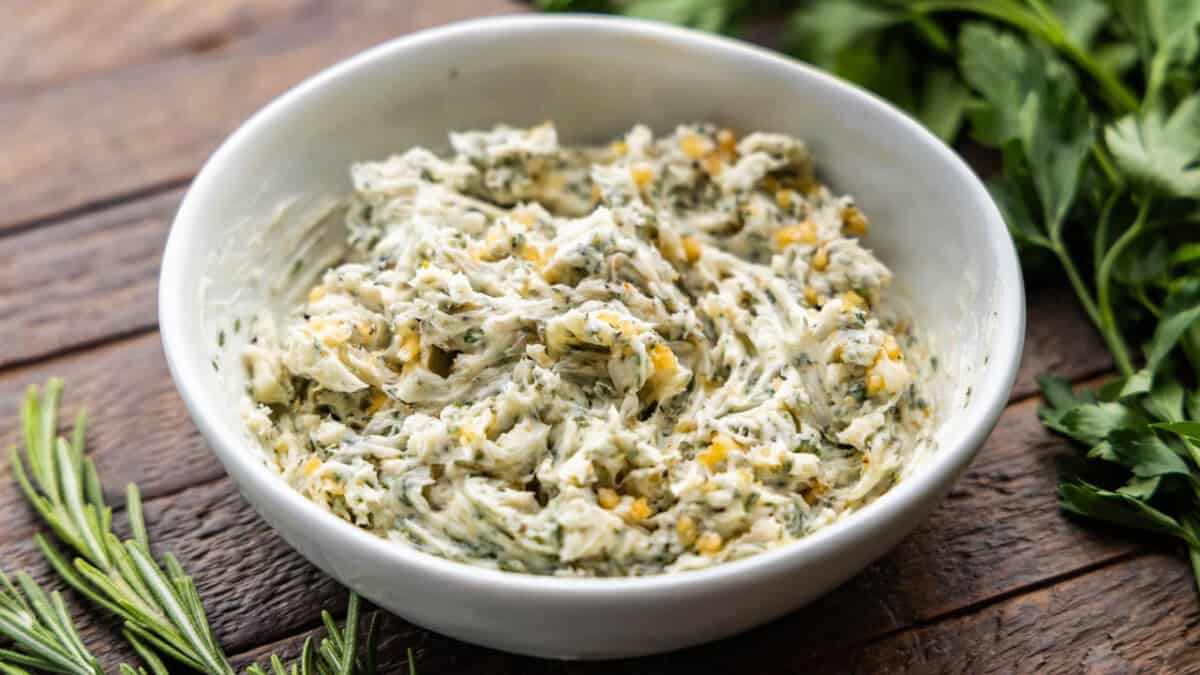
Resting Butter
10 mins
Level up your meat game to restaurant-quality perfection with our tried and true resting butter recipe from our certified meat expert. Perfect for any meat with a resting time from steaks and pork chops, to chicken and fish. It can easily be made in large quantities and frozen for later use.
Resting Your Steak
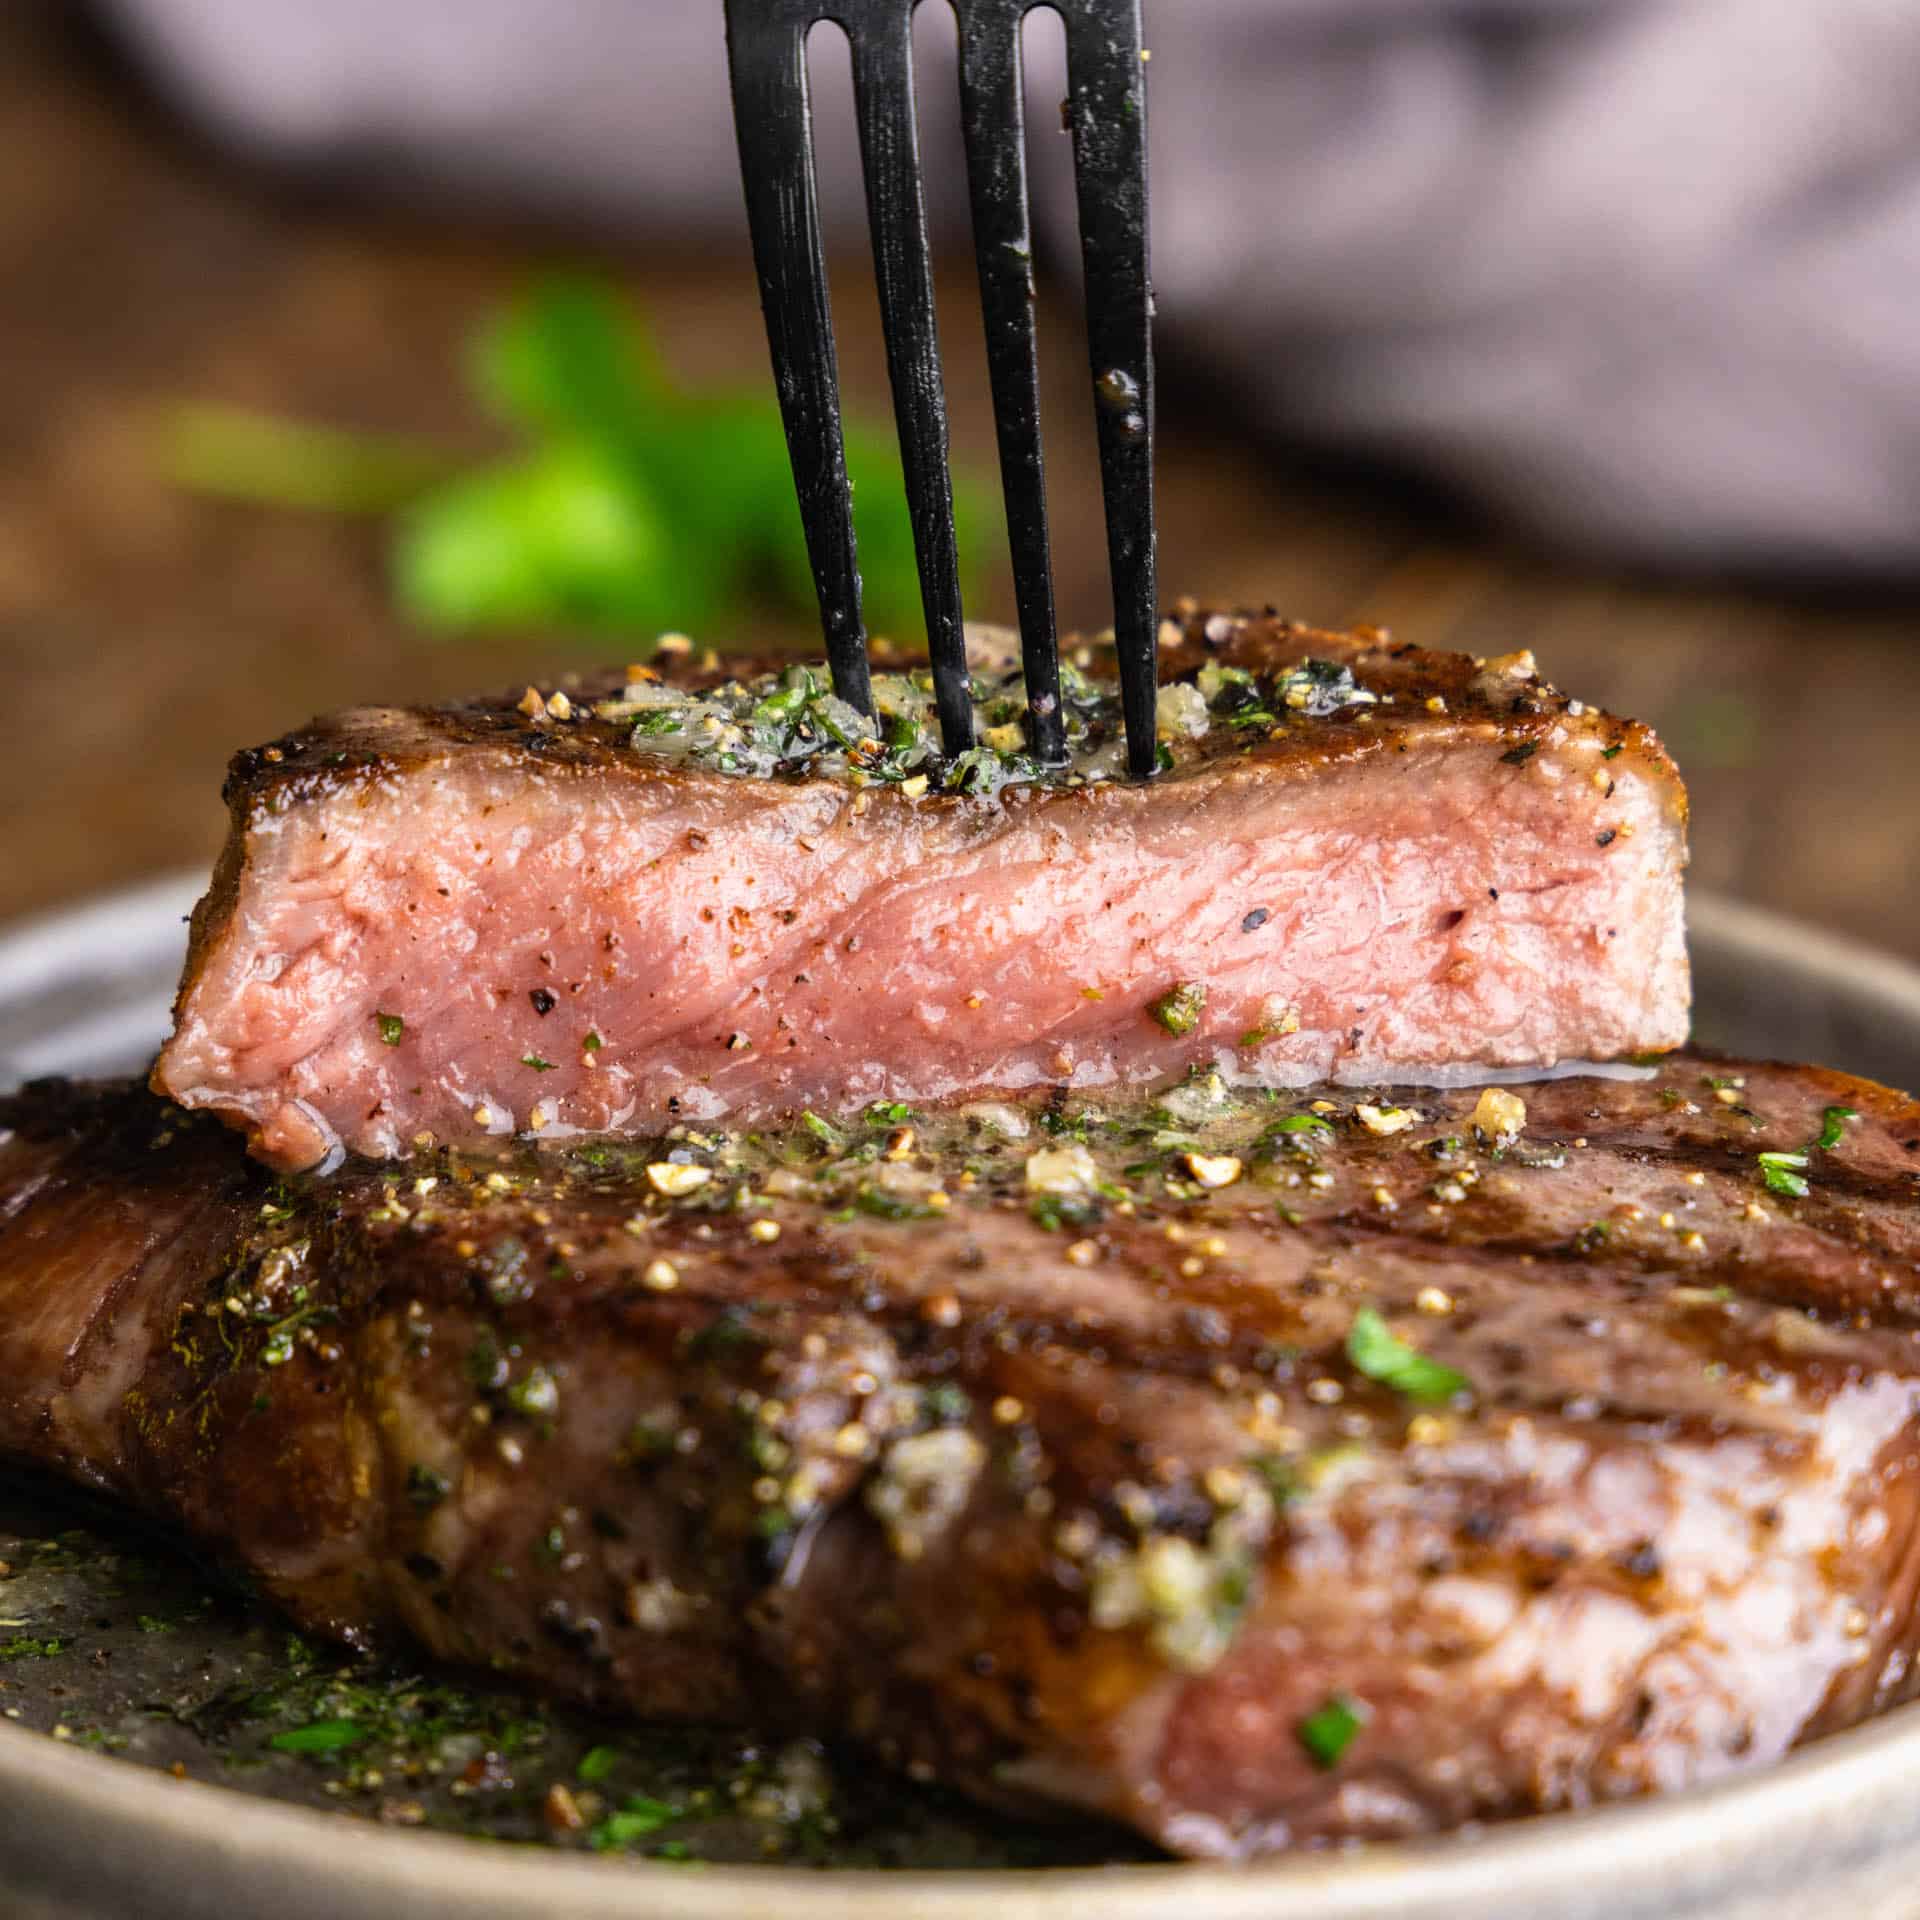
When a steak cooks, its juices are pushed towards the center due to the heat. If you cut into the steak immediately after cooking, these juices will spill out, resulting in a drier piece of meat. Resting for 5 to 10 minutes gives the juices time to redistribute evenly throughout the meat and also allows the fibers in the meat to relax, making the steak more tender and easier to cut. Consider using the resting butter above for more juiciness, or try Cayt’s Cowboy Butter for an extra burst of flavor and heat.
Watch the video below where Rachel will walk you through every step of the process. Sometimes it helps to have a visual demonstration and we’ve got you covered!

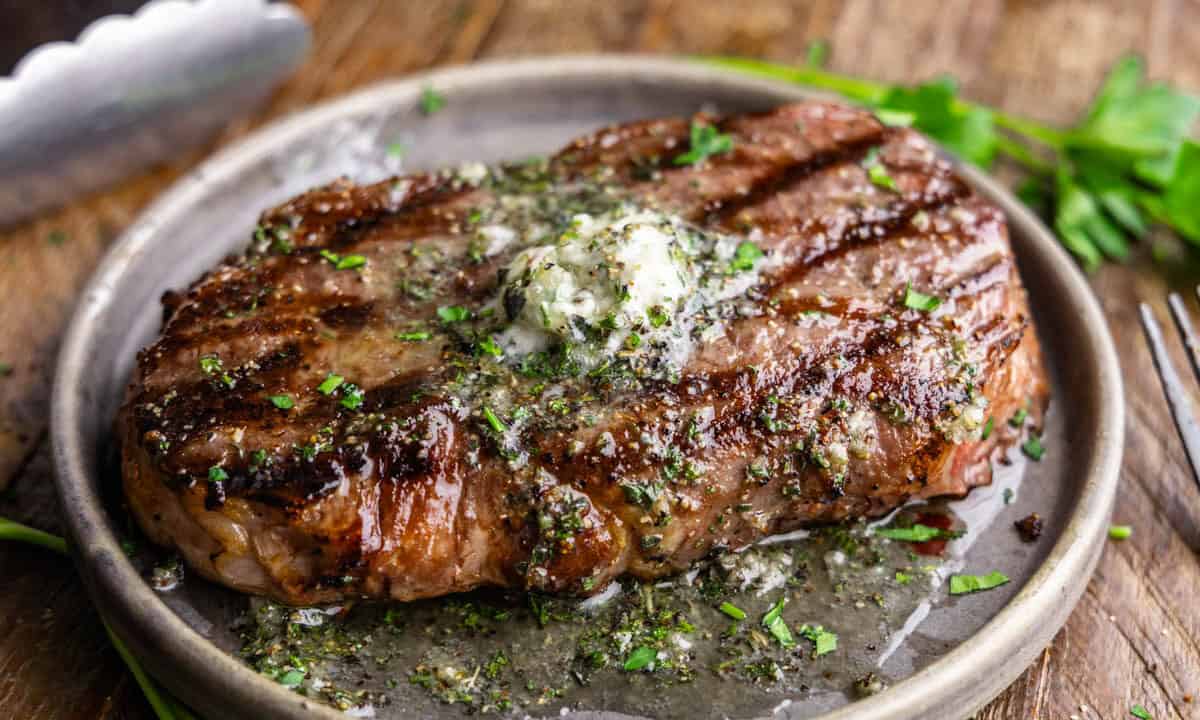
This was absolutely delicious. We used t-bones on the grill and followed directions exactly. I made and used the Resting butter recipe which added even more flavor. This will be our go to for grilling steaks in the future!!