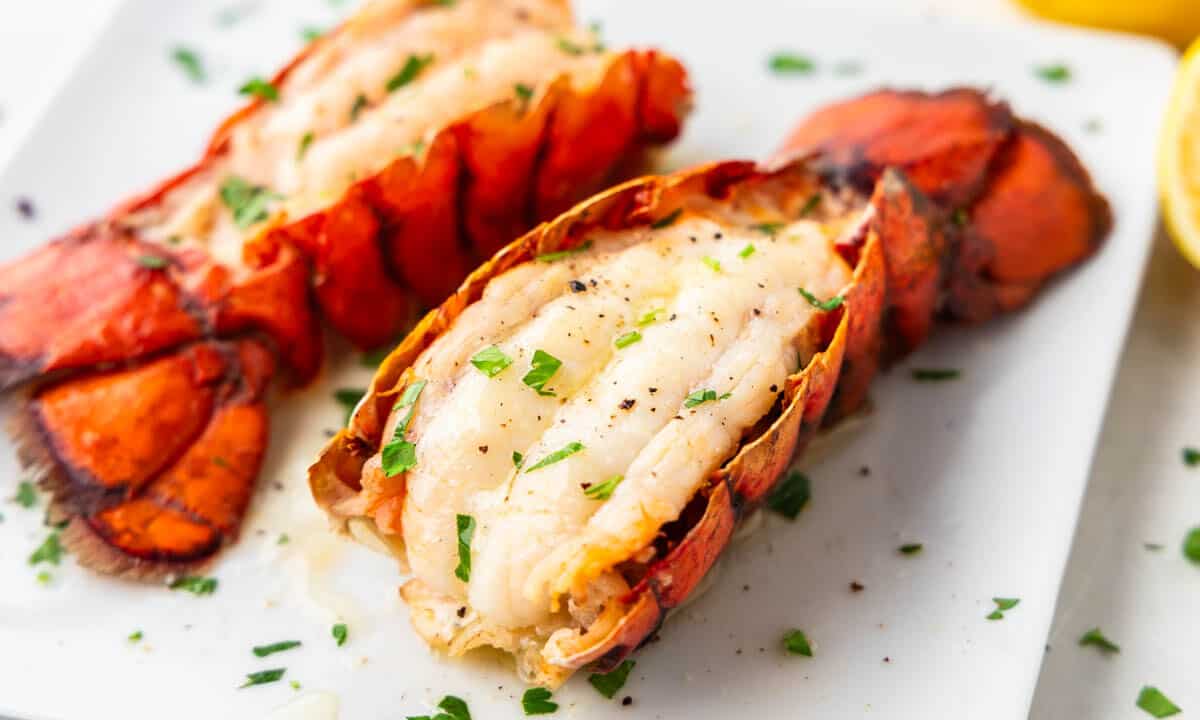
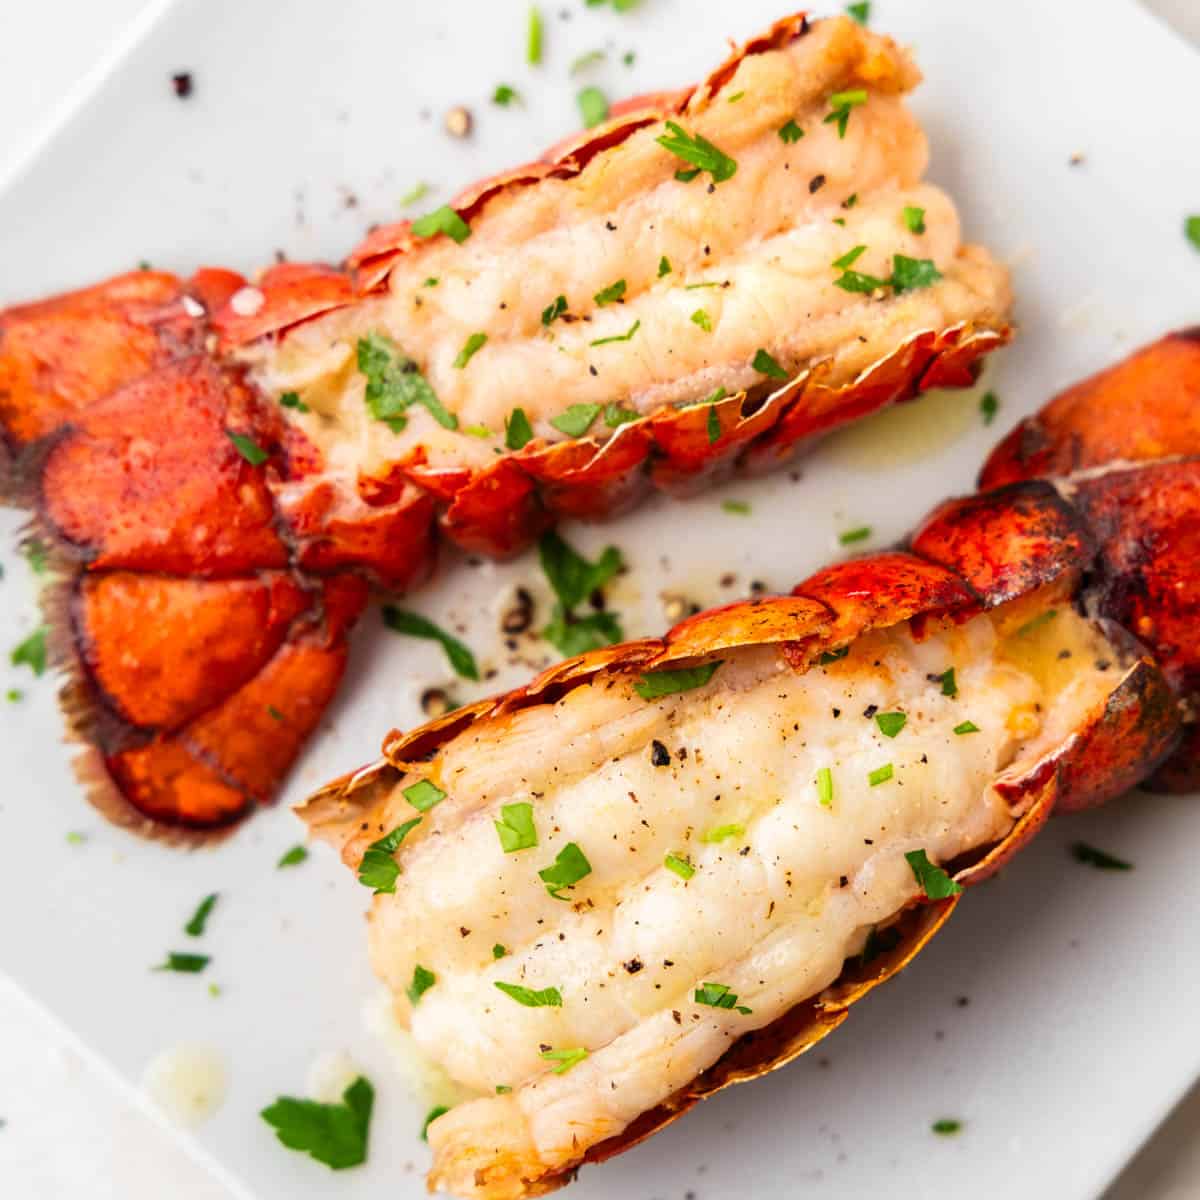
There’s nothing quite like the indulgence of broiled lobster tails, but you don’t need to visit a fancy restaurant to enjoy them! With this recipe, you’ll be savoring buttery lobster in no time—all from the comfort of your own home. It’s a quick and simple way to create a luxurious dining experience, perfect for date night, special celebrations, or whenever you’re feeling the need to treat yourself.
And if you’re feeling particularly extra, you can always cook up some crab legs and make it a seafood feast!
Why Our Recipe
- Quick and simple preparation for a restaurant-quality lobster meal at home.
- A simple garlic butter sauce is all you need for flavor.
- Clear, step-by-step instructions ensure perfectly broiled lobster every time.
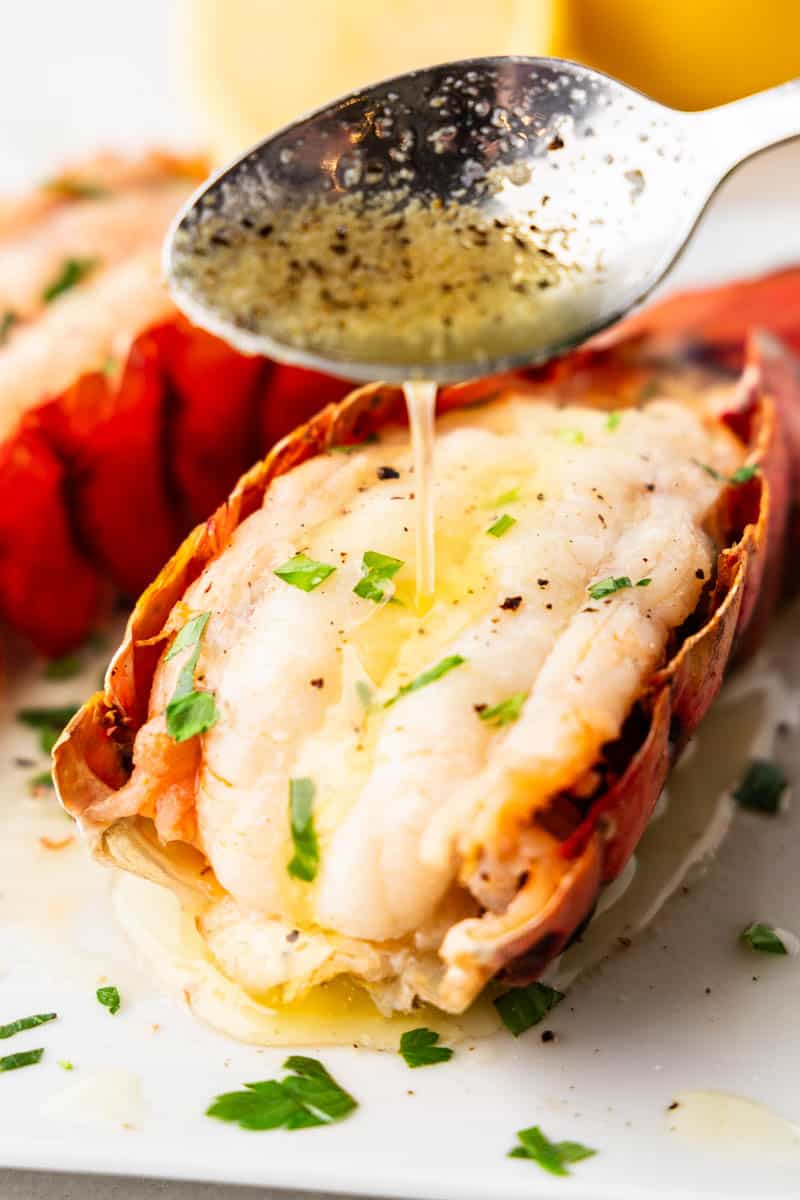
When it comes to cooking lobster tails, you can just keep it simple. We use a garlic butter sauce to bring out the natural sweetness of the lobster. Our clear, step-by-step instructions ensure restaurant-worthy results every time. Whether you’re a seasoned cook or trying lobster for the first time, this foolproof method has you covered.
Ingredient Notes
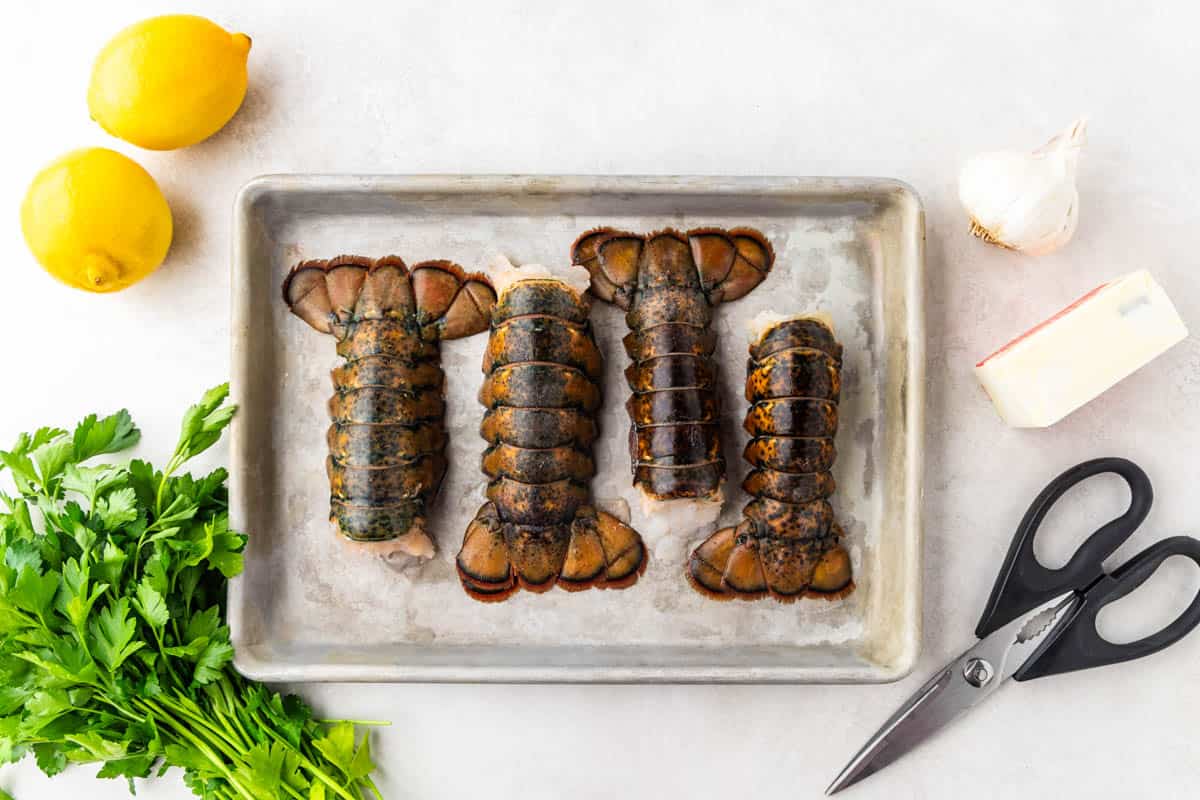
- Lobster Tails: Look for lobster tails that are about 4-6 ounces each for even cooking. If you are using frozen, thaw them in the refrigerator overnight.
- Salted Butter: Salted butter adds flavor, but unsalted works fine too.
- Minced Garlic: Freshly minced garlic always has the best flavor. Jarred minced garlic can have a slightly bitter taste.
- Salt and Black Pepper: Adjust the seasoning to taste at the table. If you prefer, you can use smoked paprika or a dash of cayenne for a slight kick.
- Lemon Wedges: Fresh lemons are a must for squeezing over the lobster when serving.
Frozen Lobster Tails
If you’ve got frozen lobster tails instead of fresh, don’t worry—they’re super easy to work with! Just make sure to thaw them completely before cooking so they turn out tender and delicious. The easiest way? Pop them in the fridge overnight (up to 24 hours is perfect).
In a hurry? No problem! Place the tails in an airtight plastic bag, squeeze out as much air as possible, and submerge them in cold water in a bowl or sink. Swap out the water every 30 minutes to keep it cold, and in 30–60 minutes, your lobster tails will be ready to go.
Butterflying Lobster Tails
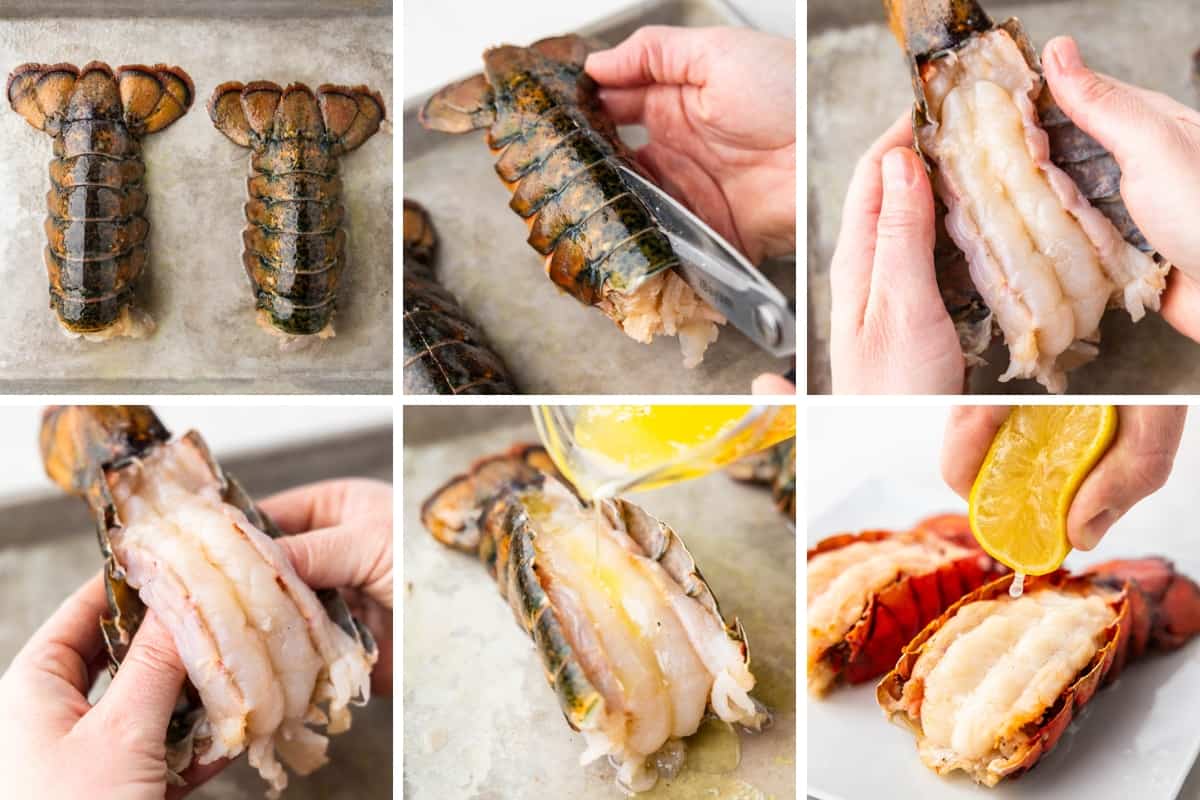
Butterflying lobster tails might sound tricky, but it’s totally easy. A good pair of kitchen sheers comes in handy for this.
- Get Set Up: Place the tail on a sturdy cutting board with the shell side facing up.
- Cut the Shell: Use sharp kitchen shears to snip right down the middle of the shell, stopping before you reach the tail fins.
- Loosen Things Up: Slide your fingers or a spoon under the meat to gently separate it from the shell—take your time to keep the meat intact.
- Butterfly: Spread the shell open just enough to expose the meat. If you’re going for that fancy “on top” look, follow the steps below to lift and rest the meat on top.
To Top or Not to Top
Want to serve up restaurant-quality lobster? Try pulling the meat out of the shell and resting it on top—it’s easier than it sounds and looks super fancy. Here’s what to do:
- After cutting the shell (instructions below), gently wiggle your fingers or a spoon between the meat and the shell to loosen it.
- Lift the meat out carefully, keeping the base attached.
- Lay the meat on top of the shell and fan it out slightly. It’s like dressing your lobster up for a dinner party!
Prefer to keep it simple? You can leave the meat inside the shell, too. It’s less fuss and allows the meat and butter to get trapped together down there in the shell while cooking.
How to Tell When It’s Done
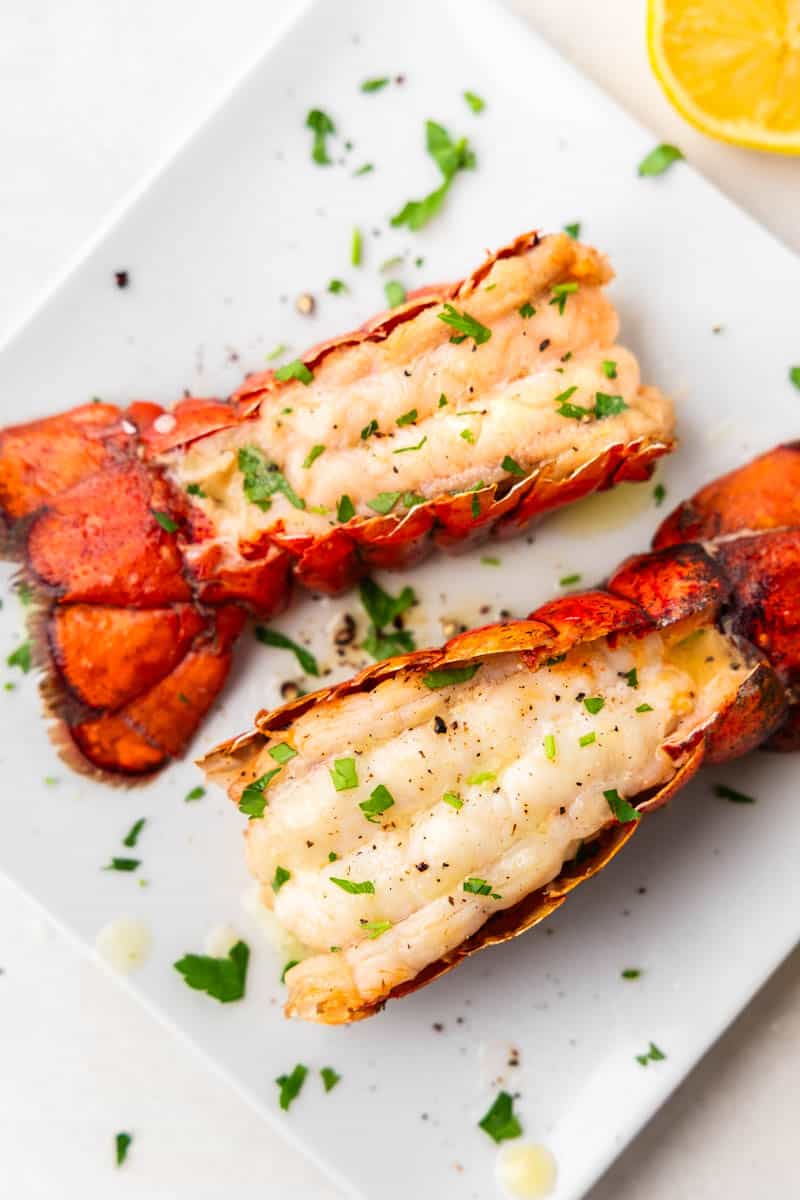
Lobster is all about timing—you want it perfectly tender, not tough and rubbery. Overcooking makes lobster chewy, so keep a close eye while broiling to avoid any mishaps. Here’s how you can tell it’s done:
- The Look: Raw lobster is see-through, but cooked lobster turns opaque white. Once it’s white all the way through, you’re good to go.
- The Shell: It’ll turn bright red, a sure sign that it’s ready.
- The Feel: The meat should be firm but not rubbery.
- Temperature Check: For foolproof results, grab a meat thermometer. The thickest part of the tail should hit 140°F. No guessing, no stress!
Serving Suggestions
Lobster tails are always the star of the show, but you can always add in some side dishes to make sure your whole meal is star-worthy.
Garlic Butter Dipping Sauce: You can never have too much buttery goodness! Melt a little extra butter, stir in some minced garlic, and serve it warm for dipping.
Sides That Shine: Keep it classic with a baked potato and roasted asparagus. For something lighter go with roasted broccoli or a garden salad. A warm loaf of crusty bread or soft dinner rolls is perfect for mopping up every last drop of that garlic butter sauce. Trust me—you’ll want it.
Wine Time: A chilled white wine like Chardonnay or Sauvignon Blanc complements lobster perfectly.
More seafood recipes…
Watch the video below where Rachel will walk you through every step of this recipe. Sometimes it helps to have a visual, and we’ve always got you covered with our cooking show. You can find the complete collection of recipes on YouTube, our Facebook Page, or right here on our website with their corresponding recipes.

Easy, sounds good will try! ?
Great way to make this easy and delicious thanks
Simple and easy. Thanks….
Wonderful! Very clear and easy.
Thank you for making something that seemed intimidating so easy. We can hardly wait to do this for our Thanksgiving.
This recipe is great! First time I’ve ever made lobster tails and they turned out perfectly and we’re so easy to prep and cook!
This recipe was SO easy to follow and turned out amazing! I made 4 smaller lobster tails as a Valentine’s Day treat and it was the best lobster I’ve ever had! Thanks for sharing!
Love her! All her recipes are easy to follow and she does a great job making it look simple!
Ritz cracker stuffing is an excellent choice!
What is the green herb on the lobster tails, it’s not listed in the ingredients
It’s just some chopped parsley to add color. It adds nothing flavor wise.