Unlock the secret to the perfect baked potato with our step-by-step guide. Learn various cooking methods and topping suggestions for a scrumptious, customizable meal you’ll love.
Baking potatoes has never been easier with our comprehensive guide! We’ll show you how to achieve that satisfying, fluffy interior and crisp, golden exterior using various cooking methods. Whether you’re a fan of the classic oven-baked method or looking to explore alternative ways to cook your potatoes, we’ve got you covered for a delicious, versatile meal that’s perfect for any occasion. This guide will also provide you with helpful tips, substitutions, and serving suggestions to ensure you create the most mouth-watering and customizable baked potatoes every time. So gather your favorite toppings and get ready to impress your friends and family with restaurant-quality baked potatoes, made right in your own kitchen!
Potato Varieties
When making baked potatoes, the differences between Russet, Red, and Yukon Gold potatoes are quite noticeable.
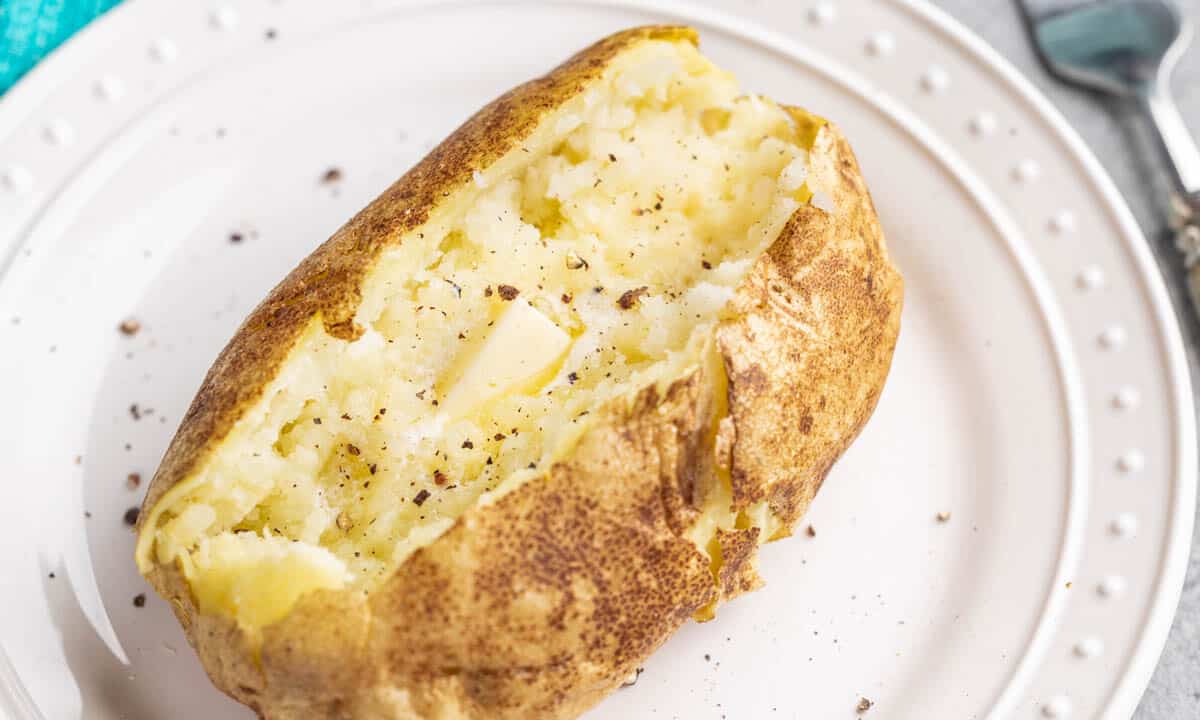
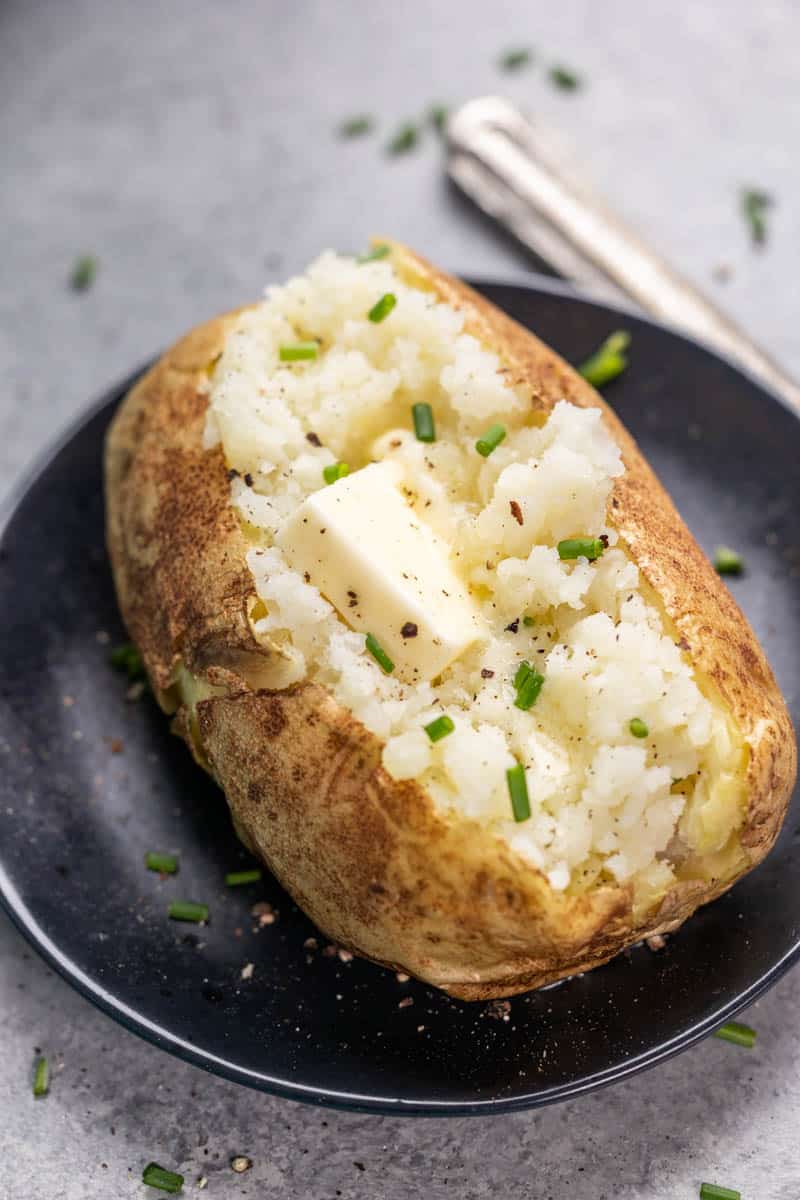
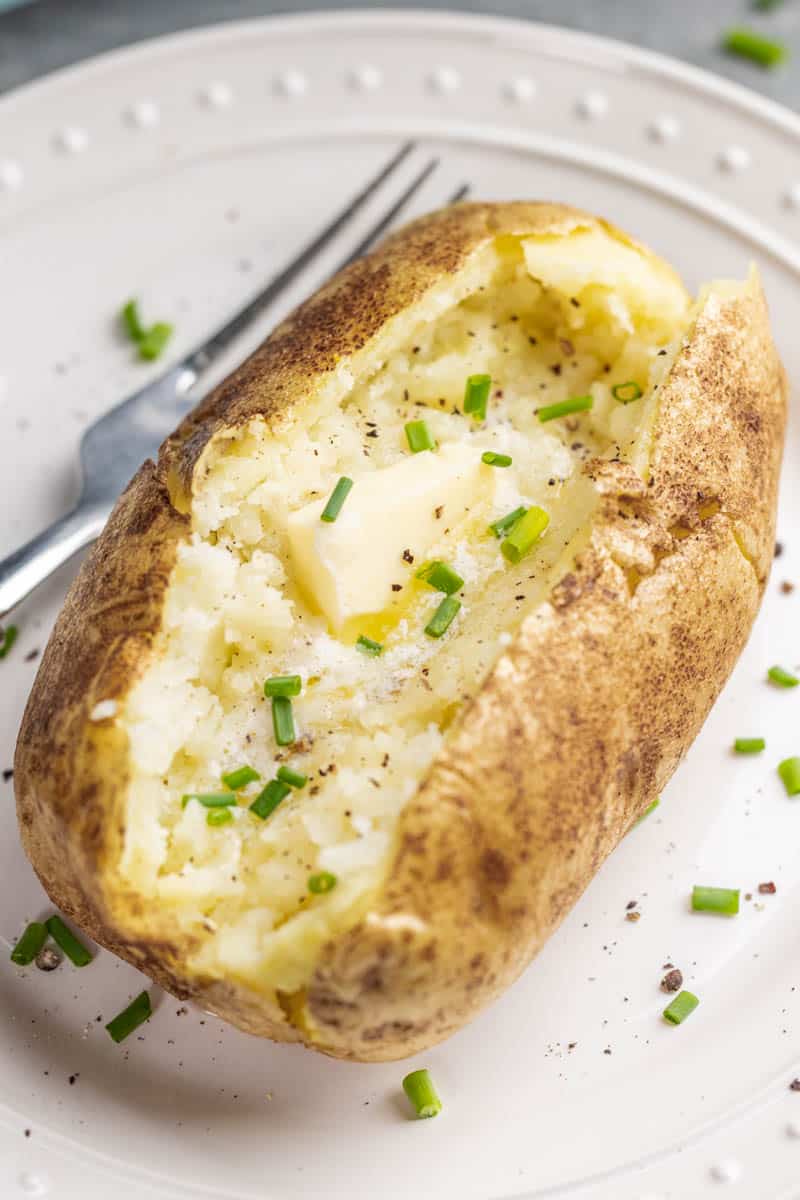
- Russet potatoes are the classic choice for baked potatoes due to their high starch content, which creates a fluffy and soft interior. Their thick skin crisps up nicely, providing the perfect contrast to the tender potato inside.
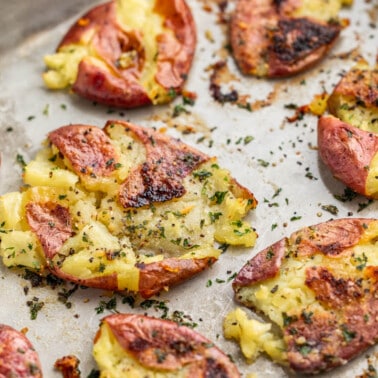
- Red potatoes, on the other hand, have a waxy texture that doesn’t yield the same fluffiness when baked, and their thinner skin doesn’t crisp up as well.
- Yukon Gold potatoes have a creamier texture when baked and a more buttery flavor, but their skin doesn’t become as crispy as Russet potatoes, and the interior won’t be as fluffy.
While Russets are the preferred choice for traditional baked potatoes, you do you! Red and Yukon Gold potatoes can offer a unique twist on the dish with their distinct textures and flavors.
How to Choose the Best Potato for Baking
When selecting the best potatoes for baking, look for large, evenly-shaped Russet potatoes. Russets have a higher starch content, which gives them a fluffier texture when baked. Inspect the potatoes for firm, smooth skin without blemishes, sprouts, or green spots, as these may indicate spoilage or improper storage. Keep in mind that potatoes should feel heavy for their size and be free of any soft or moldy areas. When you start with the right potatoes, you’ll enjoy a more consistent, delicious result.
Baking Potatoes without Aluminum Foil
Baking a potato without aluminum foil is not only possible but could yield a slightly crispier skin. To do so, simply follow the original recipe’s preparation steps, but instead of wrapping the potatoes in foil, place them directly on the oven rack or on a baking sheet. Just remember to place a baking sheet on the rack below to catch any juices that may drip during cooking.
Serving Suggestions
- Pair your baked potato with a fresh salad or roasted vegetables for a balanced meal.
- Serve alongside grilled or roasted meats for a satisfying, protein-packed dinner.
- Create a baked potato bar, buffet style!
Essential Tips and Tricks
- Choose the Right Potato: For fluffy, baked potatoes, choose a high-starch variety like Russet potatoes. They have a thick skin that gets nicely crispy and an interior that turns creamy when cooked.
- Clean Thoroughly: Wash the potatoes under cold water to remove any dirt or debris from the skin. Scrub them with a vegetable brush if necessary.
- Pierce the Skin: Use a fork to poke several holes around the potato. This allows steam to escape during baking, preventing the potato from bursting.
- Oil and Season: Rub the potato with a little olive oil or butter, then sprinkle with salt. This helps to crisp up the skin and adds flavor.
- Check for Doneness: Baked potatoes are done when they’re easily pierced with a fork. Depending on the size, it may take between 45 minutes to an hour.
Storage & Reheating Instructions
To store leftover baked potatoes, let them cool to room temperature before transferring them to an airtight container. Store the container in the refrigerator for up to 4 days.
When it comes to reheating, you have a few options:
- Microwave the potatoes on a microwave-safe plate for 2-3 minutes, or until heated through.
- To retain the crispiness of the skin, you can reheat the potatoes in a preheated oven at 350°F for 15-20 minutes, or until warmed through.
- You can use an air fryer set at 350°F for 5-10 minutes to achieve a crispy skin and warm interior.
Always ensure that your leftovers reach an internal temperature of 165°F before consuming for food safety.
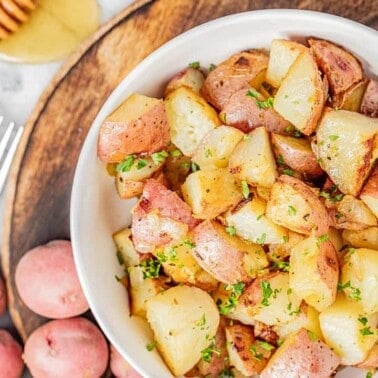
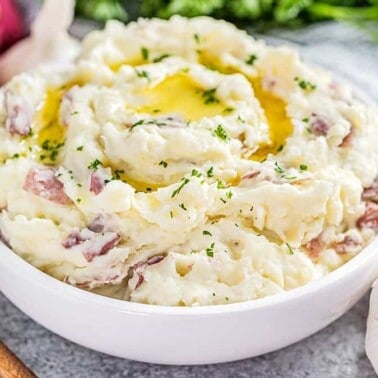
Related Recipes
If you like this recipe, you may be interested in these other delicious potato side recipes:

I did this but put many slices in vertically and one horizontal slice. Added butter on top and heavy sprinkle of onion soup mix and wrapped in foil and baked for one hour. It was delish!