
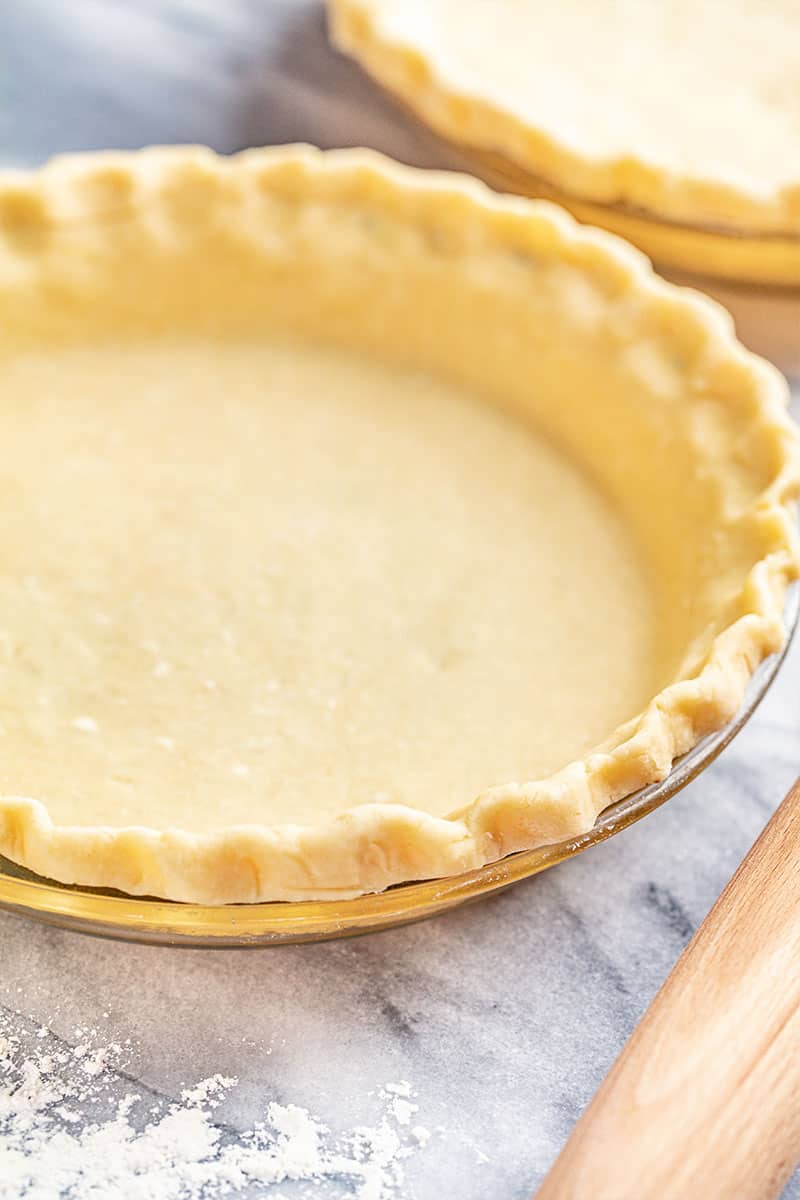
When it’s pie time, are you tempted to reach for the prepared crusts at the grocery store? It could be that making crust feels like an extra hassle on top of all of the other cooking and baking, or maybe you haven’t made great crusts in the past, so you would rather not risk it. You can put all of that behind you! This recipe is awesome because it is simple, it makes a perfect crust, and you can make crusts in advance and freeze them for the anticipated pies. It doesn’t require a whole lot of effort, and the payoff is amazing.
Ingredient Breakdown & Substitutions
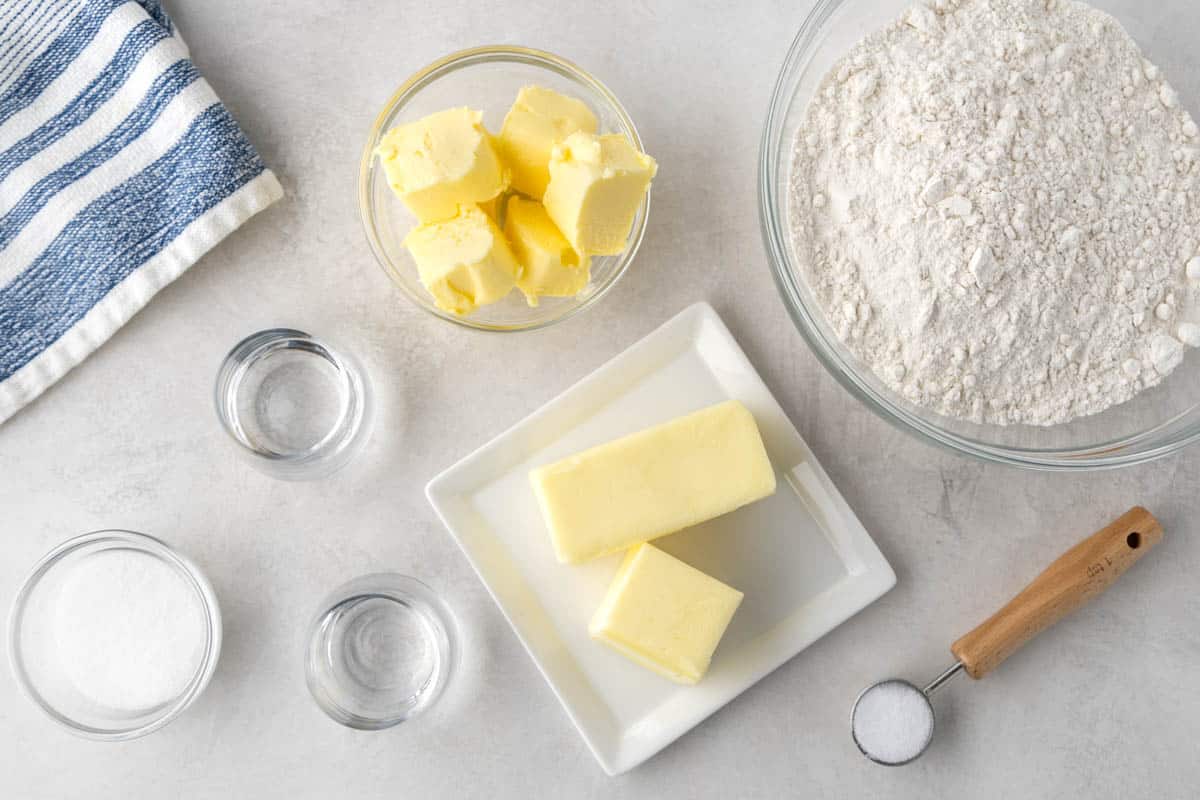
- All-Purpose Flour: The foundation of the crust; for a gluten-free version, use a gluten-free all-purpose flour blend.
- Sugar: Adds a slight sweetness; can be reduced or omitted for savory pies.
- Salt: Enhances the flavor; use kosher salt for a finer texture.
- Unsalted Butter: Provides richness and flakiness; can be substituted with an equal amount of lard or additional vegetable shortening.
- Vegetable Shortening: Makes the crust tender; lard or additional butter are suitable substitutes.
- Ice Water and Vodka: Keeps the dough workable; vodka can be replaced with more ice water, but it helps to reduce gluten formation for a tender crust.
Frequently Asked Questions
Yes, you can substitute lard or additional butter for vegetable shortening, though this may slightly alter the texture.
Cold ingredients prevent the fat from melting before baking, which is crucial for achieving a flaky crust.
If you prefer not to use vodka, simply replace it with an equal amount of ice water. The vodka helps make the dough more workable without adding gluten.
Some bakers swear by adding a splash of vinegar to their pie crusts. While it allegedly prevents the formation of gluten, science cannot prove this claim to be true. However, a splash of vinegar may give your pie crust a slightly better color as it prevents oxidation. It will also impact the final flavor of the pie and give it just a hint of acidity. If you use vinegar, do only use a splash of vinegar as to not overwhelm the flavor.
Yes, it’s a versatile crust that works well with both types of fillings.
Absolutely! The dough can be refrigerated for up to 3 days or frozen for up to 3 months.
Yes. Refrigerating the dough allows the butter and shortening to chill up again. This prevents it from getting over-worked into the dough, and makes it possible for it to melt quickly when it is being baked. That quick melting action is what creates those lovely little flaky layers we love in a good crust.
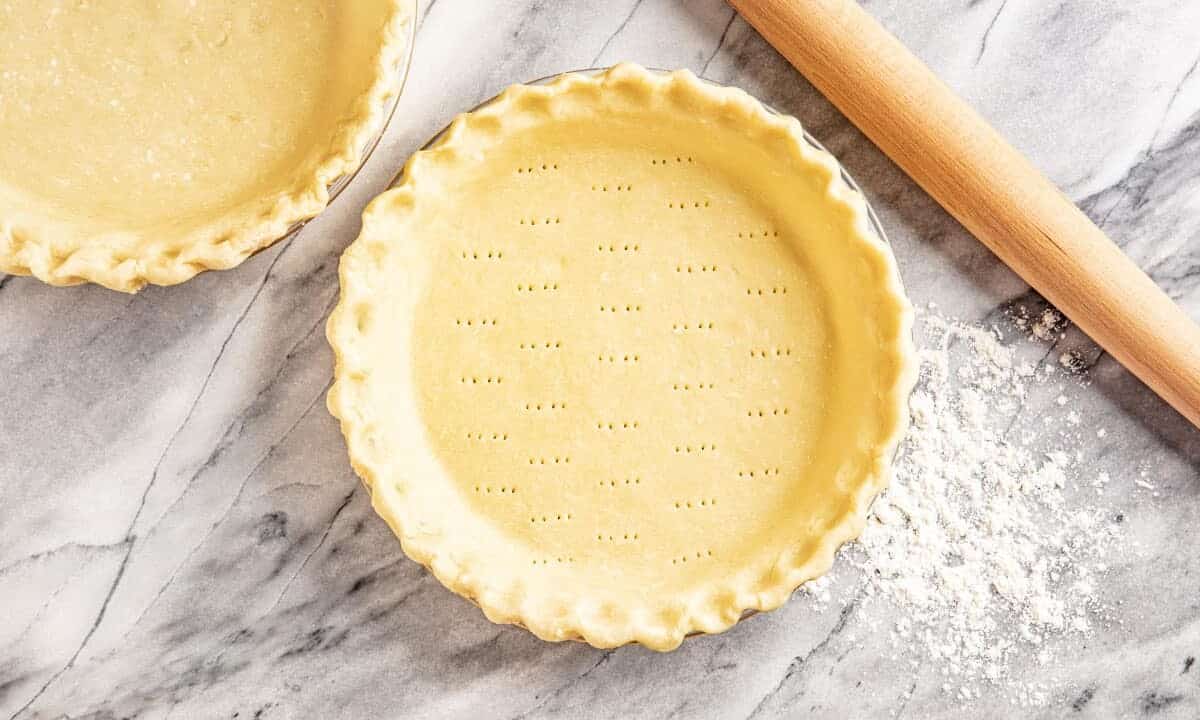
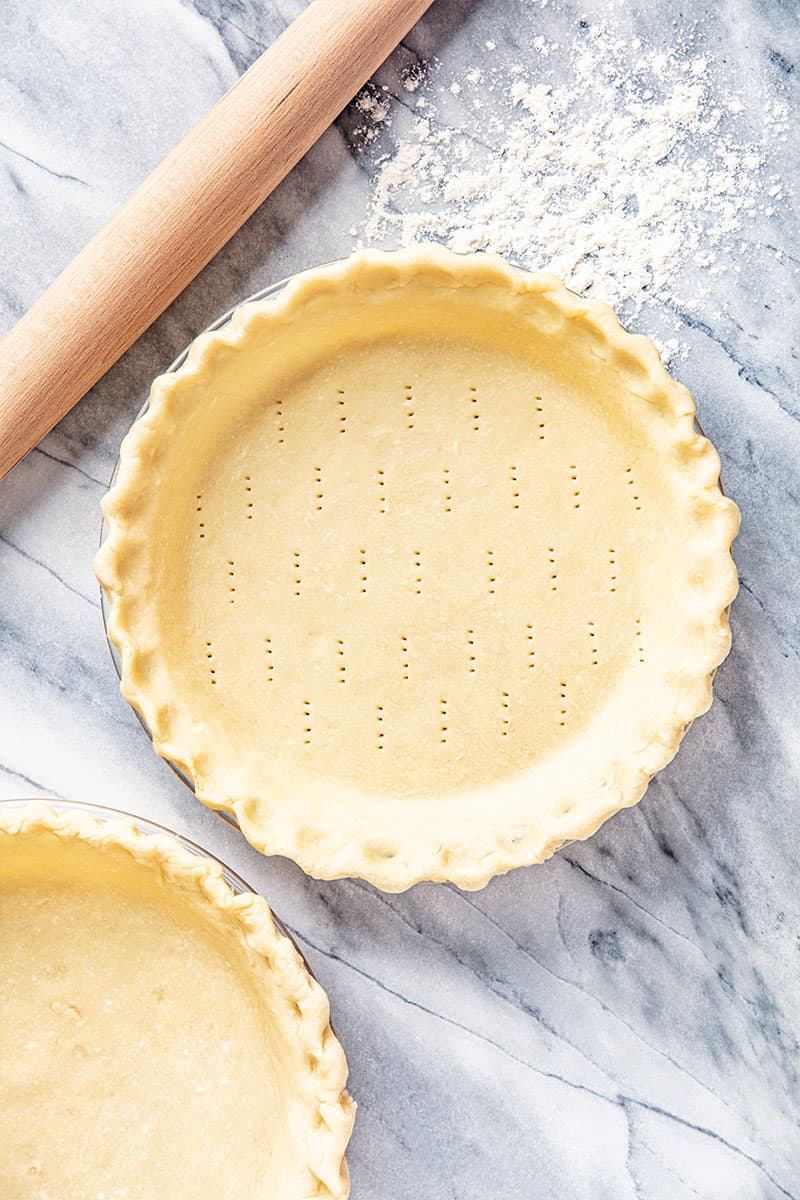
Pie weights are small ceramic or metal balls that are used specifically to weigh down a pie crust while “blind baking” or pre-baking. If you don’t have pie weights you can also use uncooked rice or dried, uncooked beans in place of the pie weights. This weight will prevent the pie crust from sliding or bubbling.
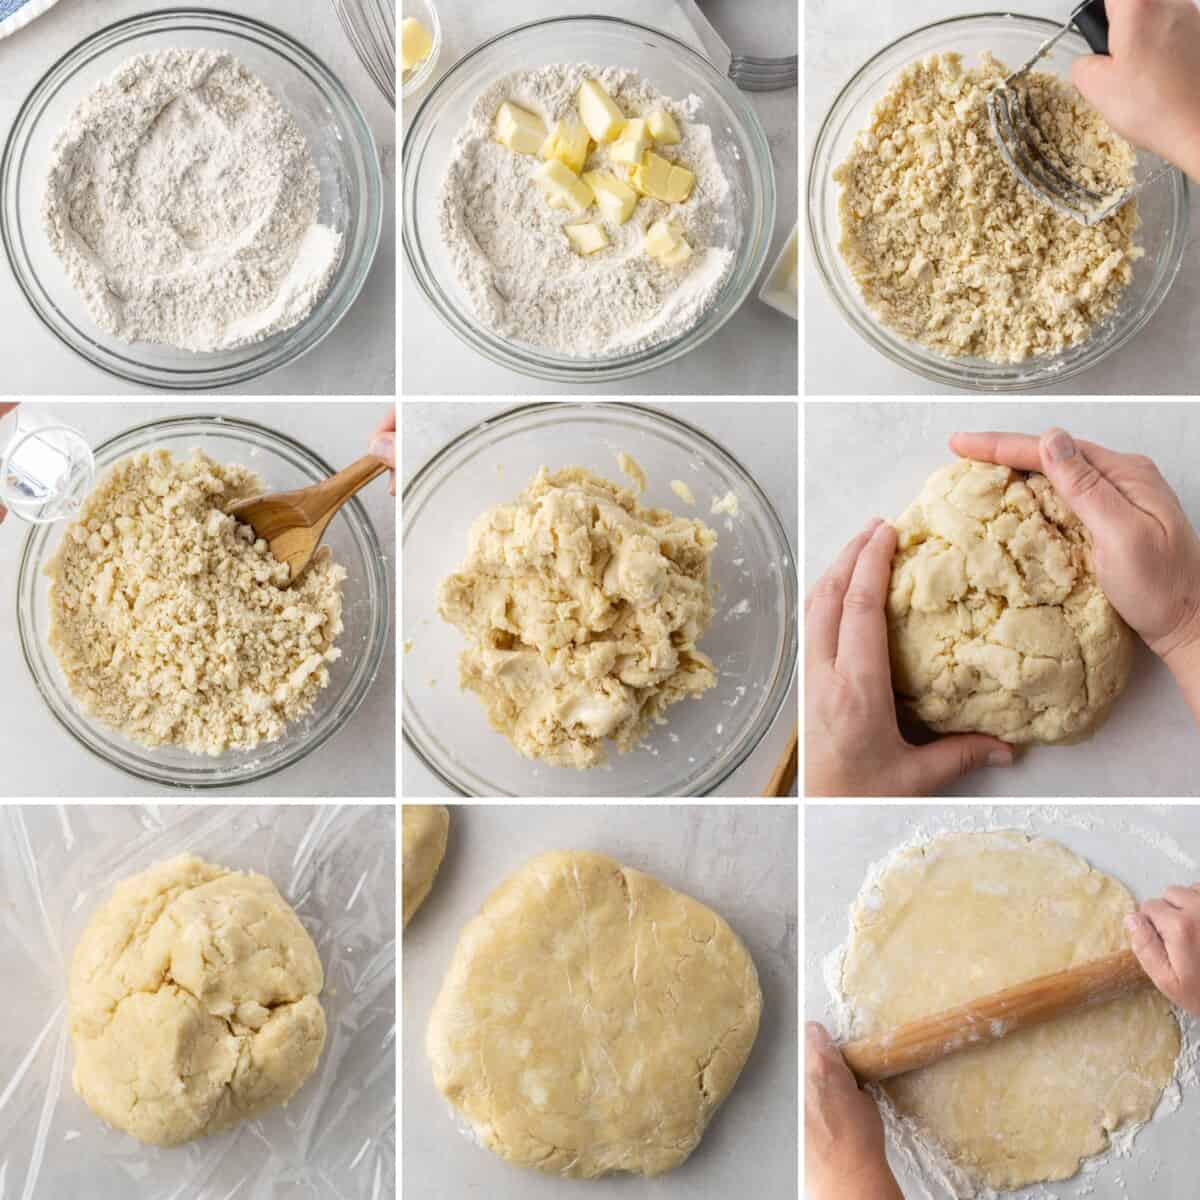
Visual Guide to Making Pie Crust
Butter Versus Shortening in Pie Crusts
Pie crusts require fat, and which fat you choose is a matter of personal preference. Butter, shortening, and even lard are the most popular options. Each of these can be used interchangeably in the same quantities, but the results will be slightly different due to how each of these fats interact with the flour and exposed to high high heat.
- BUTTER: provides the best flavor, but the fat doesn’t separate from the flour as quickly resulting in a less flaky crust. A butter based pie crust may also slip or shrink slightly more than other fats as it contains up to 15% water, which will evaporate during cooking.
- SHORTENING: provides a flaky crust because as the crust bakes, the flour and shortening are forced apart until the shortening melts. By this point, the pie crust will be set, creating that highly sought-after flaky texture. Shortening, however, often lacks in flavor. For a better flavor, use butter-flavored shortening.
- LARD: is very similar to shortening as they have similar melting points, but usually comes from pig fat. It has a distinctive flavor which can be overpowering depending on your personal taste preferences.
- COCONUT OIL: A popular trend in baking today is to use coconut oil. Coconut oil can be used to make a pie crust, but you’ll want to measure and freeze the coconut oil first and increase the oven temperature by 50 degrees F. Because coconut oil has such a low melting point, results are better when making smaller pies so that the baking process happens faster and more evenly, forcing apart the fat and flour as quickly as possible.
How to Cut Butter or Shortening into Flour
- GRATER: The easiest way to cut fat into flour is to grate it using a cheese grater. This only works well for cold butter. Be sure to grate the butter as finely as possible so that the pieces of fat can be more evenly distributed throughout the dough.
- PASTRY CUTTER: A traditional, old fashioned way to cut fat into flour is to use a pastry cutter. This specialized kitchen tool has 3 to 4 curved blades attached to a handle so that you can cut the fat into the flour using a rocking motion.
- FOOD PROCESSOR: A food processor is a great modern small kitchen appliance that makes it really easy to cut fat into flour. Simply place your flour mixture into the bowl of the food processor along with your cold fat. Using the S-blade, pulse the mixture together until it resembles coarse meal or sand.
- TWO KNIFE METHOD: The hardest method uses two knives to cut the solid fat into the flour by cutting the knives parallel against each other. This may be physically more difficult, but it doesn’t require any specialized kitchen tools. Hold one butter knife in each hand. Criss cross the two knives to form an X-shape, with the flat sides of the blades touching each other. Place the knives in this shape into the fat and flour and slice the blades against each other in an outward motion repeatedly, similar to how scissors work.
Troubleshooting
- Crumbly Dough: If the dough is too dry, add a bit more ice water, one teaspoon at a time.
- Tough Crust: Avoid overworking the dough, as this develops gluten and can make the crust tough.
- Shrinking Crust: To prevent the crust from shrinking during baking, chill it in the pie dish before baking.
Tips From the Chef
- Keep all ingredients cold to ensure a flaky crust.
- Don’t overwork the dough; mix just until it comes together.
- Chill the dough before rolling to make it easier to handle.
- Roll the dough evenly for consistent baking.
Make Ahead Instructions
Dough discs can be formed and then frozen for up to 3 months. Be sure to wrap the dough really well when freezing. Just thaw the dough discs in the refrigerator overnight before you intend to use them. We always make a bunch of these at the beginning of November so we’re ready for the holidays.
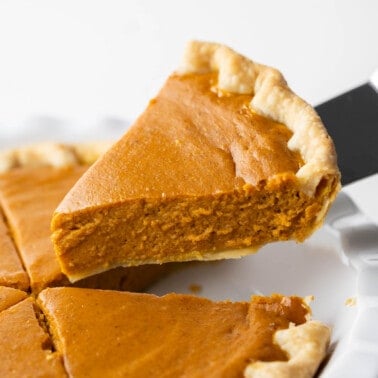
Fill Your Crust With…
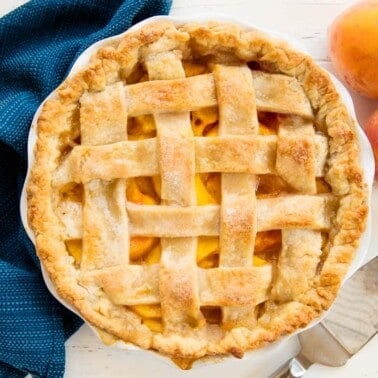
Perfect Peach Pie
3 hrs
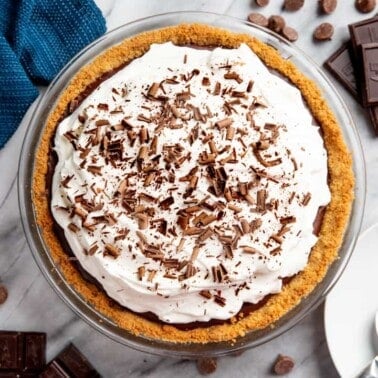
Decadent Chocolate Cream Pie
4 hrs 40 mins

Old Fashioned Creamy Lemon Pie
1 hr 25 mins
Watch the video below where Rachel will walk you through every step of this recipe. Sometimes it helps to have a visual, and we’ve always got you covered with our cooking show. You can find the complete collection of recipes on YouTube, Facebook Watch, or our Facebook Page, or right here on our website with their corresponding recipes.
This recipe is excellent,in fact it’s the only pie crust I’ve ever been able to make by hand and have it come out tender and flakey.