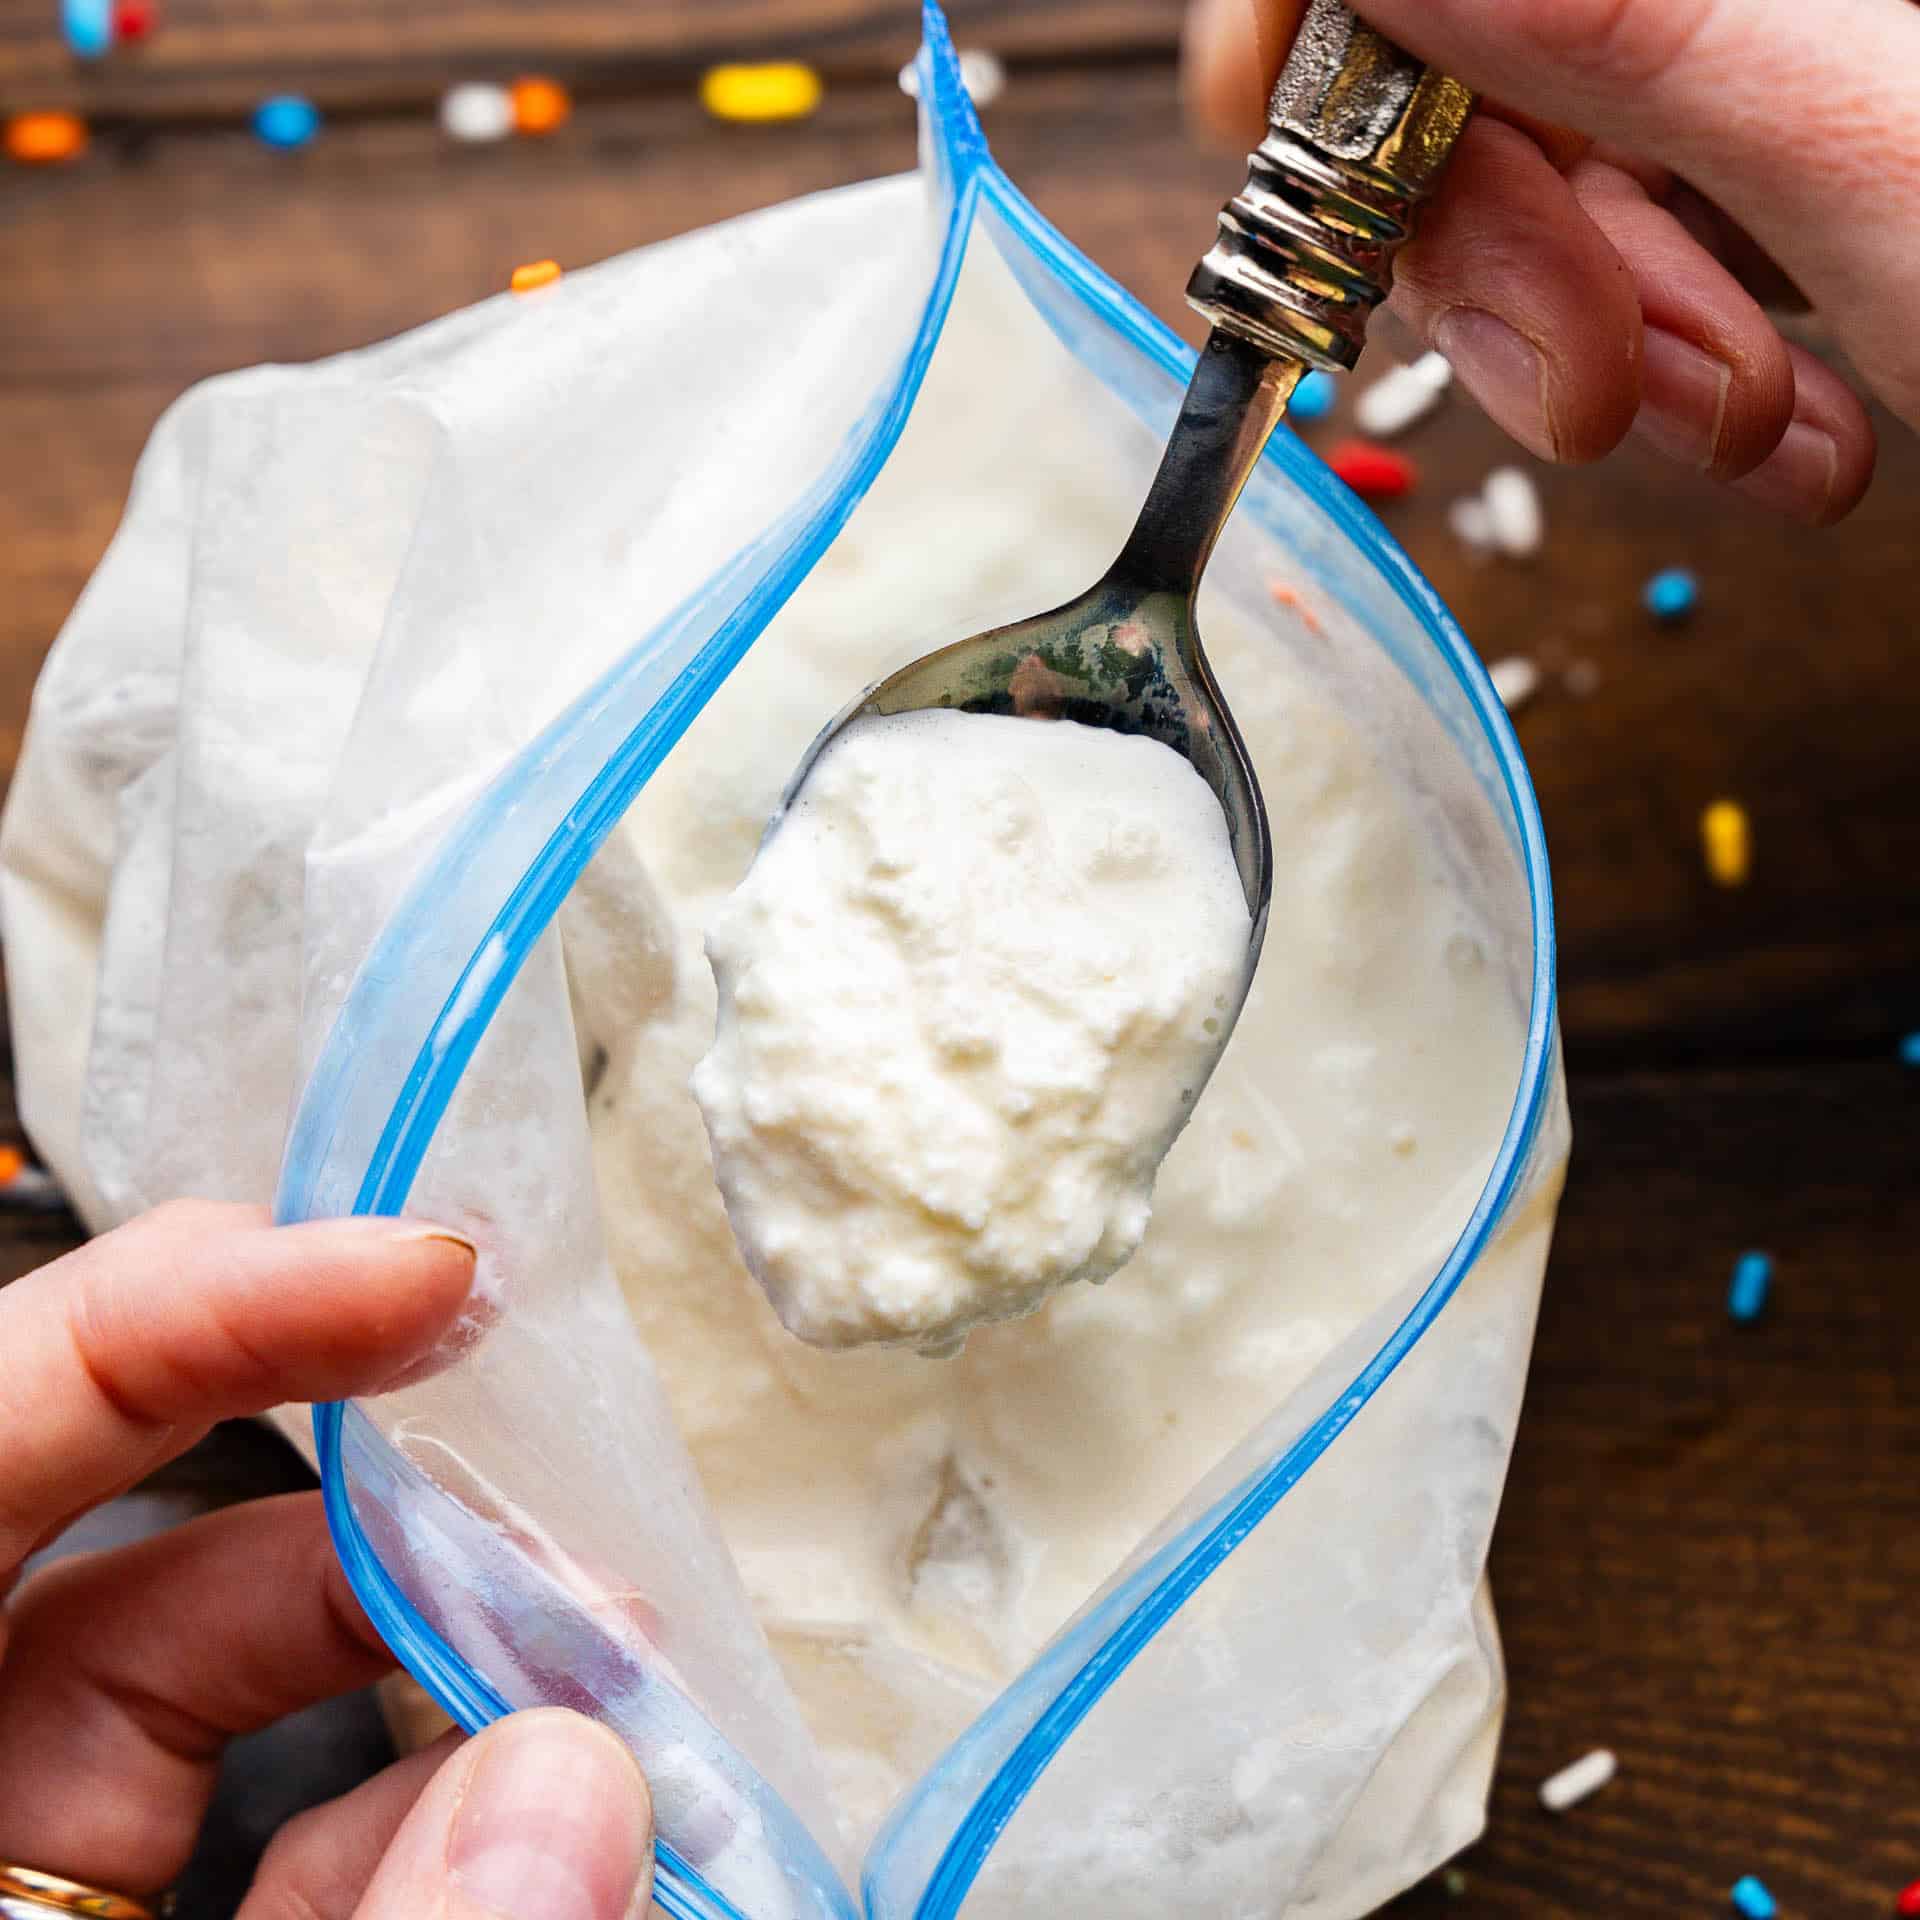
Let’s dive into the science of cooking with homemade vanilla ice cream. You can make it in a bag which is what we do in this recipe, or you can put it in cans and roll them across the ground to create a makeshift ice cream maker. In the end, it’s just simple science! The same principle applies to both methods and it ends up being a fun activity for kids to get involved in cooking and make a delicious treat. Roll up your sleeves for some summer fun with some 5-minute ice cream!
Check out our Best Hot Fudge Sauce to take this yummy ice cream to the next level.
Why Our Recipe
- A simple, fun activity for any age that results in a delicious treat.
- We’ll even teach you the science behind it!

Making Homemade Ice Cream is a super fun activity we did growing up that’s full of delicious memories. This is great for a summer activity to keep the kids busy, family reunions, summer camps, holiday parties, and more.
Ingredient Notes
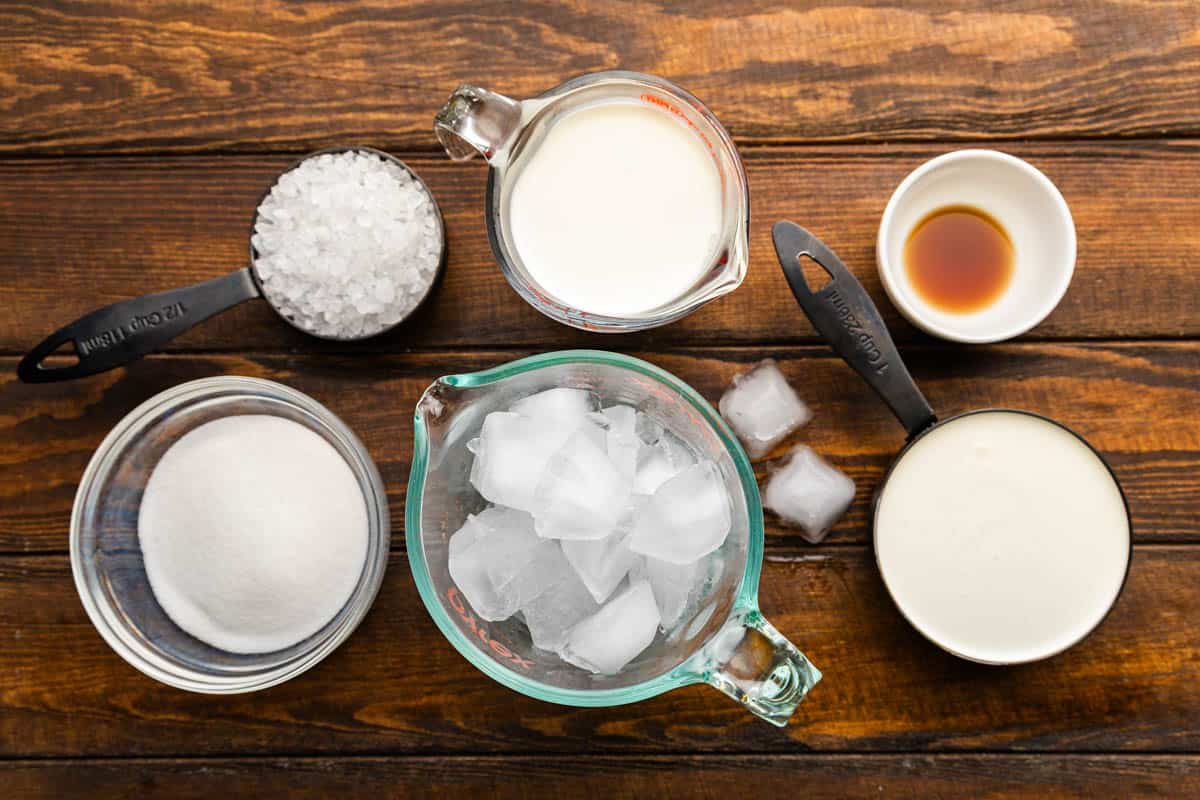
- Heavy cream: This brings richness to the ice cream and the fat brings smoothness.
- Half and half: All heavy cream would keep the ice cream from freezing as well and will form crystals. If you don’t have half and half, you can substitute half a cup of heavy cream and half a cup of milk.
- Sugar: You gotta have the sweet!
- Vanilla extract: That’s the flavor, of course!
- Ice cubes: If your ice cream isn’t freezing, just add more ice to keep the energy flowing!
- Salt or ice cream salt: either will work! Ice cream salt just facilitates the science a little better.
The Science
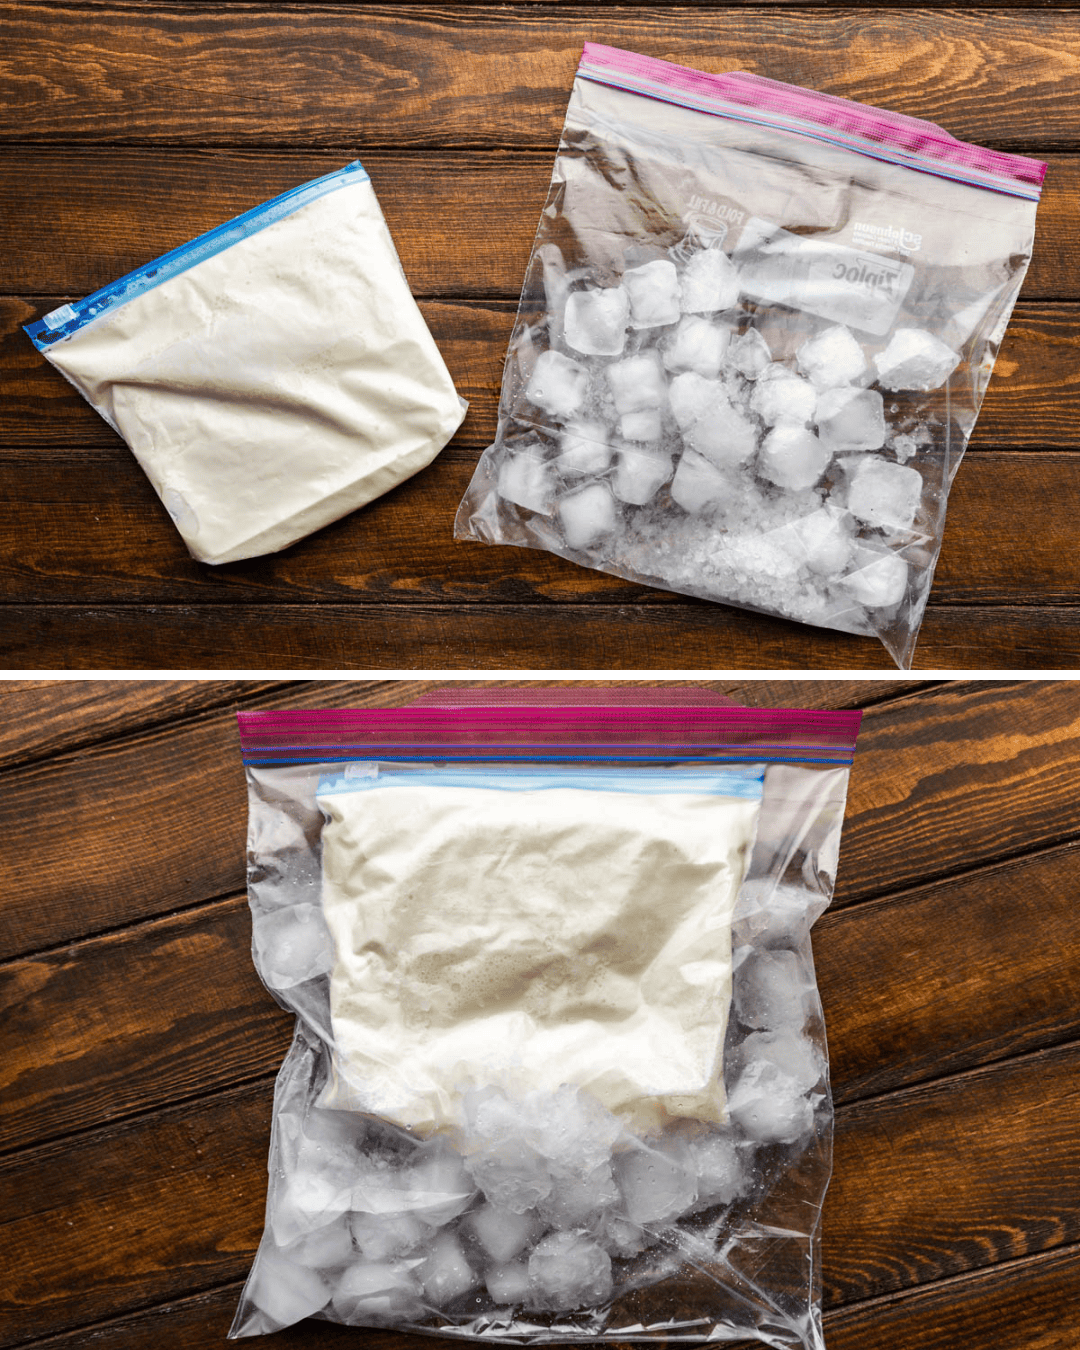
This recipe is all about science. We place our ice cream ingredients into a container, put that container into a bag of ice, and then add salt to the ice to freeze the ice cream. But why?
The freezing point of water is 32 degrees Fahrenheit, the temperature at which water turns into ice. Our ice cream ingredients have a freezing point that’s slightly lower, closer to 27 to 30 degrees Fahrenheit. So how do we use salt to get our ice cream to freeze?
Adding salt to ice lowers the freezing point of water, causing the ice to start melting. But why would you want to melt your ice to make ice cream? It’s all about the transfer of energy. As the ice melts, it absorbs heat from the surroundings, including our ice cream mixture. This absorption of energy lowers the temperature of the ice cream mixture, allowing it to freeze.
That’s right, we can utilize the cooling effect of melting ice to freeze our ice cream! It feels like magic, but it’s really just the science of energy transfer. The technical term for this process is freezing point depression.
Movement
To get our ice cream to freeze evenly, we need to shake the bag. This movement is crucial because it ensures that the ice cream mixture is constantly exposed to the cold temperature of the melting ice. If the mixture sits still, the outer layer will freeze while the inside remains liquid. By continuously moving the mixture, we create a smoother texture and prevent ice crystals from forming, resulting in a creamier ice cream.
Why Ice Cream Salt?
Ice cream salt is a large crystal salt. The only difference between ice cream salt and table salt is the size of the crystal. Both can be used to make ice cream, but the larger crystal size will give a more consistent melt of the ice so it is generally preferred.
How to Make Ice Cream In A Can
The same principle used to make ice cream in a bag can be applied to making ice cream in a can. You will need two cans, one that is larger, and one that is small enough to fit inside the larger can and be surrounded by ice. #10 food storage cans, or coffee cans work well for this. Simply place your ice cream liquid into the center can. Make sure it has a tight seal and will not leak. Surround the center can with your ice and salt. Place the lid on that one and simply shake the can for 5 minutes, or roll back and forth until the ice cream is frozen.

Other Flavors
Yes! You can use any ice cream recipe and use this same method to freeze it. Some ice cream flavor recipes may require more prep work so keep that in mind as many other flavors will take more than 5 minutes to make. Any ice cream base that requires heating or cooking on the stove will need to be cooled completely in order to freeze it using the ice bag or rolling can methods. You can easily make chocolate, strawberry, or mint chocolate chip.
Storage Instructions
Freeze in the bag for up to one week. Remove it from the freezer and let it sit on the counter for 10 minutes to make it easier to scoop.
Other tasty frozen treats…
Flourless Peanut Butter Cookie Ice Cream Sandwiches
10 hrs 40 mins
How To Make An Ice Cream Cake
5 hrs 30 mins
Cinnamon Roll Ice Cream Sandwiches
1 hr 10 mins
Watch the video below where we will walk you through every step of the recipe with a video demonstration.



Was a lot of fun and came out delicious. I made this with my kids and will do it again.
This ice-cream was delicious, but I had to shake it for 20 minutes and I had to add extra ice for it to work.
I will make that next year. Thanks
AWESOME
RACHEL!!! This is amazing. How have I not seen this before? I can’t wait to take this recipe camping!!
I made this ice cream and we fell in love . It’s so easy to make and delicious too .it is a favorite go to meal. I will definitely be making it my go to recipe for ice cream. 5+ stars.
looked super good tried it and it was amazing.
i recommend this for everyone. my 9 year old daughter loves to bake so she tried to and it worked out great.
I really like this fast made recipe! Thanks a lot!