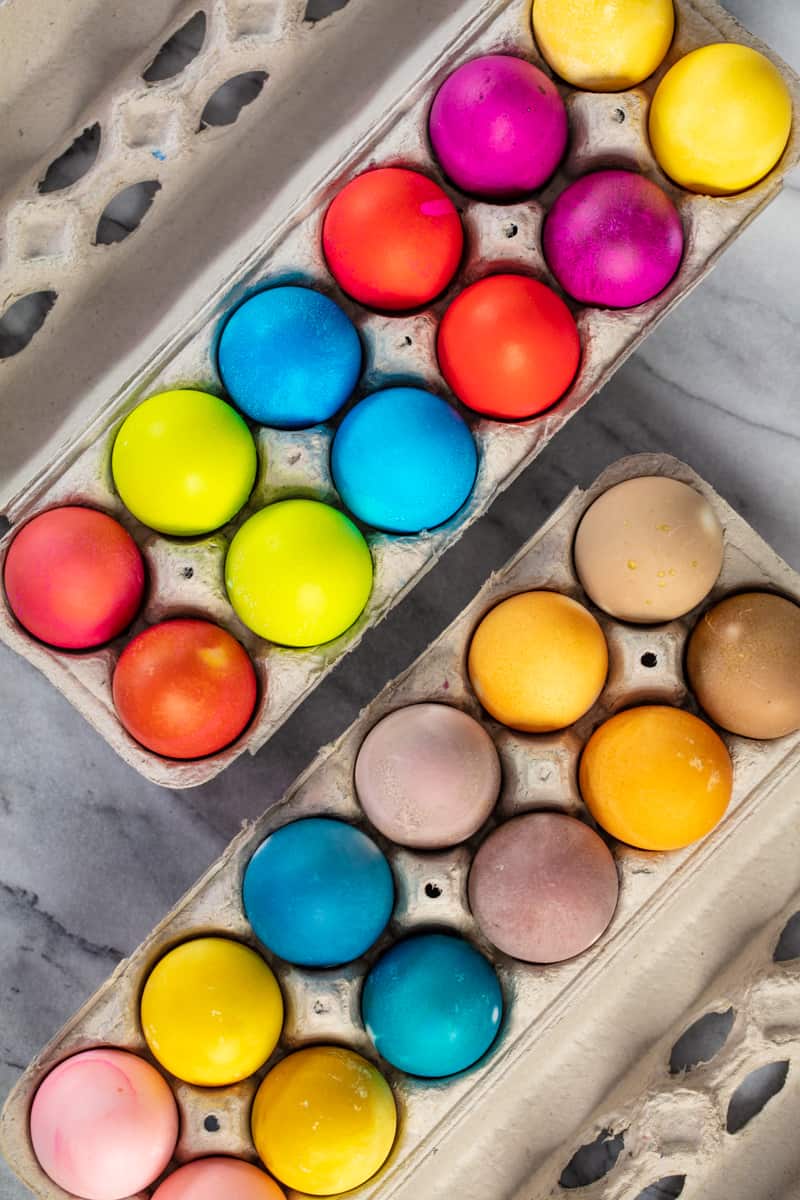
This is the ultimate guide for dying Easter eggs. Learn how to dye Easter eggs with food coloring or natural colors.

Is Easter egg dye edible?
Knowing if your Easter egg dye is edible can be very important especially if you are going to be eating your eggs. While natural dyes are edible, not all store bought Easter eggs dyes are. If you are using store bought dyes, make sure you closely read the labels to see if they are edible because every dye will be different. Making your own dye using food coloring is always a safe bet.
How can I naturally dye my eggs green?
Getting a beautiful green dyed egg is a must for many families and their kids! To get your egg naturally dyed green is a two-step process. First, you must dye it yellow in something like a turmeric and vinegar mix. Then once your egg is nice and yellow drop it into a natural blue dye from something like a purple cabbage and vinegar mixture. The green color you end up with will depend on how long you let the egg sit in both mixtures.
Can you dye brown eggs naturally?
Not only can you dye brown eggs naturally, but many people would argue that the colors you end with are even more beautiful than your typical dyed white egg. The only thing to consider is that if your eggs are coming from your own hens at home make sure you give them a wash before you start.


How to Dye Easter Eggs with Natural Colors
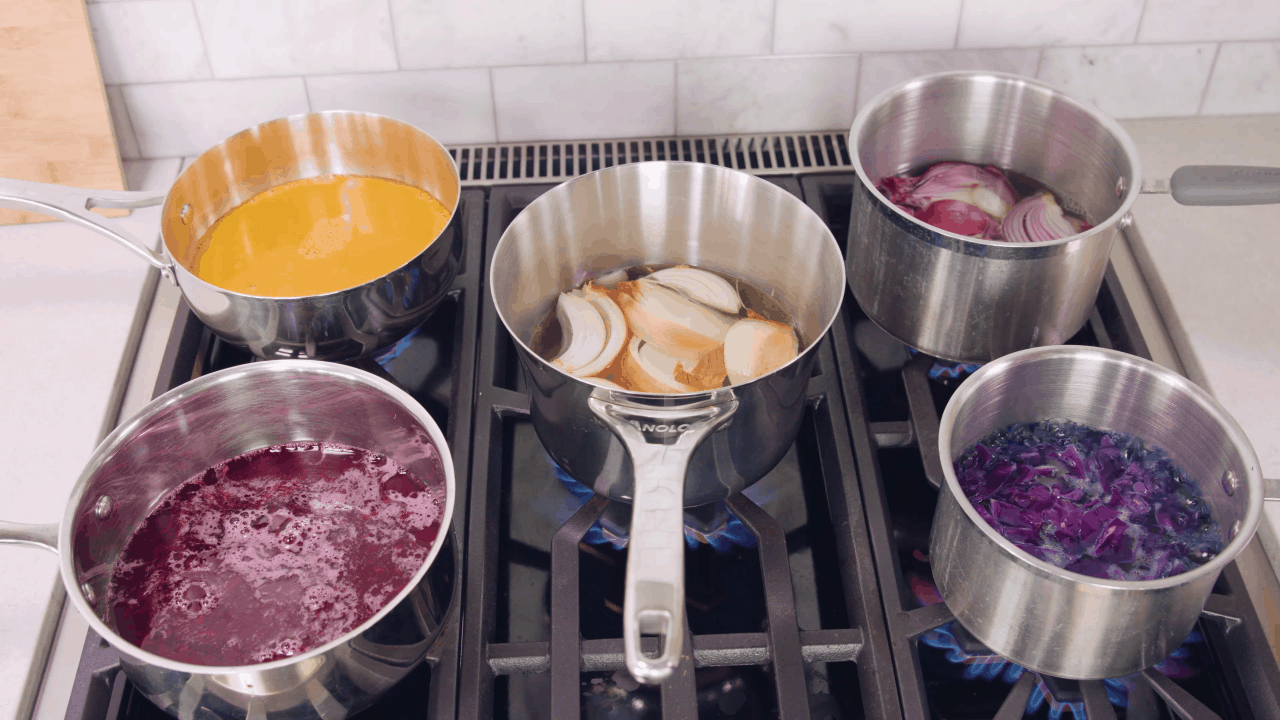
- Use this color guide and place the designated item into a saucepan.
- Pour 2-3 cups of water over and bring to a boil. Add in 1 tablespoons vinegar.
- Reduce heat and simmer 10-30 minutes, until desired color is achieved.
- Strain liquid dye into a container for dying eggs and discard solids.
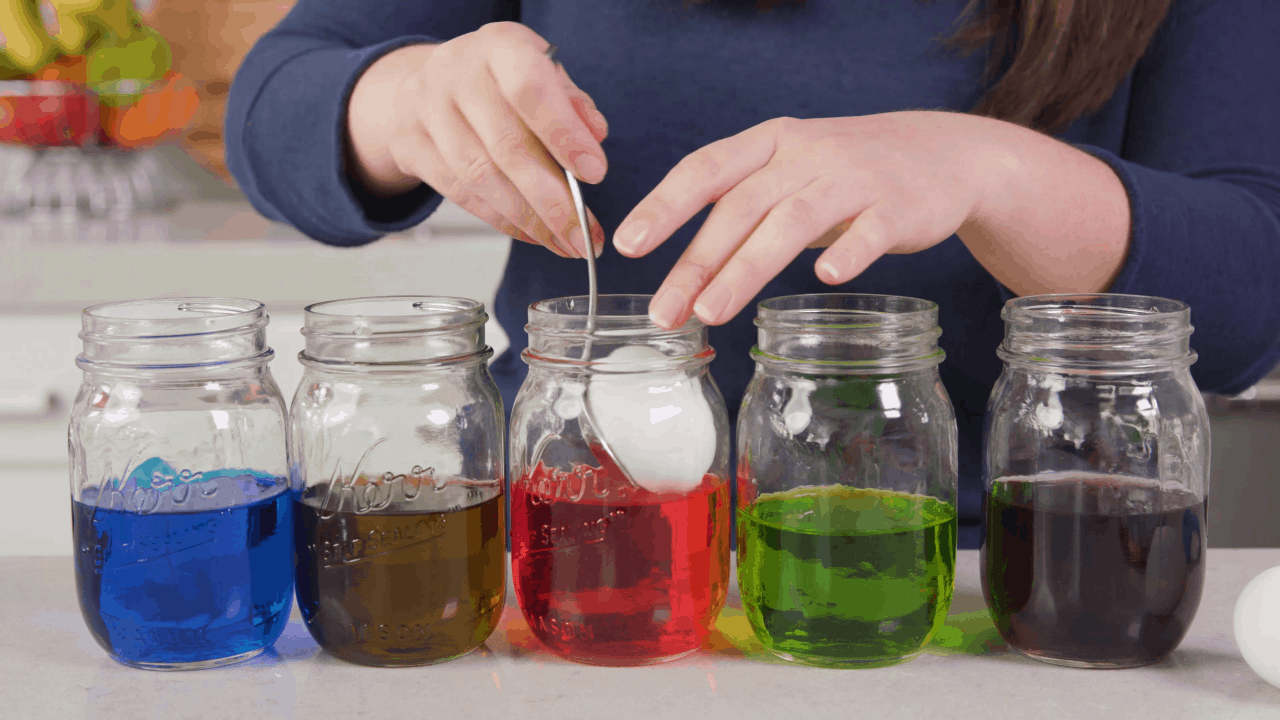
- Soak boiled eggs in liquid 30 minutes – 24 hours, or until eggs reach desired color.
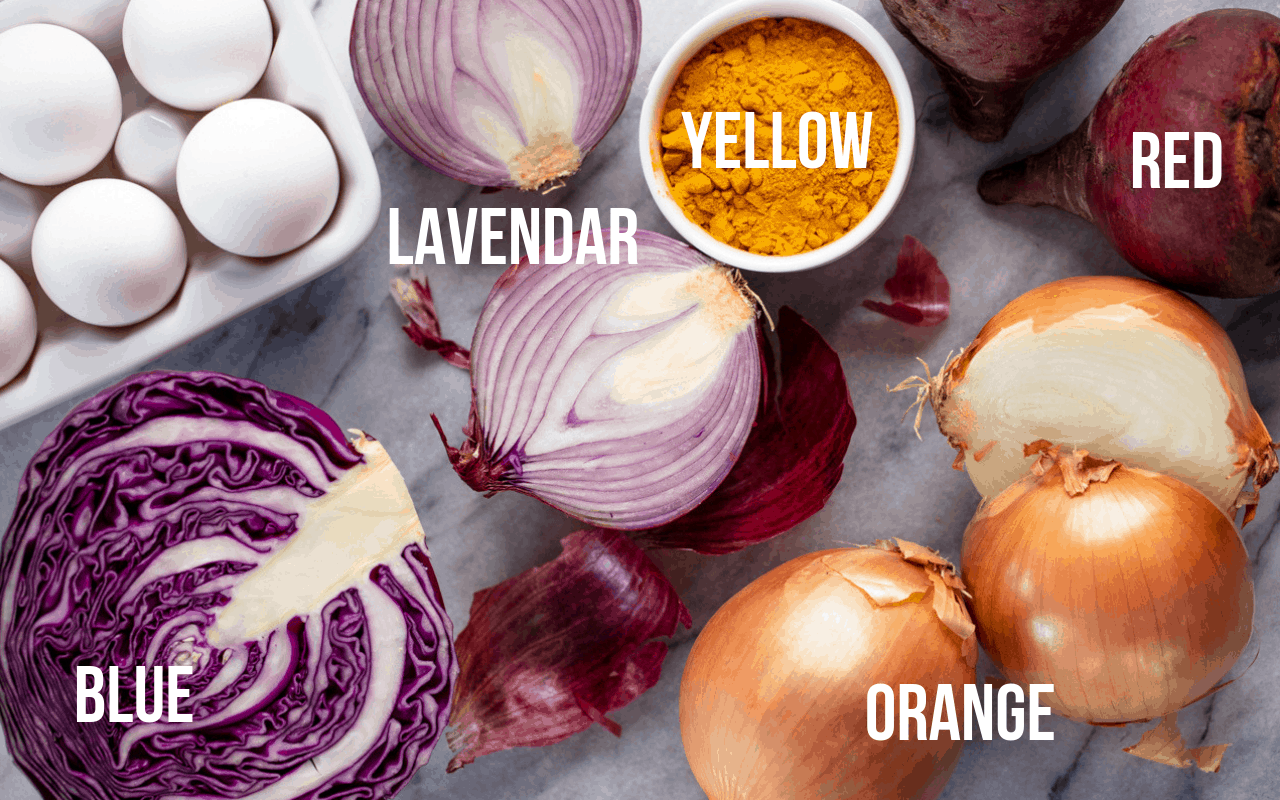
Natural Color Guide:
- BLUE: 1 cup chopped purple cabbage
- LAVENDER: 1 cup red onion skins
- PINK/RED: 1 cup shredded beets
- ORANGE: 1 cup yellow onion skins
- YELLOW: 2 tablespoons ground turmeric

PRO TIP: How to Make Eggs Easier to Peel
Older eggs are easier to peel as a gas is released as the egg ages that helps separate the peel from the egg. We have tested a variety of methods for making your eggs peel easier, but the best, most consistent methods we’ve found are to either steam the eggs or cook them in an electric pressure cooker (Instant Pot). Check out our article on How to Boil Eggs for more information.
- For steaming, place your eggs in a steamer basket and place over a saucepan over cold water with the lid on. Bring the water to a boil over high heat. Reduce the heat to medium-low and let the eggs steam for 12 minutes. Transfer to an ice bath to cool completely and stop the cooking process.
- For an electric pressure cooker (Instant Pot), place the eggs on the rack insert. Pour 1 cup of cold water into the bottom. Place the lid on. Cook on high pressure for 4 minutes, followed by a 4 minute natural release, and then place into an ice bath to stop the cooking process.

Watch the video below where we will walk you through every step of the recipe with a video demonstration.


How can you prevent dyed Easter eggs from their color bleeding on the white of the egg?
To prevent the color from bleeding on the white of dyed Easter eggs, ensuring a vibrant and clean appearance, you can follow these steps:
Use Vinegar: Adding vinegar to the dye solution helps the color adhere better to the eggshell by etching the surface slightly. This creates a better surface for the dye to stick to, reducing bleeding.
Ensure a Clean Surface: Before dyeing, make sure the eggs are clean and free of oils or residue. You can wipe them down with vinegar or soapy water and then rinse thoroughly. Any oil or residue on the shell can cause uneven coloring and bleeding.
Use Room Temperature Eggs: Cold eggs can cause condensation when brought into a warmer environment, which can lead to uneven dyeing and color bleeding. Let your eggs come to room temperature before dyeing them.
Dye Bath Temperature: Use a warm dye bath rather than a hot one. Extremely hot water can cause the eggshell to expand slightly, making it more porous and susceptible to bleeding. Warm water helps the dye penetrate evenly.
Gentle Drying: After dyeing, carefully remove the eggs from the dye and gently pat them dry with a paper towel or let them air dry in an egg carton or on a wire rack. Avoid rubbing the egg, as this can cause the dye to smear.
Seal the Color: After the eggs are dry, you can lightly rub them with a cloth dipped in vegetable oil. This will not only give them a nice shine but also help seal the dye on the shell, reducing the risk of bleeding.
Proper Storage: Store dyed eggs in a cool, dry place. Humidity and moisture can cause the dye to run or bleed, so keeping them in an environment with controlled humidity is key.