Crockpot ribs completely flip the script when it comes to making ribs. There’s nothing fickle or labor-intensive about this method! With just a handful of ingredients and your trusty slow cooker, you can create the juiciest, most tender ribs. Learn the secrets for making the best slow cooker ribs with restaurant quality perfection.
If you want to explore beef ribs, try our Slow Cooker Beef Short Ribs for another crockpot recipe with a wow factor.
Why Our Recipe
- The easiest way to make ribs that will be juicy and tender every time.
- Slow cooked in the crockpot with a dry rub to keep the meat flavorful.
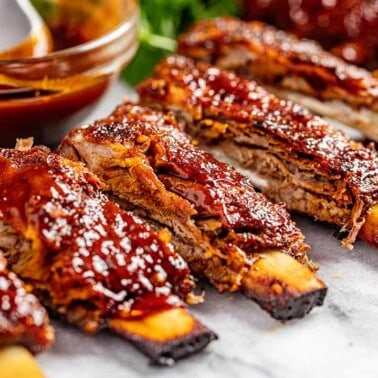
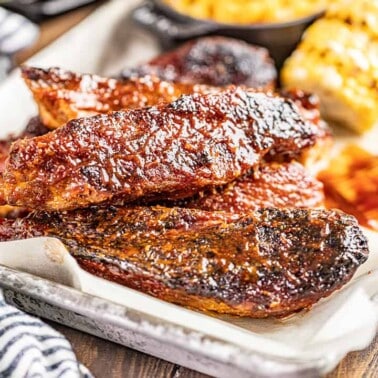
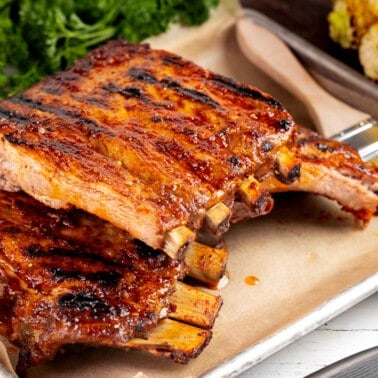
- Caramelized under the broiler with your favorite barbecue sauce for the perfect sticky finish.
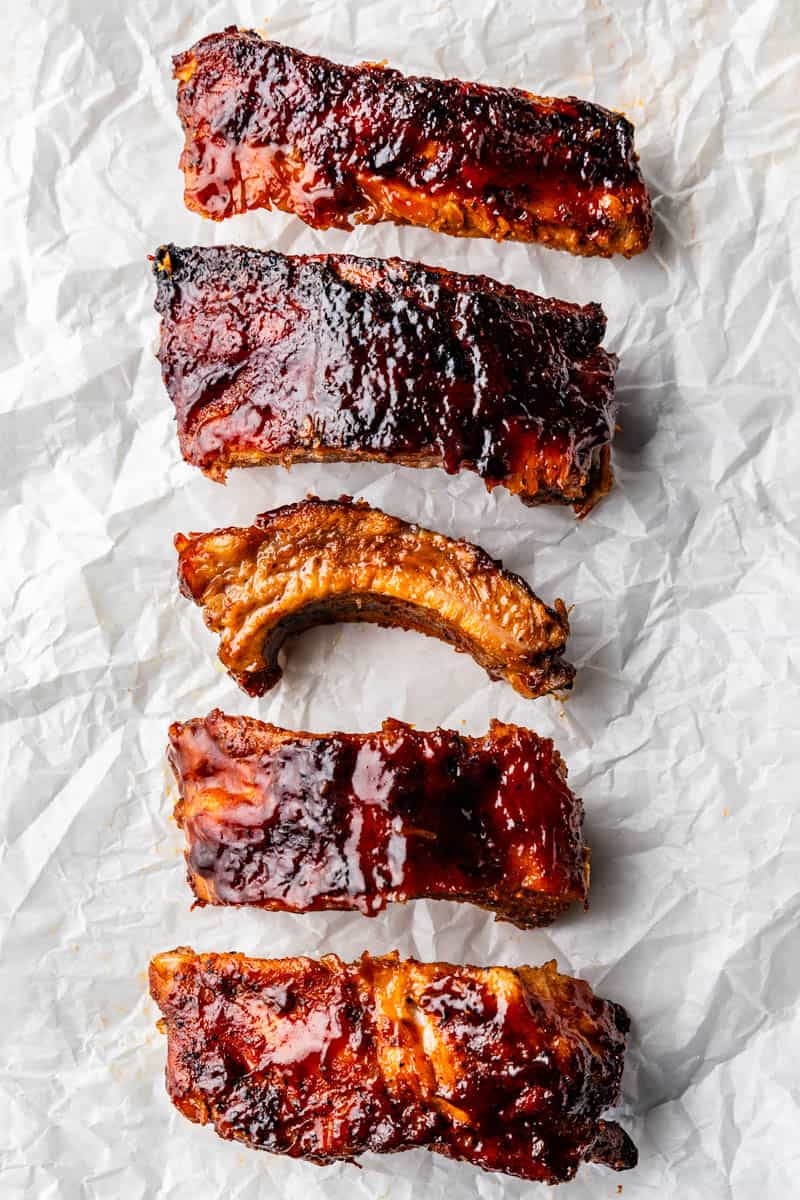
You want your ribs to be fall-off-the-bone tender. The crockpot is a great choice, but how do you go from the ugly mess of the slow cooker to beautifully caramelized ribs that will have you licking your fingers? We’ve got the secret to make you look like a pro!
Ingredient Notes
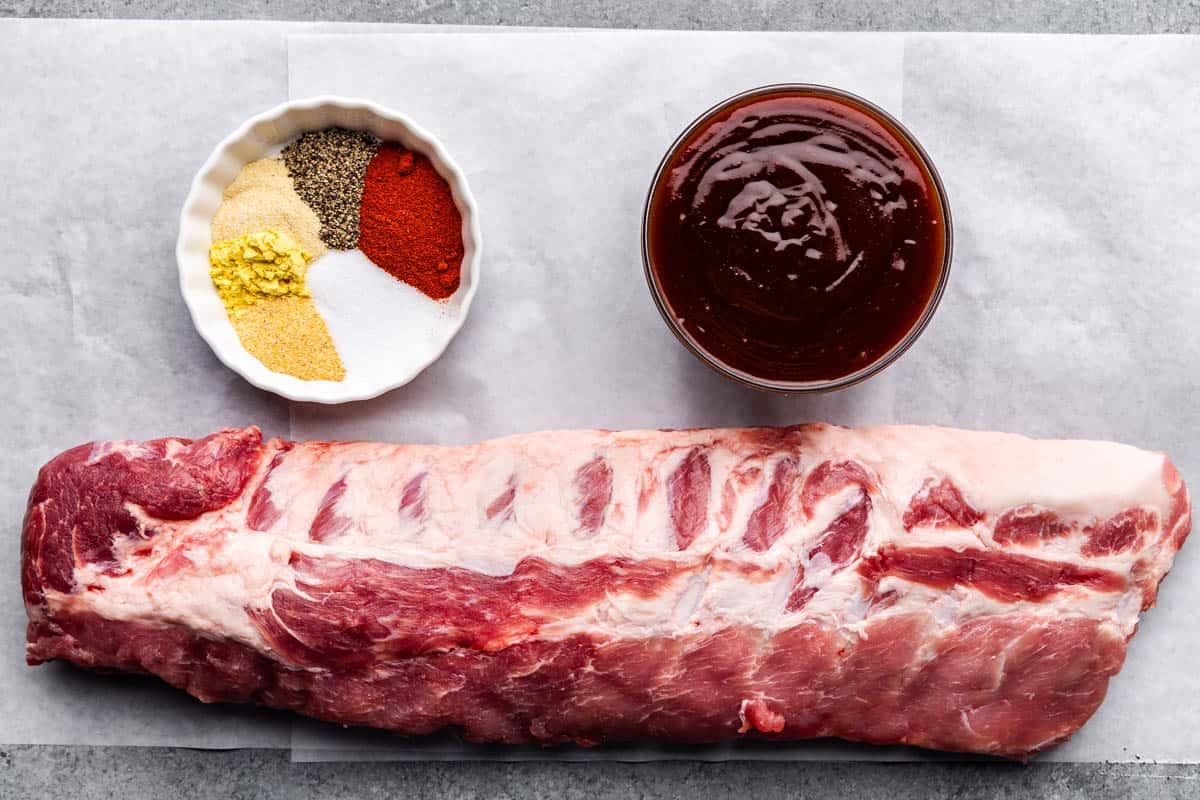
- Ribs: Baby back ribs, spare ribs, and St. Louis-style ribs will all work here.
- Barbecue Sauce: Choose your favorite brand or homemade recipe. A thicker sauce works best for that sticky, caramelized finish.
- Smoked Paprika: Adds a smoky depth of flavor without needing a smoker. Regular paprika works too, but the smoky version is ideal.
- Onion Powder and Garlic Powder: Powders or granulated are interchangeable here.
- Ground Mustard: This is the powdered kind that you find in the spice section.
Pork Ribs
This recipe works with all three of your main options for pork ribs. Each one has its benefits!
Baby Back Ribs: These ribs come from the upper part of the ribcage, near the spine, and are smaller, leaner, and more tender than other cuts. They cook faster and are perfect for those who prefer a meatier, less fatty rib.
Spare Ribs: Taken from the lower ribcage, spare ribs are larger and meatier with more fat, which adds extra flavor. They take a bit longer to cook but reward you with rich, succulent meat.
St. Louis Style Ribs: These are spare ribs that have been trimmed to a uniform rectangular shape by removing the cartilage and rib tips. They cook more evenly and look great on a plate.
Removing the Membrane
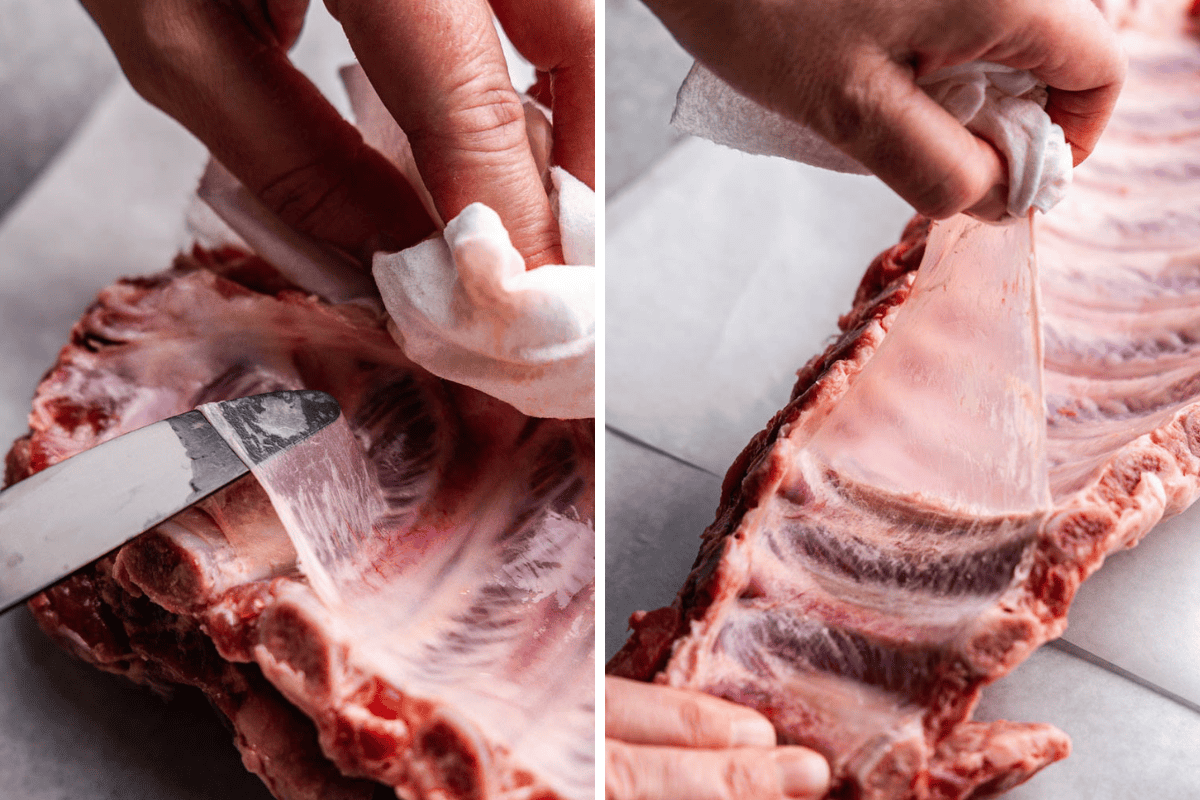
You might have noticed a thin, shiny layer on the back of the ribs. That’s the membrane, also called the silverskin. It’s a thin, tough connective tissue that covers the bone side of the ribs.
Leave It On or Remove It? Leaving the membrane on is an option if you’re short on time or don’t mind a chewier texture. It helps keep the entire rack together, making it easier to remove from the crockpot with all the ribs still intact. However, removing it results in a more tender bite.
To Remove It: Slide a butter knife or your fingers under the membrane at one corner of the ribs to loosen it. Use a paper towel to grip the loosened membrane and gently pull it off in one piece. If it tears, just start again from another spot until it’s fully removed.
Pro Tip for Easy Clean-up
One of the best tips for making ribs in the crockpot is to use a crockpot liner. These BPA-free plastic bags line your crockpot, making clean-up a breeze! No more scrubbing out caramelized, burnt-on sauce! They are awesome. You can find them in your grocery store near things like aluminum foil and plastic bags. They are a huge time saver.
The Broiling Secret
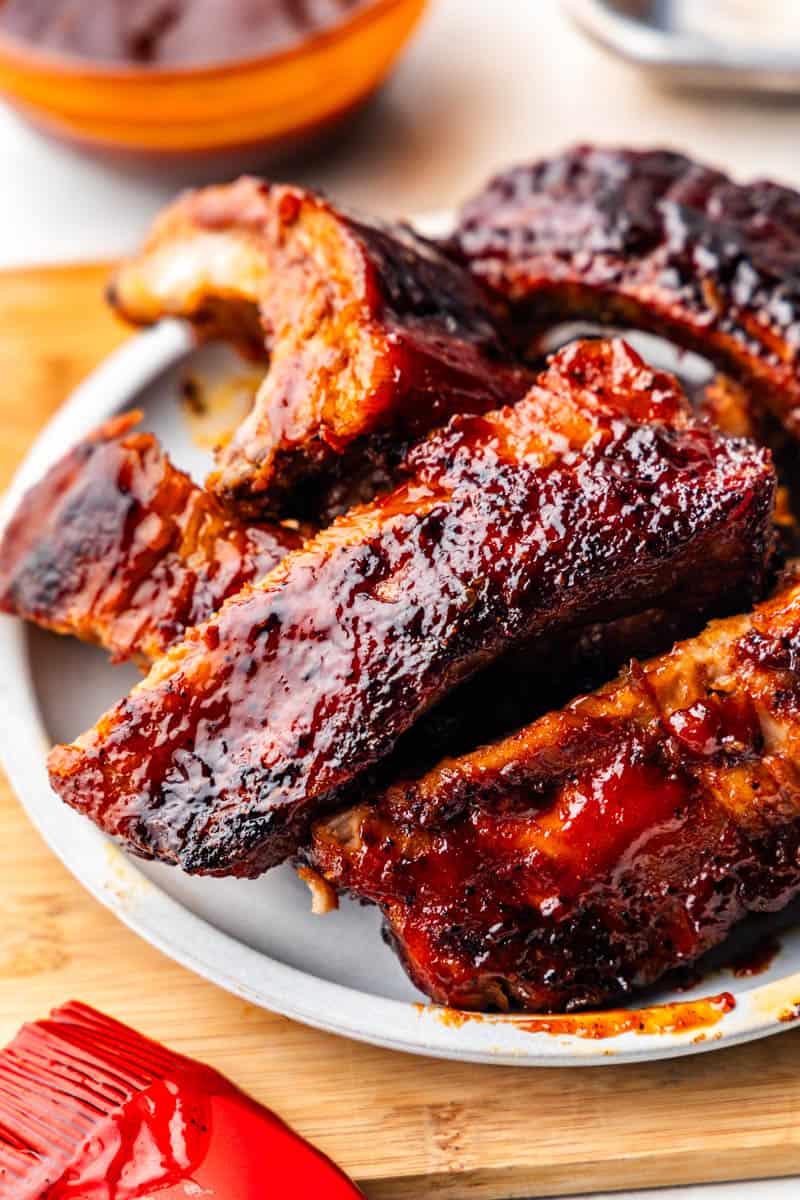
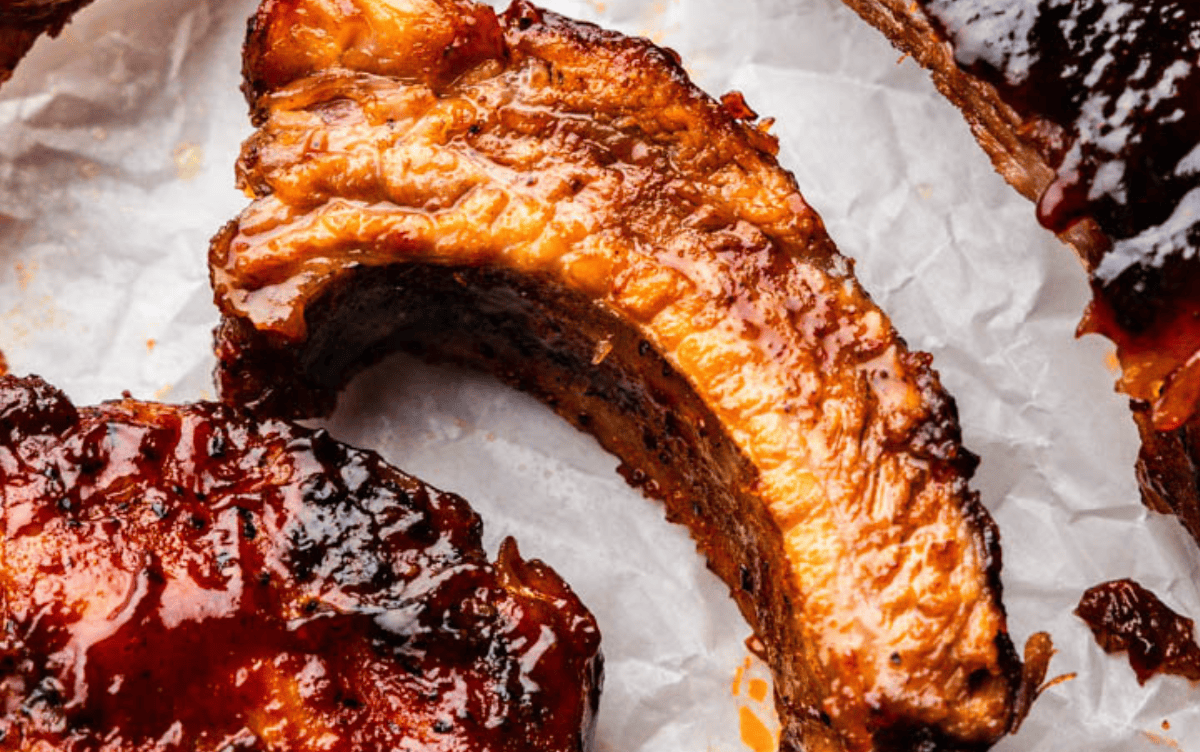
Crockpot ribs are a breeze to make, but let’s be honest—they don’t look great straight out of the slow cooker. All that slow steaming can leave the ribs looking pale and unappetizing. Enter the broiler, your secret weapon for achieving that glossy, caramelized finish we all crave.
What is the broiler? The broiler is a high-heat element in your oven, usually located at the top. Occasionally it can also be a separate drawer at the bottom of the oven. It works like an upside-down grill, blasting your ribs with direct heat to caramelize the barbecue sauce and add a sticky, delicious crust.
How to Use It: Position your oven rack about 4-6 inches below the heating element for optimal caramelization. It often only has a high or low setting, though occasionally it has a temperature. Preheat the broiler to high heat. For temperature settings, use 500 degrees or the closest equivalent option.
Watch Closely: The broiler works quickly and no two broilers will have the same timing. Watch your ribs like a hawk. They’ll start off slow, but once the sauce begins bubbling, things will move fast.
What to Look For: Look for the sauce to turn dark and develop small browned spots, which is the caramelization you’re aiming for. If it gets too dark or blackens in large patches, the sauce will burn, so pull the ribs out as soon as they reach a rich, golden-brown color with lightly charred edges.
Storage & Reheating Instructions
Refrigerate leftovers in an airtight container and store for up to 3 days.
To freeze leftovers, wrap the ribs tightly in foil and place them in a freezer-safe container or resealable plastic bag. Freeze for up to 3 months. Thaw in the refrigerator overnight before reheating.
Reheat in the oven for best results. Preheat your oven to 275°F. Place the ribs in a baking dish and cover with foil to prevent drying out. Heat for about 20 minutes, or until warmed through. For added moisture, drizzle a little extra barbecue sauce over the ribs before reheating.
Reheating in the microwave can result in rubbery meat. Arrange the ribs on a microwave-safe plate and cover them with a damp paper towel to prevent them from drying out. Heat on medium power in 30-second increments, flipping the ribs in between, until heated through.

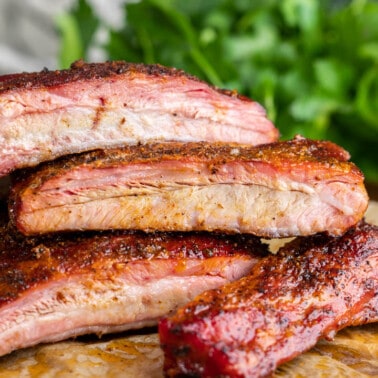
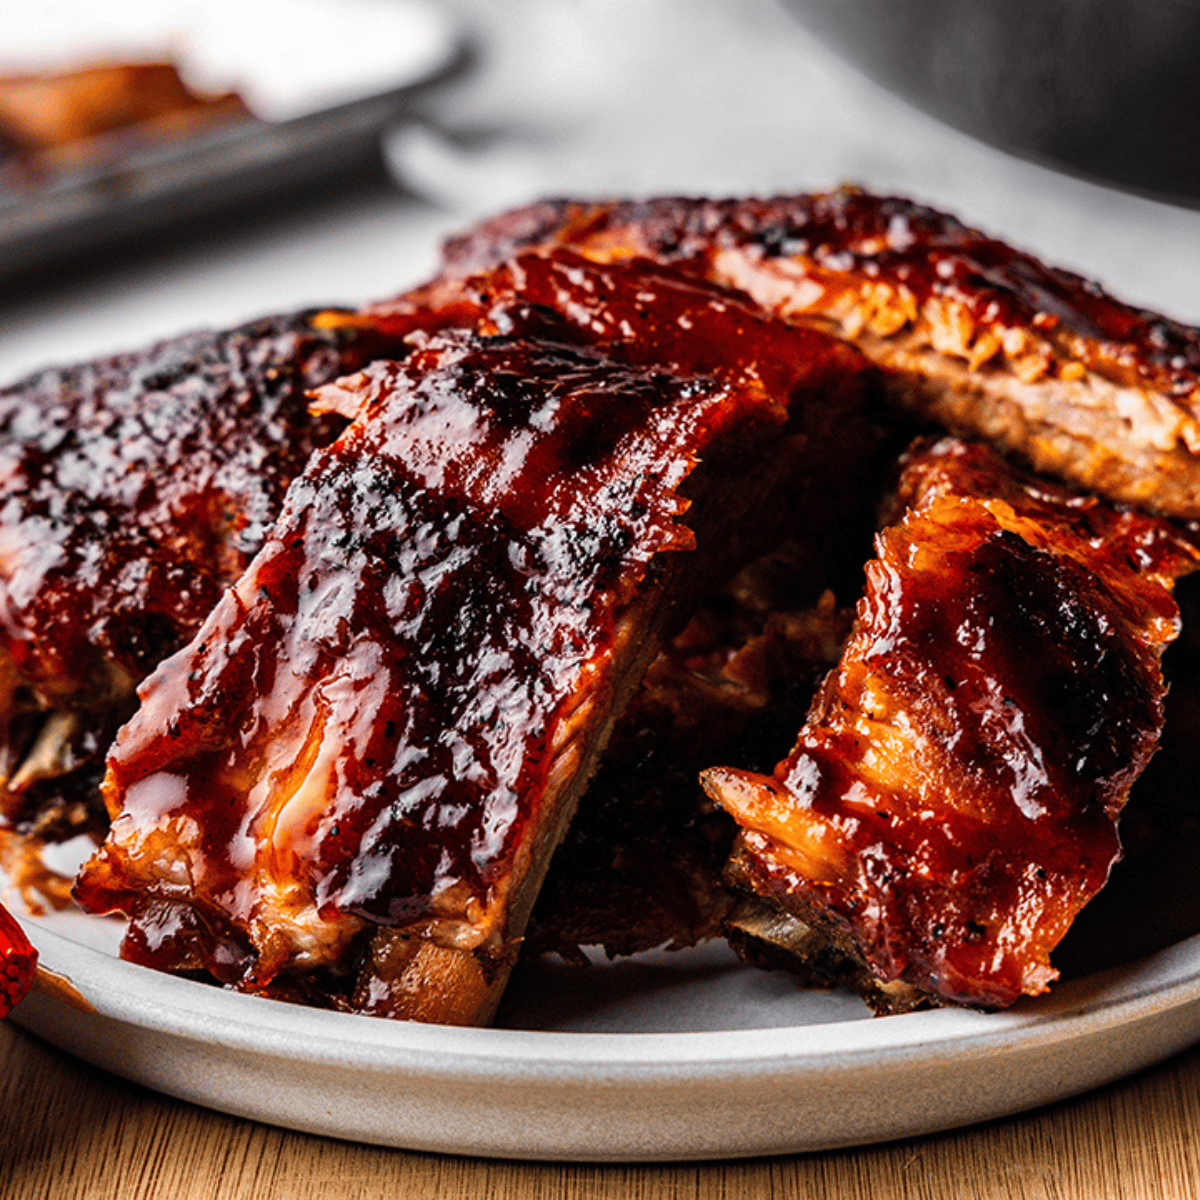
My ribs were so delicious! And this recipe is so easy! I have a new crockpot and it is bigger which is what I wanted so I could double recipes.
However, it is running hot and I was fortunate to suddenly wake up during the night so I checked the ribs. With an hour and a half to go yet they were done 😅 and I made 8 pounds. I have some great ideas for the leftovers.
Thanks for a winner recipe!
I made these ribs tonight and they were falling off the bone!!! My family LOVED them. I tried cooking them once in the oven, but they came out dry and nobody wanted to eat them. I am so glad I found this recipe. Definitely will be using it again 😁
I have tried to make ribs before and was never very successful. Made these last night for company and they were amazing! Best ribs and soooooo easy! Thank you!!!’
I used this recipe one week ago and followed it almost to a “T”! Repeating it again tomorrow. This was my first time using a rub with no brown sugar, and I much preferred it! It has always bugged me that the juice left over in the crockpot was too sweet to be used for anything.
The one change that I made was to use less BBQ sauce. You know how hard it is to completely empty a bottle of BBQ sauce? I had approx 1/2 cup left in a bottle, shook it up with some warm water and poured over the ribs in the crockpot. Cooked them on low for about 7 hours. I finished the ribs off on the BBQ and then slathered it with sauce! Yummy!
And my final tip… The next day I made crockpot “baked” beans from scratch (soaked dried beans etc) utilizing the juice from cooking the ribs plus onions, bacon and all the traditional ingredients.
The beans went in the freezer and will be served tomorrow night with rib dinner!
I have been using this recipe for a few years now. I thought I really should share with other people how good this recipe is. I just put my ribs in the crockpot literally took 10 minutes to prep the… membrane came off today so easily(not always the case) and made the rub quick. My family loves these ribs can’t wait for the whole house to smell delicious. Thanks for all your recipes they surely don’t disappoint.❤️
Great Weekend Recipe! Just followed your preparation tips, cut the racks in half, put them on the low setting at 9:00 am. Went swimming all day! At 5:00 pm We took them out and placed on a foil lined baking sheet. Brushed them with your sauce and broiled for 9- 10 minutes! This is a restaurant quality meal! 5 Stars!
This is the only way I make my ribs. Just love this recipe.
Perfect….did the dry rub, placed on a rack with water just to the rack level, placed the ribs on the rack….cooked on high for 4 1/2 hours, put the ribs on parchment paper and added some bbq sauce and broiled just enough…it was ‘fall off the bone’ tender!
We made baby back ribs and these were the best I have ever eaten . Thank you
This will be my go to Rib recipe every time, Sooo delicious and fall off the bone tender! This was my 2nd time using this recipe and i find cooking them on high for 4 to five hours they’re perfect!
Thankyou!