This dinner roll recipe took Chef Rachel Farnsworth over 5 years of testing to develop. It has since been enjoyed by millions of people around the world with thousands and thousands of rave reviews, heralded as the best dinner rolls on the internet. In addition to being published in her best-selling cookbook The Stay At Home Chef Family Favorites, this dinner roll recipe is used in restaurants and bakeries around the world. And now, it’s all yours!
Why Our Recipe
- Tried and true recipe for soft, fluffy, buttery dinner rolls worthy of a bakery every time.
- This recipe works for any skill level. Use a stand mixer or knead by hand.
- Make ahead instructions and freezer instructions included!
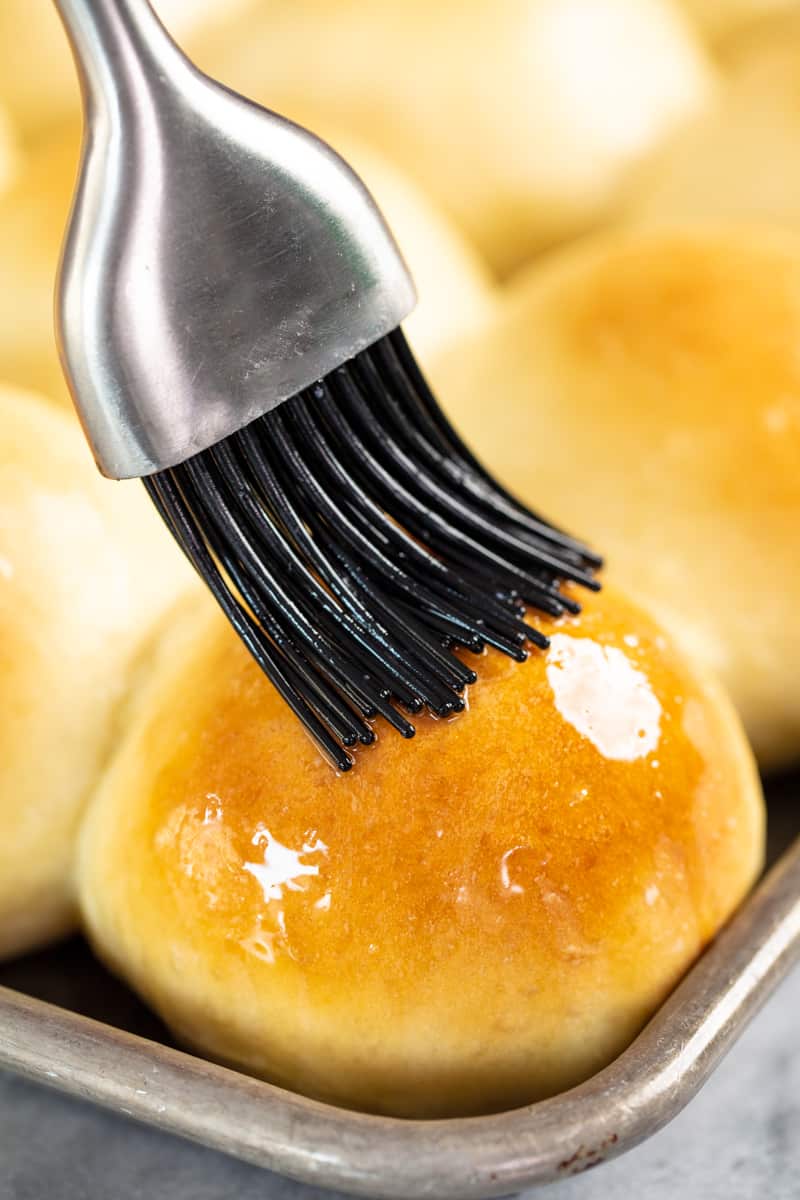
Whether you are new to bread making or an experienced baker, this recipe is sure to please. These homemade dinner rolls deliver bakery-quality results every single time. Whether you’re a seasoned baker or a beginner, this recipe has you covered. Use a stand mixer for convenience or knead the dough by hand if you prefer a more hands-on approach. You’ll get pillowy soft melt-in-your-mouth perfection either way!
Ingredient Notes
- Warm Milk: Make sure the milk is between 100°F to 110°F. Heat it on the stove or in the microwave. Use a thermometer for accuracy or test with your finger—it should feel warm but not hot. Use whole milk, 2% or 1% for best results. Skim and dairy milk alternatives can also work.
- Instant Dry Yeast: Instant yeast doesn’t need to be activated beforehand. If you only have active dry yeast, adjust the rising times slightly as noted in the instructions.
- Granulated Sugar: Yup, just regular old sugar. Brown sugar can also be used if you want to add in that hint of molasses.
- Salt: Stick with standard table salt for accurate measurements.
- Salted Butter: Make sure you use softened butter so it mixes in to the dough. If you only have unsalted butter, add an extra pinch of salt.
- Eggs: Grade AA large eggs will do.
- All-Purpose Flour: Start with 5 1/2 cups and gradually add more as needed. Bread flour can be used in the same amount for a slightly chewier texture, using the same amount.
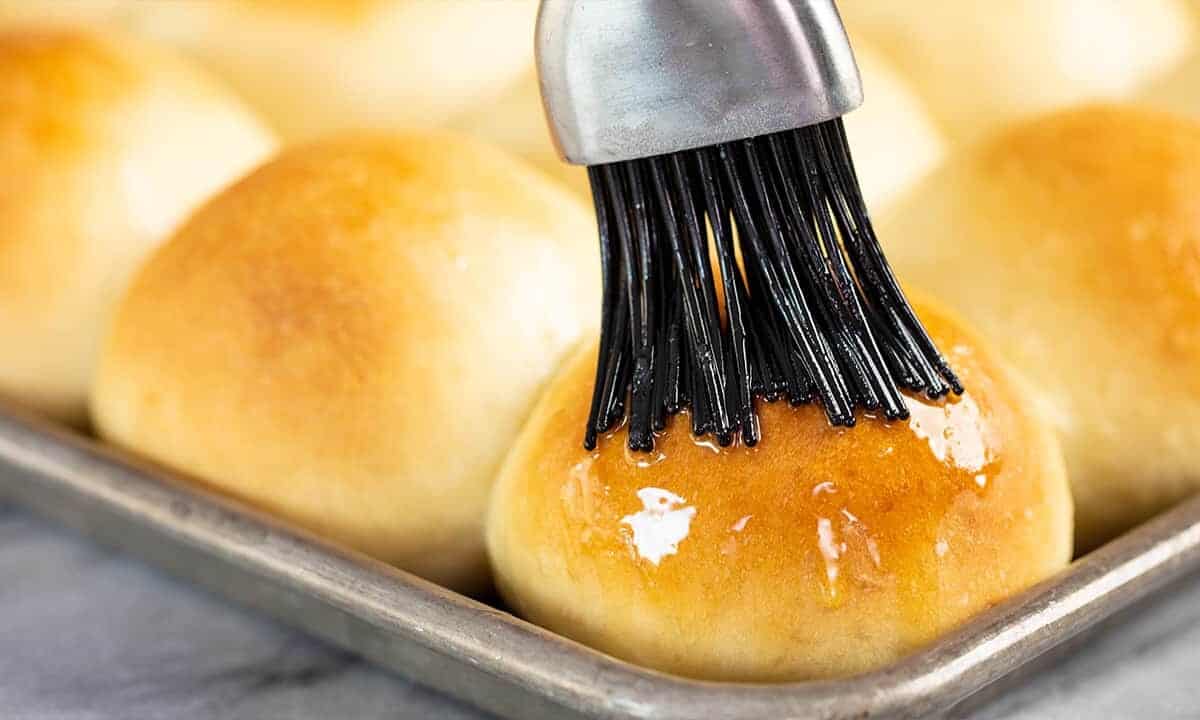
- Melted Butter: Brushed on after baking for a shiny finish and buttery flavor.
No stand mixer? No Problem!
You can knead your dough by hand! Start out by stirring with a spoon until it becomes too difficult to stir. Turn the dough out onto a clean surface and knead it with your hands, gradually adding in more flour and folding, pressing, and working the dough (kneading) until you have a soft and smooth dough ball that is tacky, but not sticky enough to stick to your hands.
Active Dry Yeast Vs Instant
Instant dry yeast can be added straight to dry ingredients and doesn’t require any waiting period or proofing. It also rises a bit quicker. Active dry yeast is a bigger size of granule and generally needs to be dissolved in a liquid before adding to a recipe. It activates a bit slower so expect 10-15 minutes extra in rising time.
Go by Feel
The exact amount of flour you add in bread making can vary a great deal so it’s important to go by feel. I like to say you can feel a soft roll just by touching the dough. The dough should be smooth and slightly tacky, but still very soft and pliable. If it is sticking to your hands or the sides of the bowl, you need more flour. If you add too much flour and the dough stiffens, your rolls will also get a little stiff so always add additional flour a small amount at a time.
Pro Tip: Equal Size Rolls
The best way to ensure that your rolls are equal in size is to weigh them. Weigh the entire batch of dough using a kitchen scale and divide that weight by 24. This will give you your target weight for each roll. Usually, this is somewhere around 2.5 ounces.
Shaping Rolls
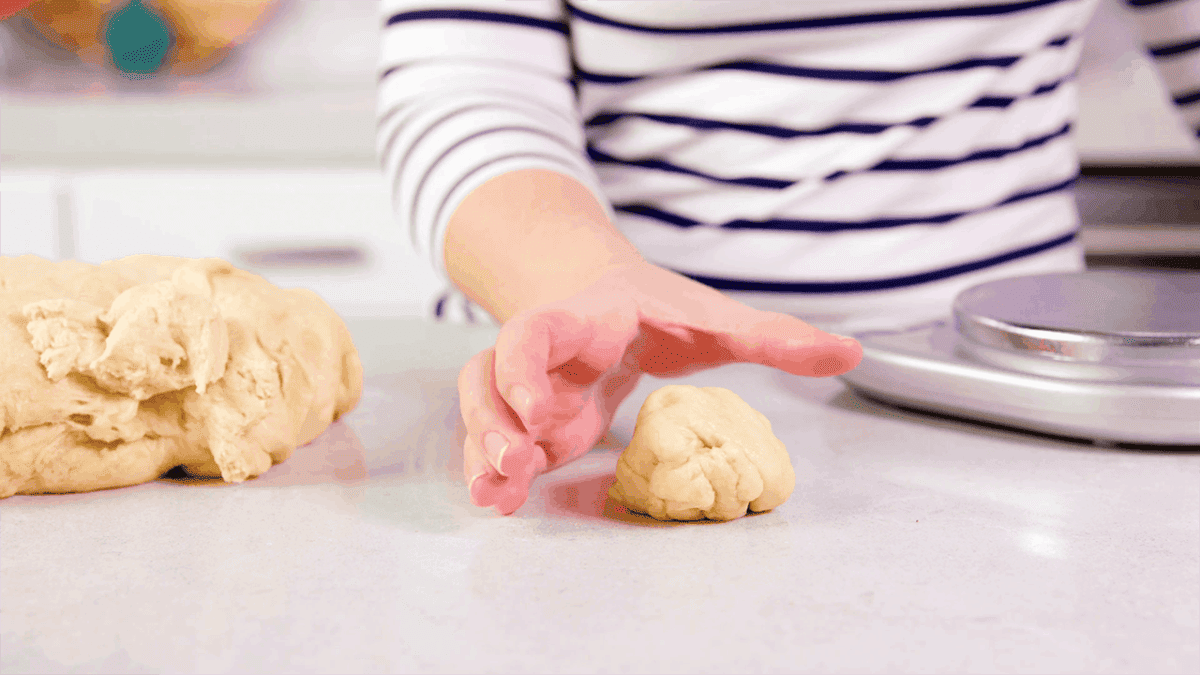
Once you have your dough divided into 24 pieces you can shape your rolls. Place your hand into a cupping shape parallel to a clean countertop. Place the dough ball between the palm of your hand and the countertop. Roll the dough in a circular motion between your palm and the countertop for approximately 30 to 45 seconds until you have a smooth, round ball.
Measuring Flour
The flour you buy at the store these days is generally pre-sifted. There is no need to sift your flour. I prefer the scoop and sweep method as it is ultra-convenient. Simply give your flour a fluff, use your measuring cup to scoop out the flour, and level off the top. Weighing your flour using a kitchen scale is the only way to ensure complete accuracy. Even then, bread making is both fickle and forgiving and the actual amount of flour you add can change just due to the humidity in the air. When making this roll recipe, it is best to go by the touch and feel of the dough. 1 cup of flour is approximately 125 grams.
Freezer Instructions
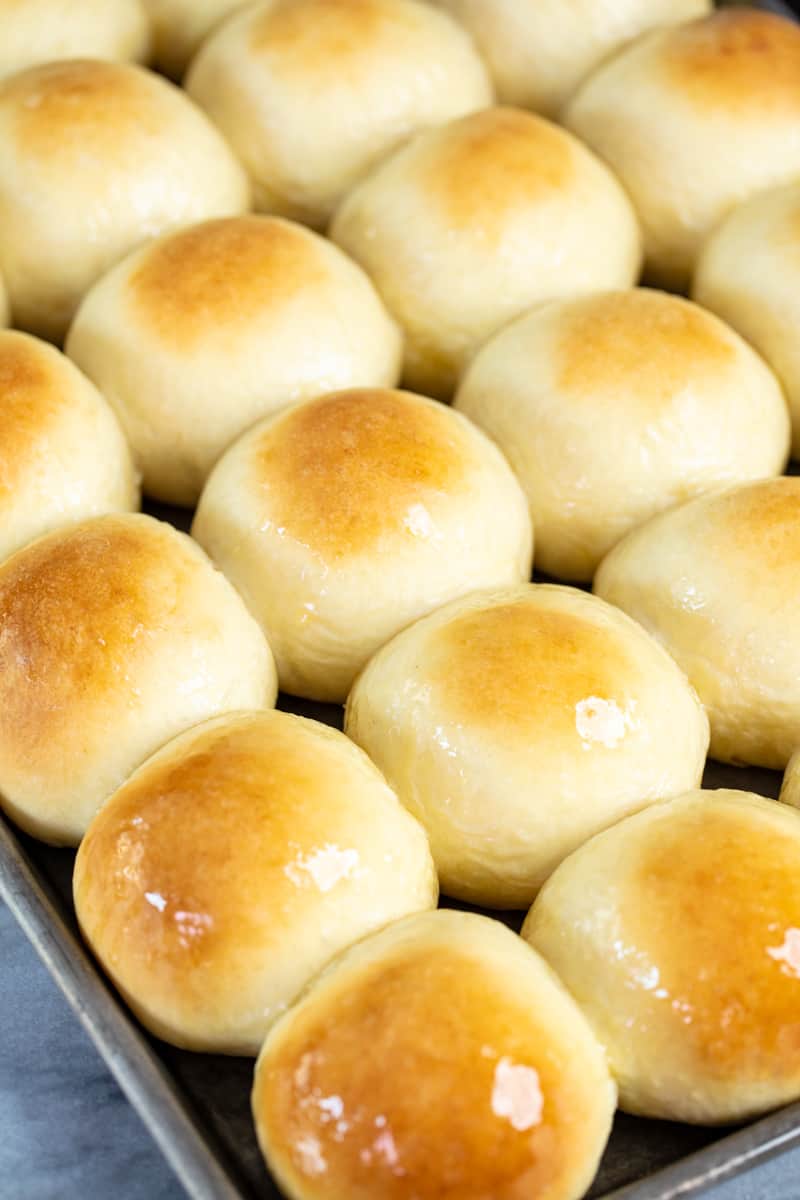
You can freeze dinner rolls for later baking immediately after you shape them into rolls. When ready to eat, remove them from the freezer and allow to thaw and produce their second rise until double in size before baking. This can take anywhere between 1 to 2 hours, depending on the temperature in your home.
Make-Ahead Instructions
Need to make your dough ahead of time while you are busy doing other things? Make your dough as directed and let it rise for the initial 90 minutes. Shape the dough into rolls and place them on your baking sheet. Instead of letting them rise for an additional 60 minutes, cover the shaped rolls with plastic wrap and place the pan directly into the refrigerator. While it doesn’t stop it completely, the cool temperature of the fridge will slow the growth of your yeast. Your rolls will only rise slightly while refrigerated and you can hold them this way for up to 24 hours.
When ready to bake, remove them from the fridge and allow the rolls to rise at room temperature while your oven preheats, about 30 minutes. Continue to bake as directed.
Storage Instructions
Store in a plastic bag or airtight container at room temperature for up to 72 hours.
More perfect bread recipes…
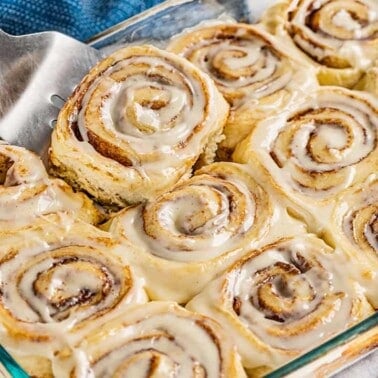
Best Homemade Cinnamon Rolls Ever
2 hrs 14 mins
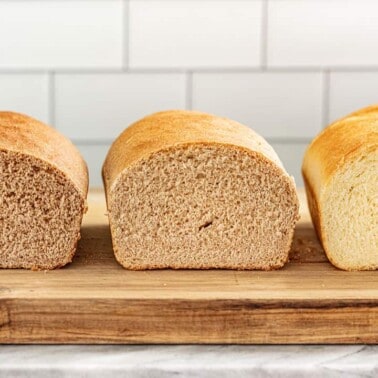
Ultimate Guide to Homemade Bread
3 hrs 25 mins
Homemade Breadsticks
1 hr 18 mins
Watch the video below where Rachel will walk you through every step of this recipe. Sometimes it helps to have a visual, and we’ve always got you covered with our cooking show. You can find the complete collection of recipes on YouTube, our Facebook Page, or right here on our website with their corresponding recipes.


Have you tried this recipe using whole wheat flour and if so what measurements did you use?
I have tried it with whole wheat and it creates a much more dense result. I strongly prefer white flour for it. The measurements used were the same.
I’m wondering if you can make these in a bread machine? I’m not very good at the whole kneading thing and I don’t have a stand mixer with a dough hook.
Yes, you can definitely use a bread machine to mix the dough. I just wouldn’t use it for rising or baking.
Could I please get the cinnamon roll receipe?
Can I use my bread machine to make them?
Yes, you can use the mixing function on a bread machine to make the dough, but I recommend taking it out for rising.
This recipe sounds fantastic! Once winter comes to South Texas, I plan on making Kolaches, as I do every winter. How does this bread hold up when filled? Does it keep its air when rolling out or reshaping?
Yes, I’ve used this same recipe to create stuffed rolls as well. It holds up quite nicely.
Thank you so much Rachel fpr your effort to create the best recipe for these awesome bread rolls???
You are welcome! Thanks for stopping by!
Wow…im just try this recipe , the softness amazing!!
Thank you so much for your kind heart for sharing.?
Our granddaughter can’t have dairy…..could I use almond milk??
You can, but the result will vary a little bit.
I just made them using soya milk, as I wanted to try them dairy free, and they turned out amazingly!
I have been making bread, rolls, cinnamon buns, Christmas breads, etc. for over 40 years and sweetheart, I love these rolls! I make good ones as well but these are awesome and I truly enjoyed eating them! I loved the detailed instructions altho I really didn’t need them. I enjoyed the tips at the end as well. For anyone who has not made any kind of bread before they are perfect! Thanks for perfecting and sharing!
How many minutes do you generally need to run your mixer to get the dough to where you want? In the past, I’ve made the mistake of over kneading the dough and I don’t end up with the soft, fluffy texture I’m looking for.
I knead it just until the dough pulls away from the sides of the bowl. It may help to watch the video I included so you can see the texture I’m looking for.
I’ve been kneading for 15 minutes and still hasn’t pulled away. Do you have an approximate time for kneading? Is it longer than 15 minutes?
Is the dough still sticky? If so, you may need to add more flour. The amount of flour you add can vary based on how accurately you measure your milk and even just how much humidity is in the air.