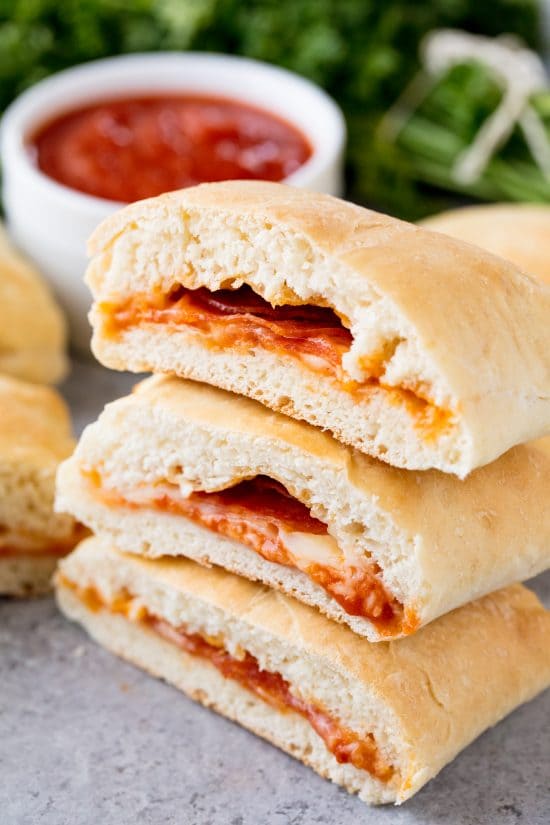
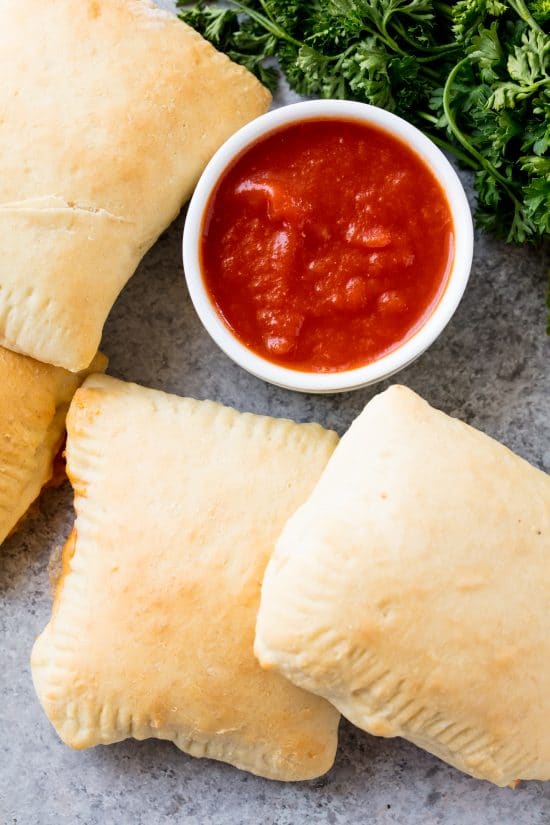
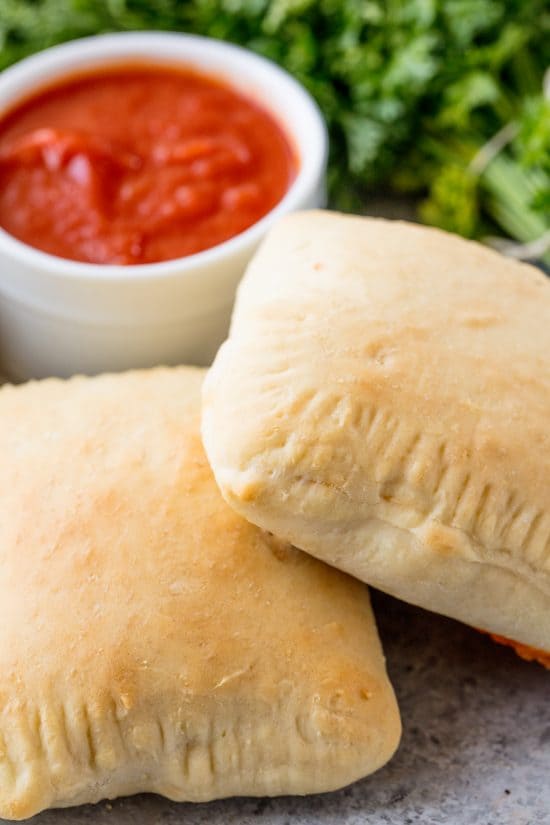
Homemade Hot Pockets are an easy homemade freezable lunch idea. They are perfect for an on-the-go meal, as well as to put in lunch boxes. The flavor combinations are endless!

My mom used to make pizza pockets for me to bring in my lunchbox. It was my favorite lunch to get. I make them now for my own kids and they are as popular as ever. You could put any toppings you want on the inside, though pepperoni is our favored classic.
My mom used to use the cut ‘n’ seal from Pampered Chef to make them, but you can always just use the method I give you here. The cut ‘n’ seal is just really handy and makes perfectly round little hot pockets.
These homemade hot pockets make for a handy on-the-go meal and only require about 30 seconds in the microwave from cold, or 60 seconds from frozen (or just eat cold). They are freeze-able so you can make huge batches and stock up. Goodbye hot pockets, hello homemade good stuff!
Feel free to customize the flavors as much as you want. I’ve listed some of our favorite flavor combinations, but the possibilities are really endless. Just think of the flavors available in the frozen food section…there’s a ton of options! You can make breakfast ones, classic pizza combinations, or come up with something a bit more unique.

What does it mean when a dough recipe calls for warm water or warm milk? How warm does it need to be? What happens if it is too cold? What happens if it is too hot? These are great questions.
If the liquid is too cold, your yeast may not grow which means your bread will not rise.
If the liquid is too hot, your yeast will be killed which means your bread will not rise.
When I first started making doughs I had a few mishaps with temperatures. The rule of thumb is that the temperature of the liquid should be like a warm bath. Here’s the thing, I take my baths pretty hot which meant going by this rule of thumb made me end up killing my yeast. My personal rule of thumb is to make the liquid about body temperature. If I stick my finger in and it feels neither cold, nor hot against my skin then it is probably fine. It should be just like a baby’s bath water.
If you find that your dough isn’t rising and worry that your liquid may have been too cold, a trick you can use is to heat your oven to its lowest setting (mine is 175) and then turn it off. Place your mixing bowl full of dough into the oven and leave the door open a crack. Just be cautious of any children or animals that could curiously reach in to the warm oven. This should produce enough heat to get your dough a rising.
You may also be interested in checking out my recipe for Homemade Frozen Pizzas. they seriously put store bought frozen pizzas to shame and are better than most delivery and carry out! I always have some in my freezer and they are an absolute life saver!

Watch the video below where I walk you through every step of this recipe. Sometimes it helps to have a visual, and I’ve got one for you here which can be helpful to see, especially when it comes to the shaping process.

Also, I ordered the Pampered Chef cut-n-seal for this project but it looks too small. Mine is three inches across. What size did you use because I’m about to order a 4″ but I need the correct size so the size / filling ratio is correct. Thanks!
I’ve had mine for so long! It’s about 4 inches.
I’m looking to stock up my freezer with various things. How long would these store in the freezer in your opinion?
1-2 months for best results.
wish there where a ‘print’ button so that a person could print out the recipe
This is one of my first recipes. My print options don’t go that far back quite yet.
what are the directions for freezing these?
Thanks for stopping by! To freeze, I cook follow all of the steps including baking them. After they cool I either toss them all together in a large ziploc and freeze, or individually bag them for grab and go lunches. They can be reheated 30-60 seconds in a microwave, or just enjoyed cold (but thawed).