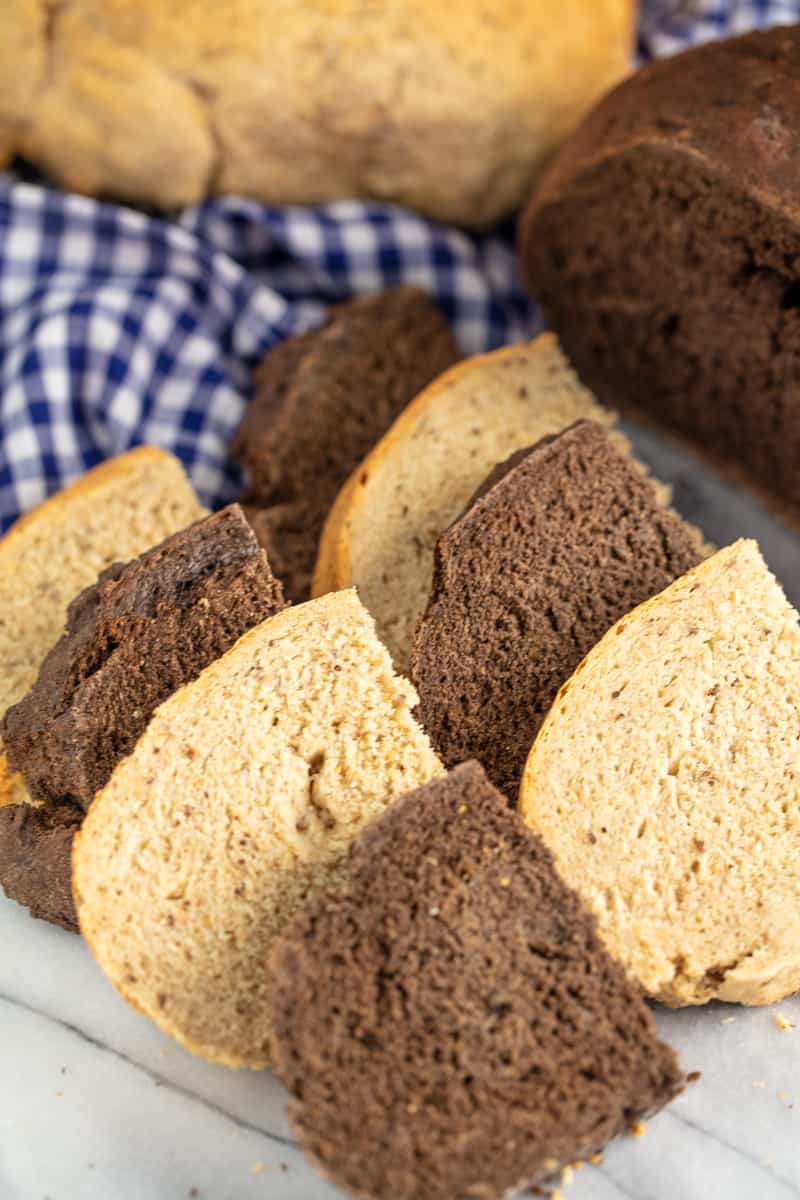
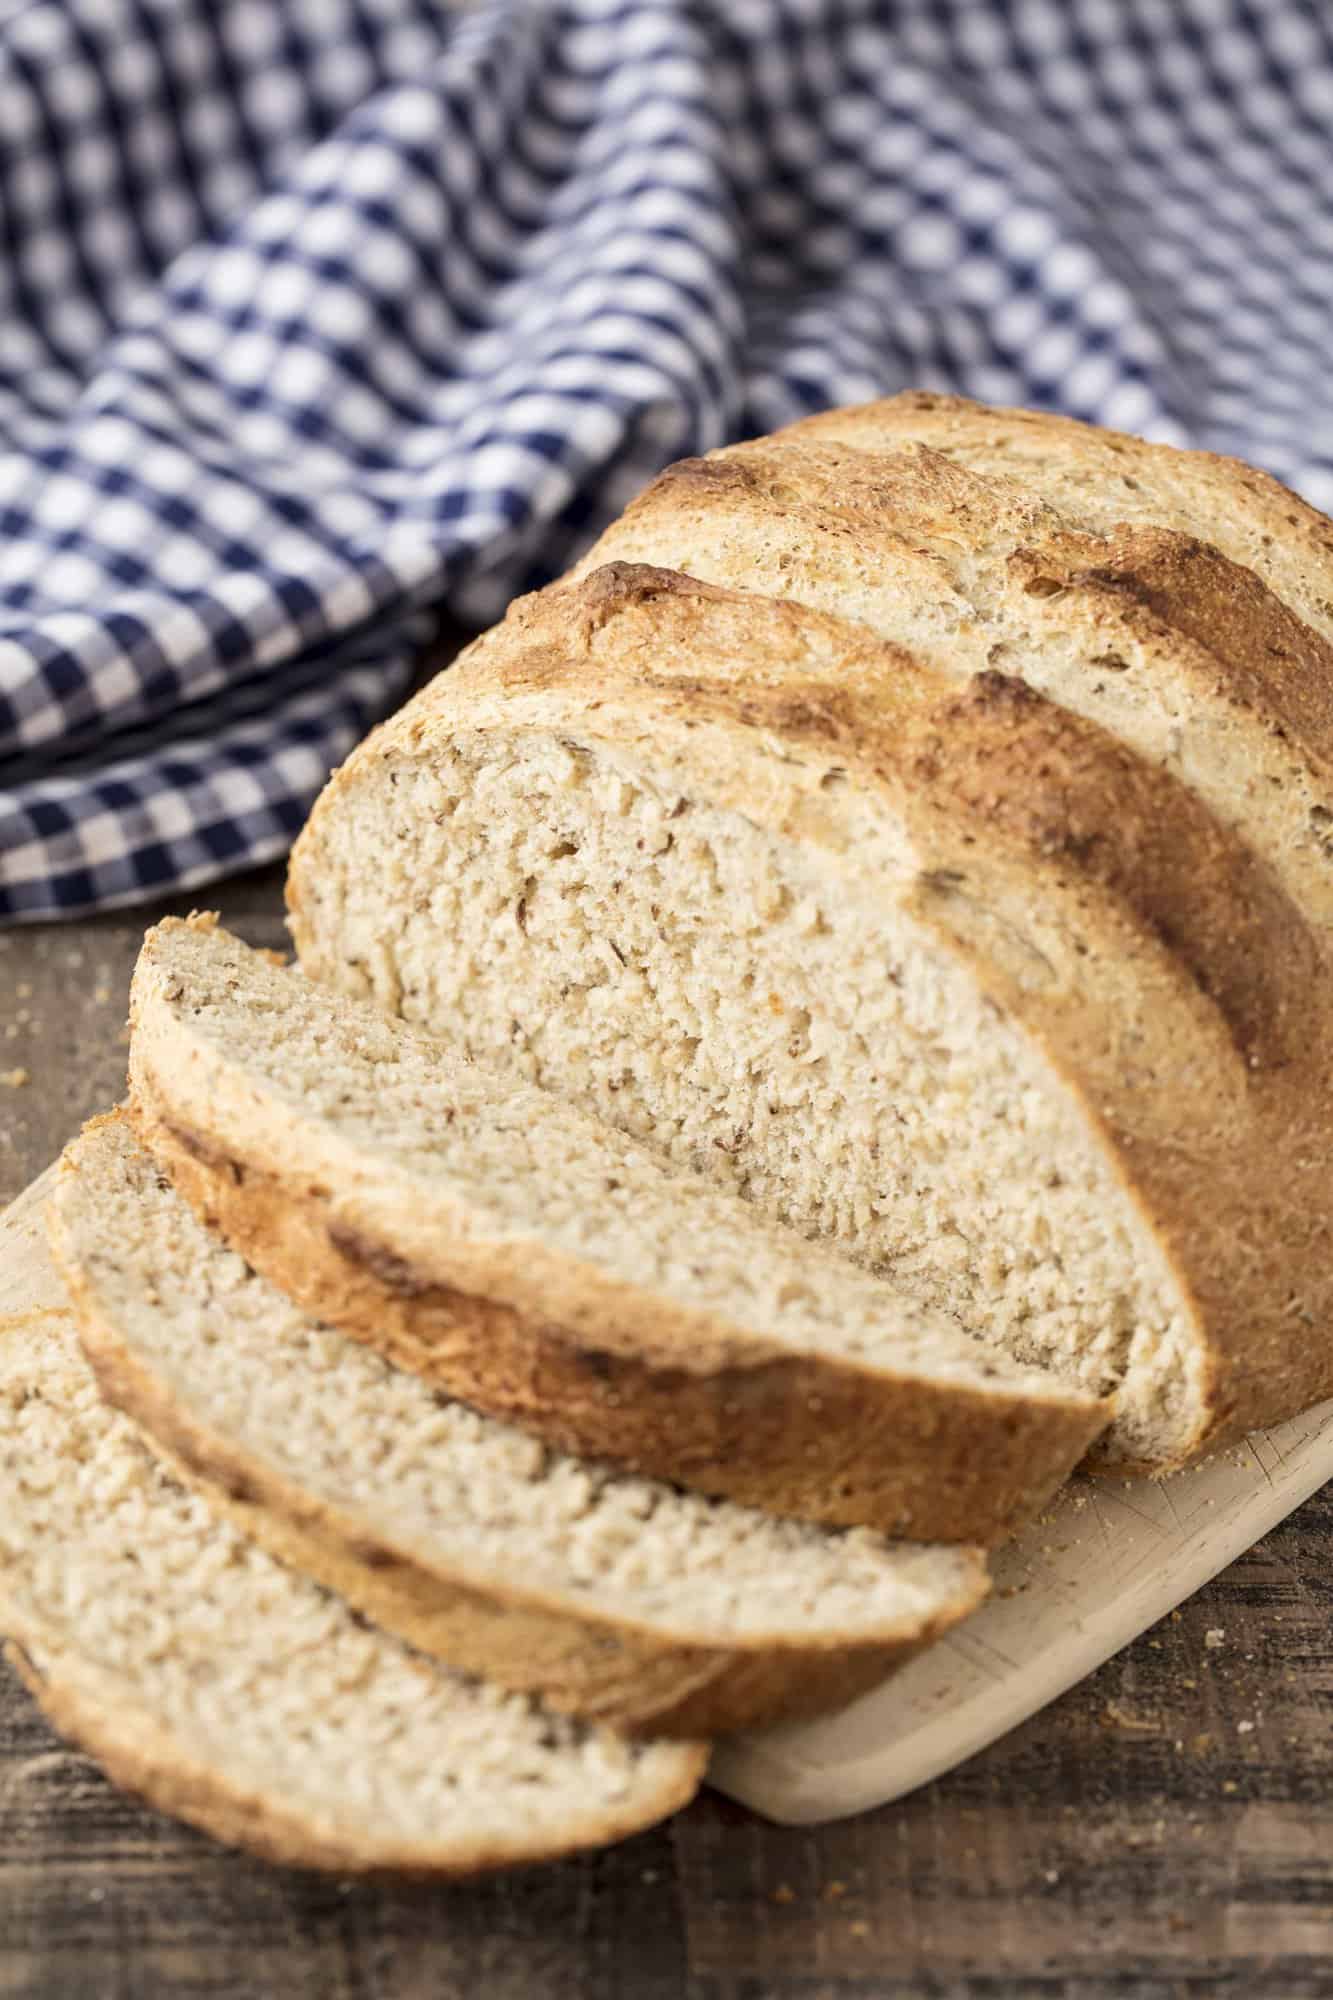
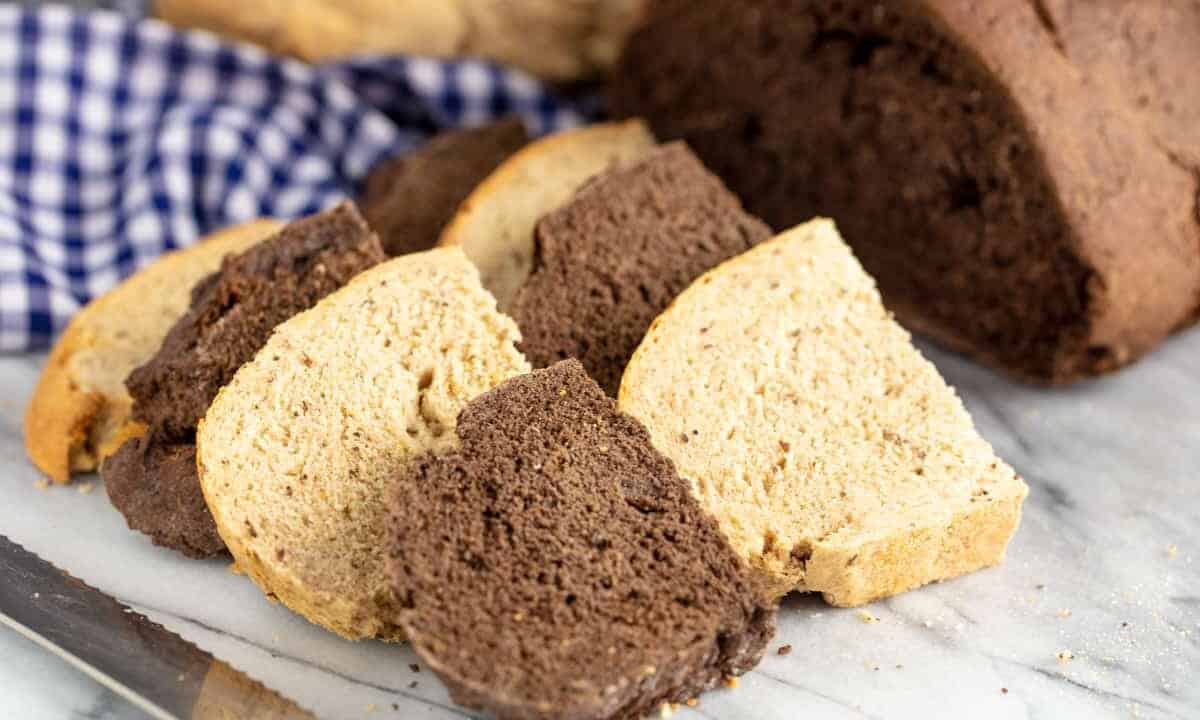
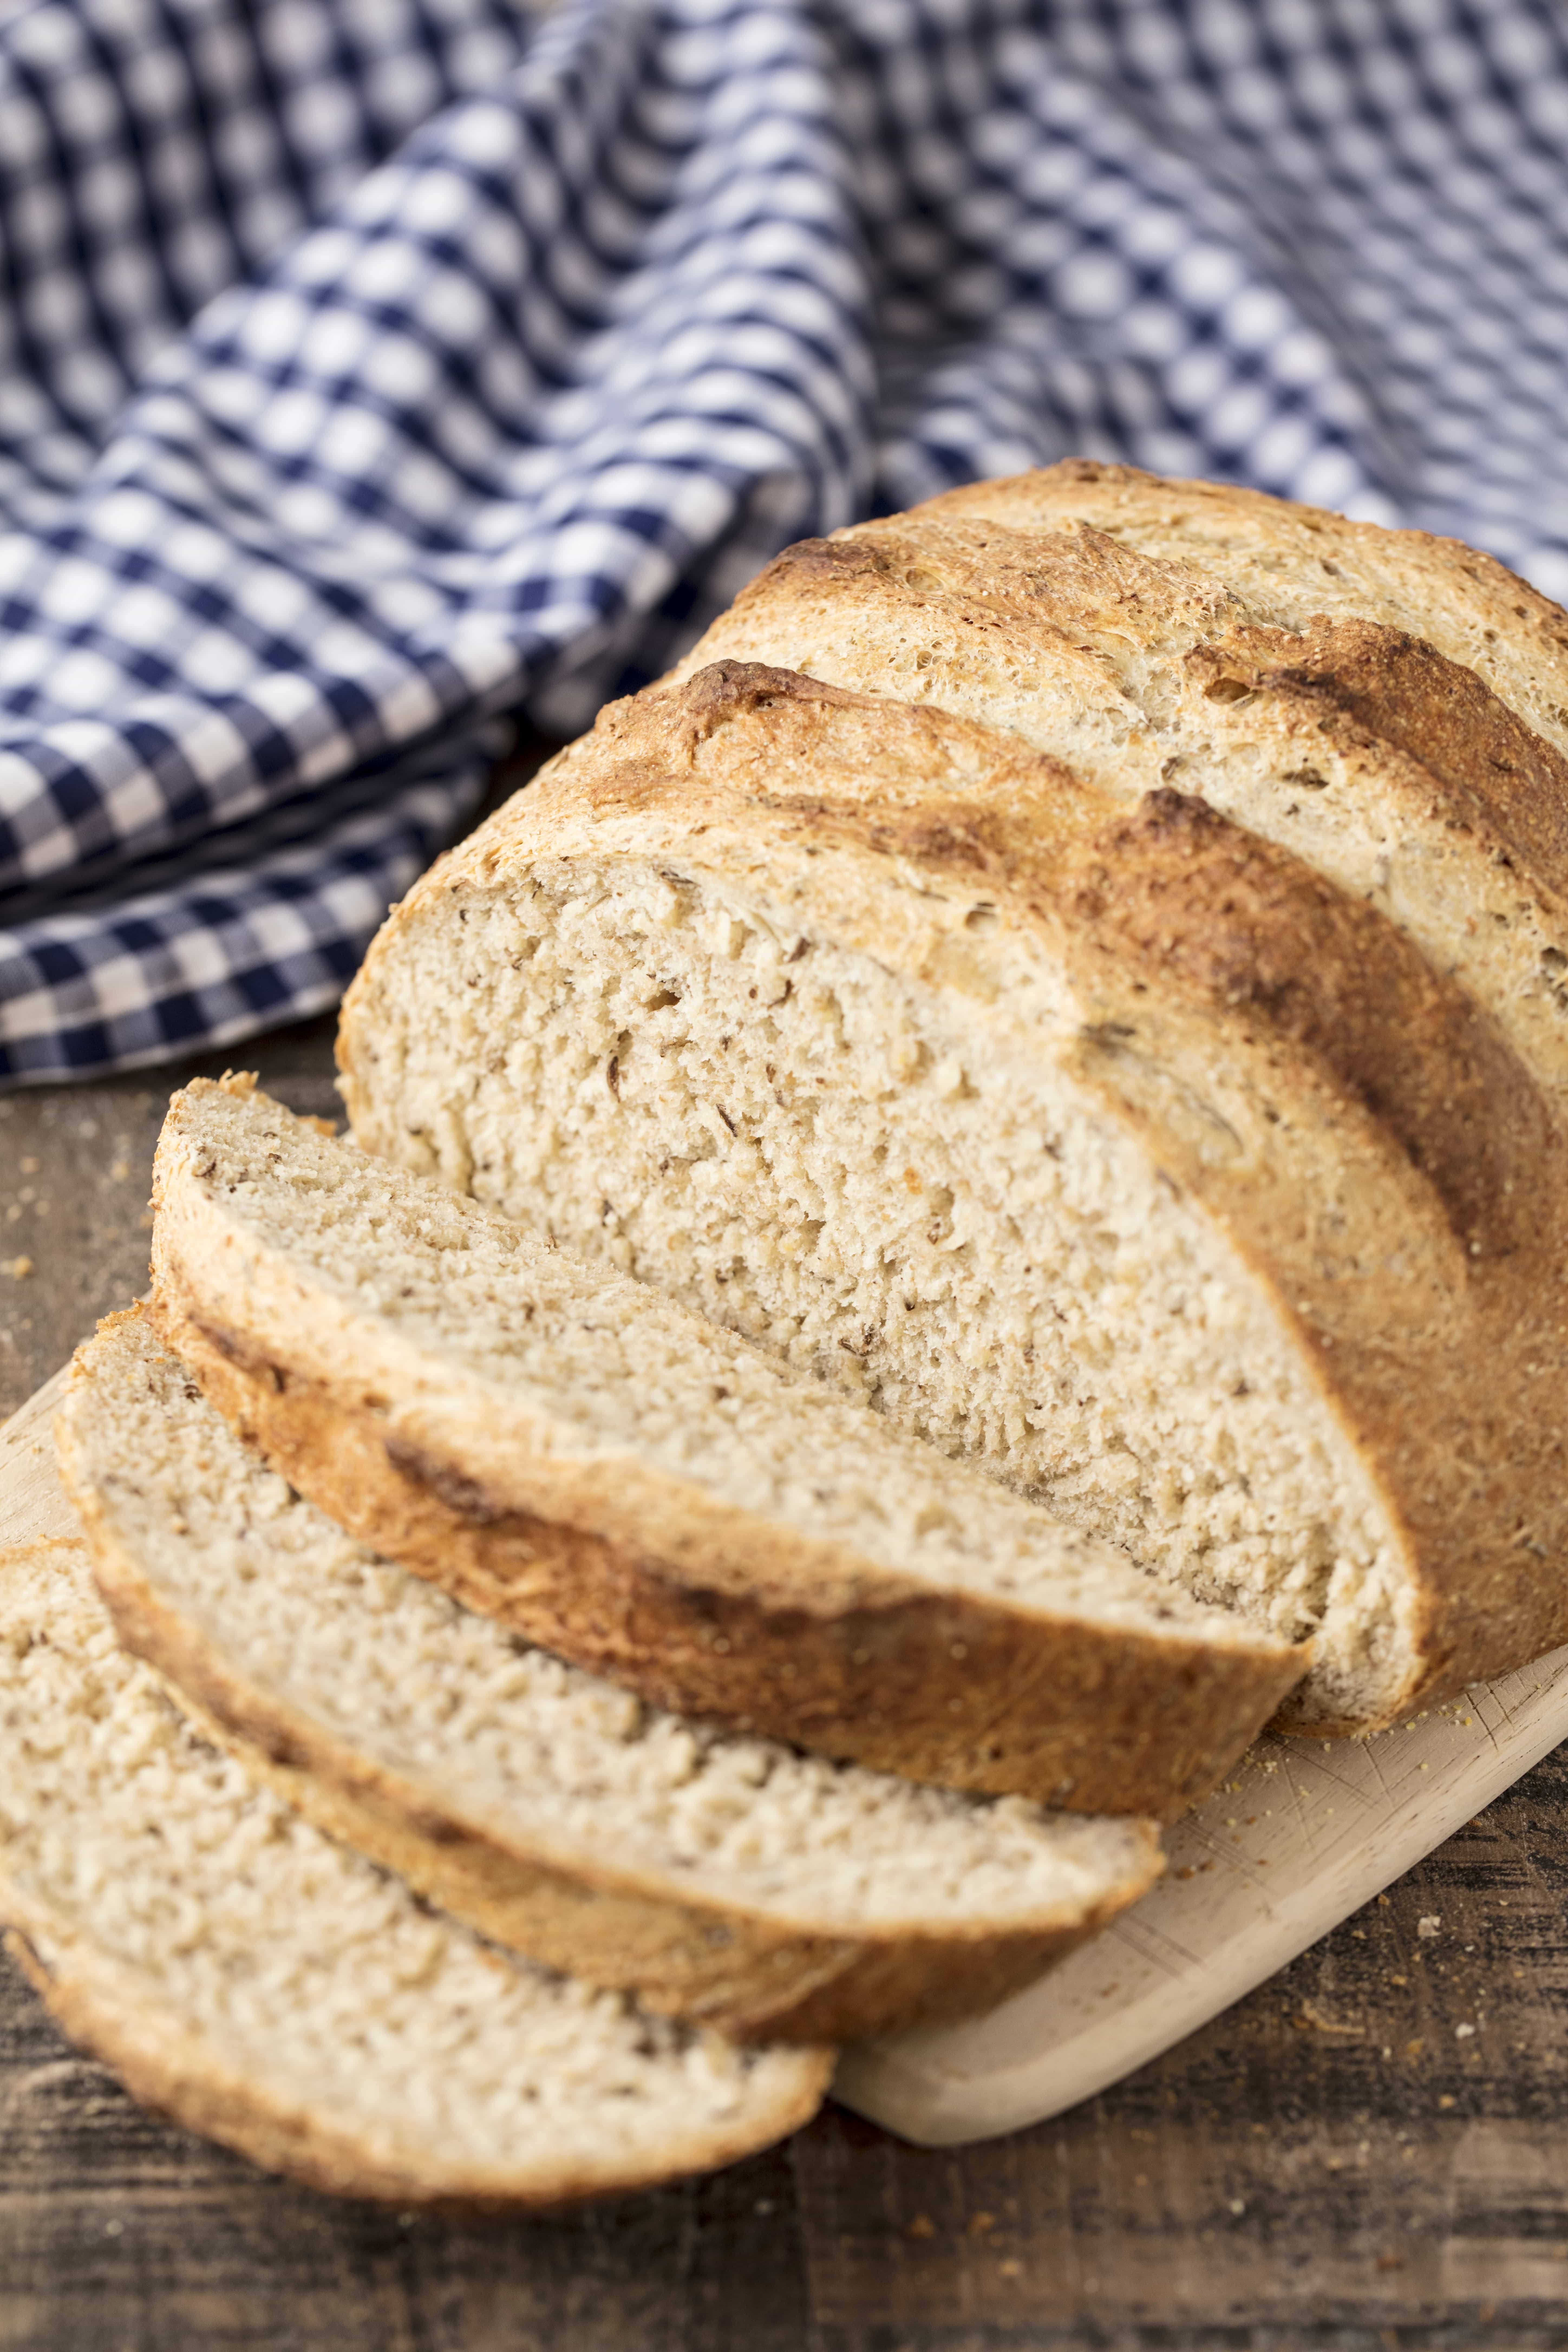
Delicious Homemade Rye Bread doesn’t get much simpler than this bakery style artisan bread. Caraway and rye flour gives the bread its distinct flavor. And guess what? No machines required! You can make this bread by hand!

Rye is one of our family favorites, but we can never find it in our local bakeries. It is a bread that is full of flavor and brings an interesting twist to sandwiches. Classic sandwiches using rye bread are pastrami on rye, tuna on rye, and corned beef on rye, but you could use rye in a variety of different sandwiches to bring out a new flavor. Or you can go the route of my children who just devour it plain. Seriously, who would have thought little kids would love rye bread so much?
This recipe is super simple to put together, gives some great bread making techniques, and makes a lovely light rye. I’ve also included instructions for a dark rye that has cocoa powder and molasses in it if you’d like to try your hand at that.
How to make Bakery Style Rye Bread:
The key to making great bakery-style bread at home is all in the method. Bakeries use steam ovens to get that wonderful chewy crust. You can create your own steam oven by placing a shallow pan of water in the oven with your bread. The water will evaporate in the heat, filling your oven with steam.
Using a baking stone or pizza stone is vital to creating both the perfect crust and the perfect crumb. Bakeries use fancy ovens of the masonry variety. See, the oven in your house cooks using radiated (the flame or the electrical elements) and convected heat (the air moving around the oven. A convection oven has fans to assist in the circulation of the air). A masonry oven is able to use conduction on top of convection and radiated heat. Masonry ovens utilize stone, just as their name suggests. Stone retain heat really well. When you put a loaf of bread directly on a hot stone, the stone transfers its heat to the bread through conduction. So when you use a pizza/baking stone, you are literally adding a third heating method into your oven. Isn’t that awesome? There’s your science lesson for the day!

Don’t have a mixer? No problem! Watch the video below where I show you how to make this bread by hand! No machines required. It’s THAT simple!
This recipe first appeared on The Stay At Home Chef on January 30, 2013


Great flavour. Followed the recipe but found the measurements did not produce a “dough”. I converted to grams as your metric option. Just added more flour until I obtained the dough consistency. Cooked in a covered Dutch oven. Will make again.
You used the cover? Did you still use the pan underneath? Did you remove the cover for any time at the end?
I used the cover and the water tray on a lower shelf, then removed the cover at the last stage for an all around crisp crust. Turned out great! Thanks for the recipe. Awesome! Pastrami and corned beef sandwiches are on the menu for next week!
This was the best recipe for rye bread I have found. Thank you.
Made this as dark rye, very good but still want a stronger rye flavor plus tanginess. Should I grind up extra rye seed (or different rye flour proportion) and add some amount of vinegar and does it affect rising? I’m attempting the taste of Ukrainian black bread. Thank you
Would this work in a Dutch oven! Waiting on rye flour to make this!
Yes it would.
Hi, this recipe was so easy, fast and delicious – thank you! A quick one – how would you recommend using starter in place of active dry yeast?
It’s all about the ratios when working with sourdough starters. You’d use about 1/3 to 1/2 cup of sour dough starter and the remainder of the ingredients as written. Rising times will be the same as when you make a normal sourdough loaf, using over night and 24 hour rising times, or as long as it takes to double in size.
this recipe is super delicious. i baked it for the first time and came out sooooo delicious. thanks for the recipe
See my comments…one before I tried recipe and one after.
So easy. Didn’t have a stone, but used an iron skillet and it came out great!
Rachael, want to make this bread, but I’m not sure about preheating a pizza stone on that high of heat.
I have a pizza stone from pampered chef, and I thought it could crack if you don’t have anything on it.
Do you have any insight on that?
You should always check the instructions that come with your particular pizza stone if you are concerned about the temperature.
Rachael, I use for a baking stone, a 21″ x 13″ x 3/8″, glazed one side, ceramic floor tile. I got this one at Home Depot. I bought it for size primarily. I place it on the rack, set high as practical, in the oven & set the temperature initially at 250 F. When the oven reaches that temperature, I then raise the setting to 350 F or what ever is my preferred baking temperature & wait for the oven to come to final temperature. To access the stone, I never handle the stone itself but slide the oven rack out & in with the stone on it. I sprinkle corn meal onto the stone, before sliding the loaves onto it with a home made bakers peel. After the loaves are baked & removed, I leave the stone in the oven to cool with the latter to near room temperature, before removing it for cleaning & storage. In the case of a tile, always store it vertically on a flat surface on its long side. The point of the foregoing procedure is to heat & cool the stone slowly to relieve its heat stresses gradually. That way, your stone should last forever! If you do break it by accident, then it is cheap to replace!
The beauty of a large rectangular bakers stone is the wonderful even heat it gives to the baking process. You will have no burning on the bottom of the loaves or other baked goods. It is also great for pizza!
I’m using a pampered chef pizza stone and have had no issues. Making it today as a matter of fact!
I have the pampered chef pizza stone. I bake all my bread on it. 450 decrees, no problem.
I made the bread this morning. The instructions are easy to follow. The bread is delicious. It will take all my will power not to eat it all today.
This was delicious. I made the dark variety. I only needed 2.5 cups of flour, and in fact the dough got a little too stiff so I added about a tablespoon more of water and then about a tablespoon or so more of rye flour to even it all out, then kneaded with the dough hook for about a minute before doing the first rise. I got a little worried after the second rise, when it felt like it had kind of splooped out and was too flat, but it has good crumb and an even texture. I might try it in a loaf pan next, just to see what happens. Thanks for a great recipe!
Christie
Did you try a loaf pan, and if so; did it work out? Any adjustments needed?
I’d like to know this, too. I love the bread, but don’t like the sahpe–it doesn’t work real well for sandwiches. It seems like a lot of dough for a loaf pan, though… If anyone has tried it and can share results, that would be great!
This was AMAZING bread! I have made the regular and dark rye – love the artisan bakery style – and so easy! I did add 2 tablespoons of King Arthur’s Flour Rye Bread Improver to the regular rye bread. So good. Thank you!