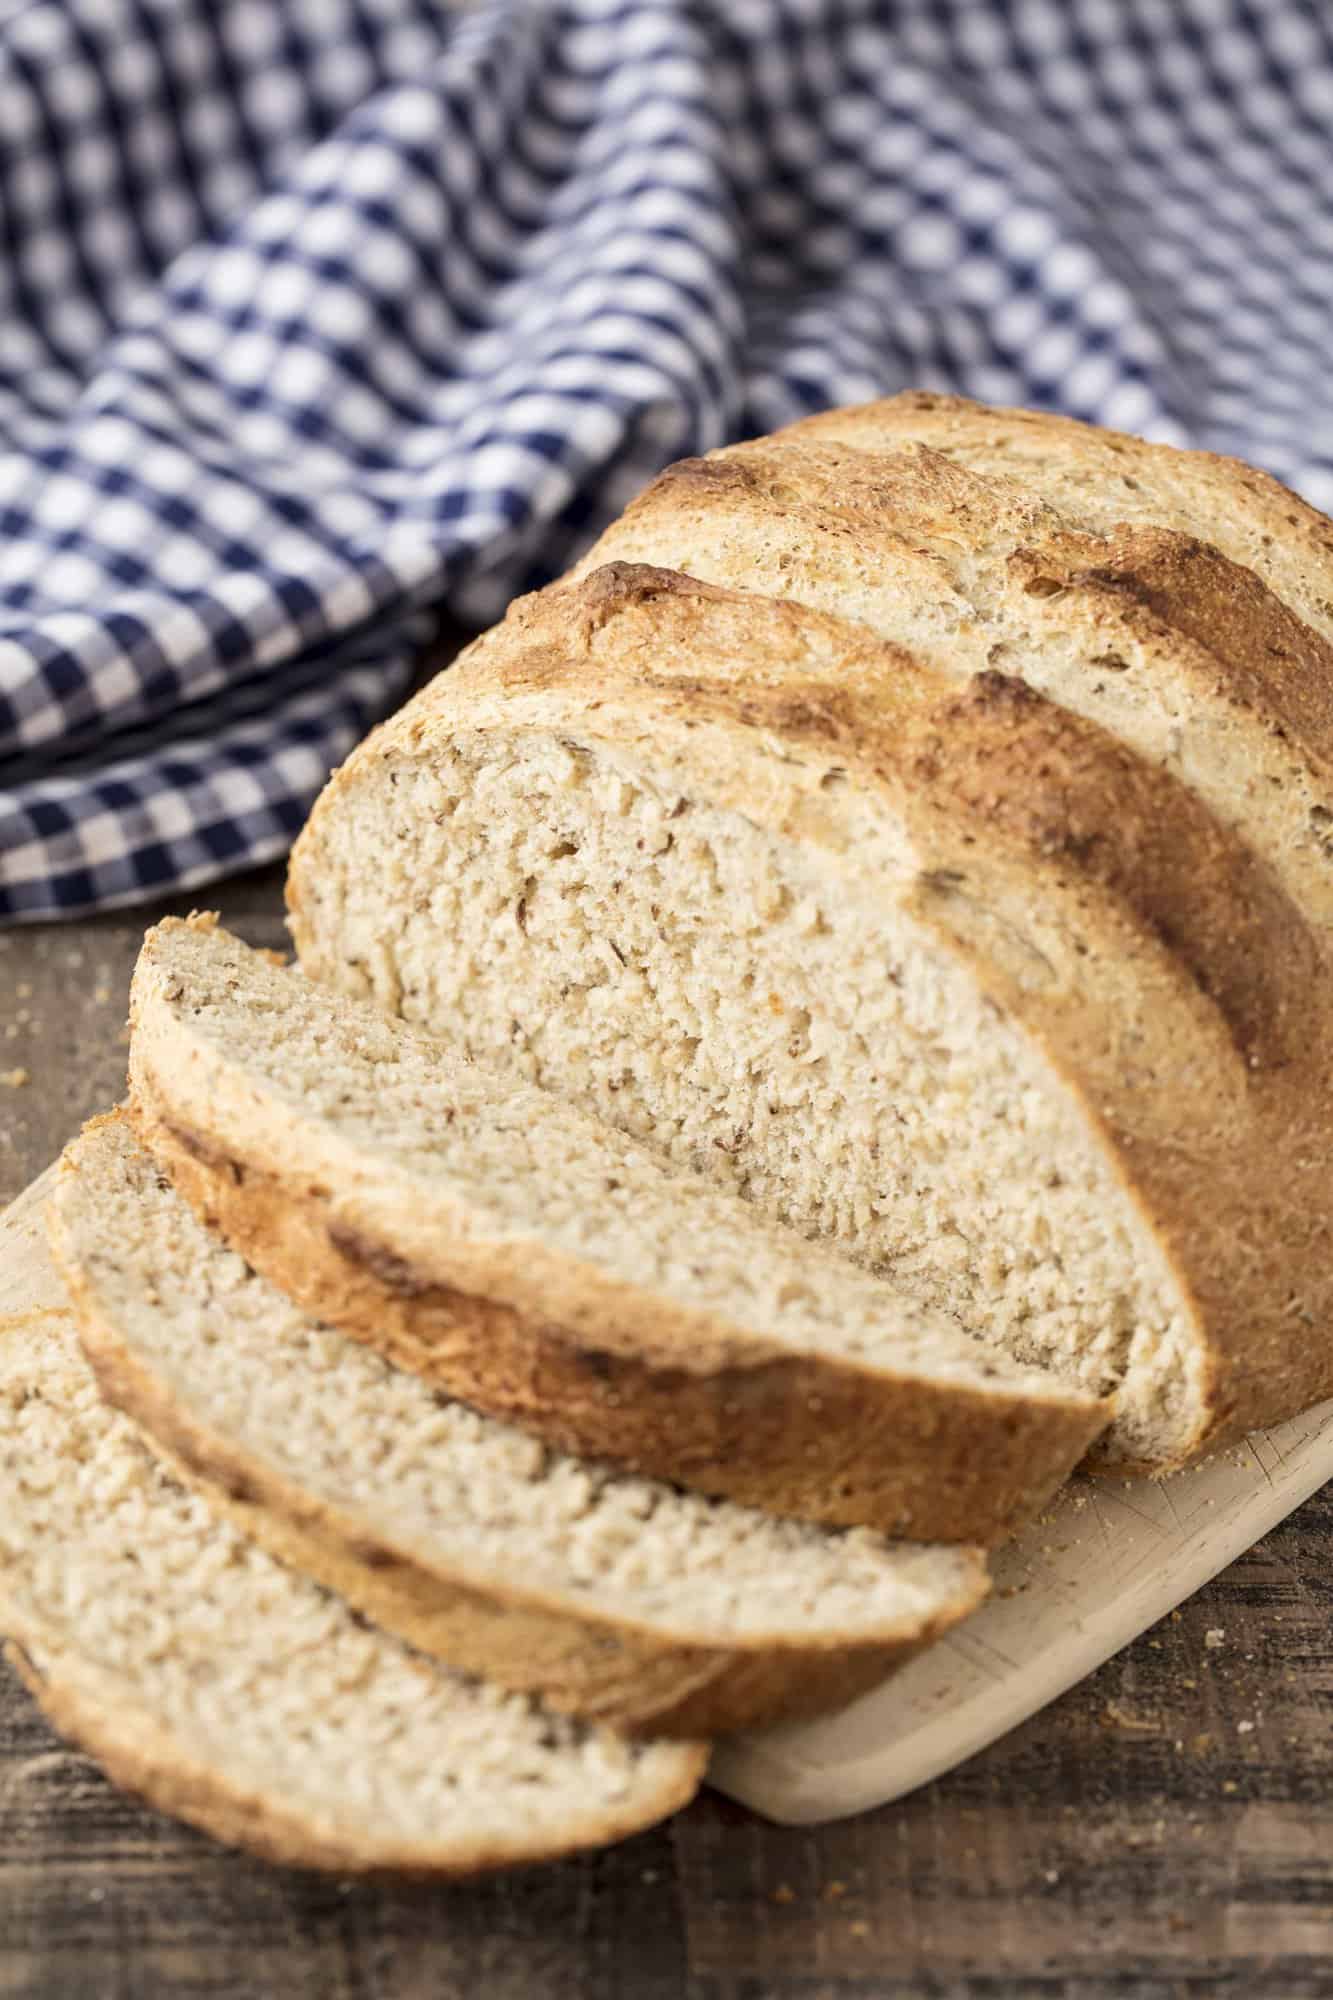
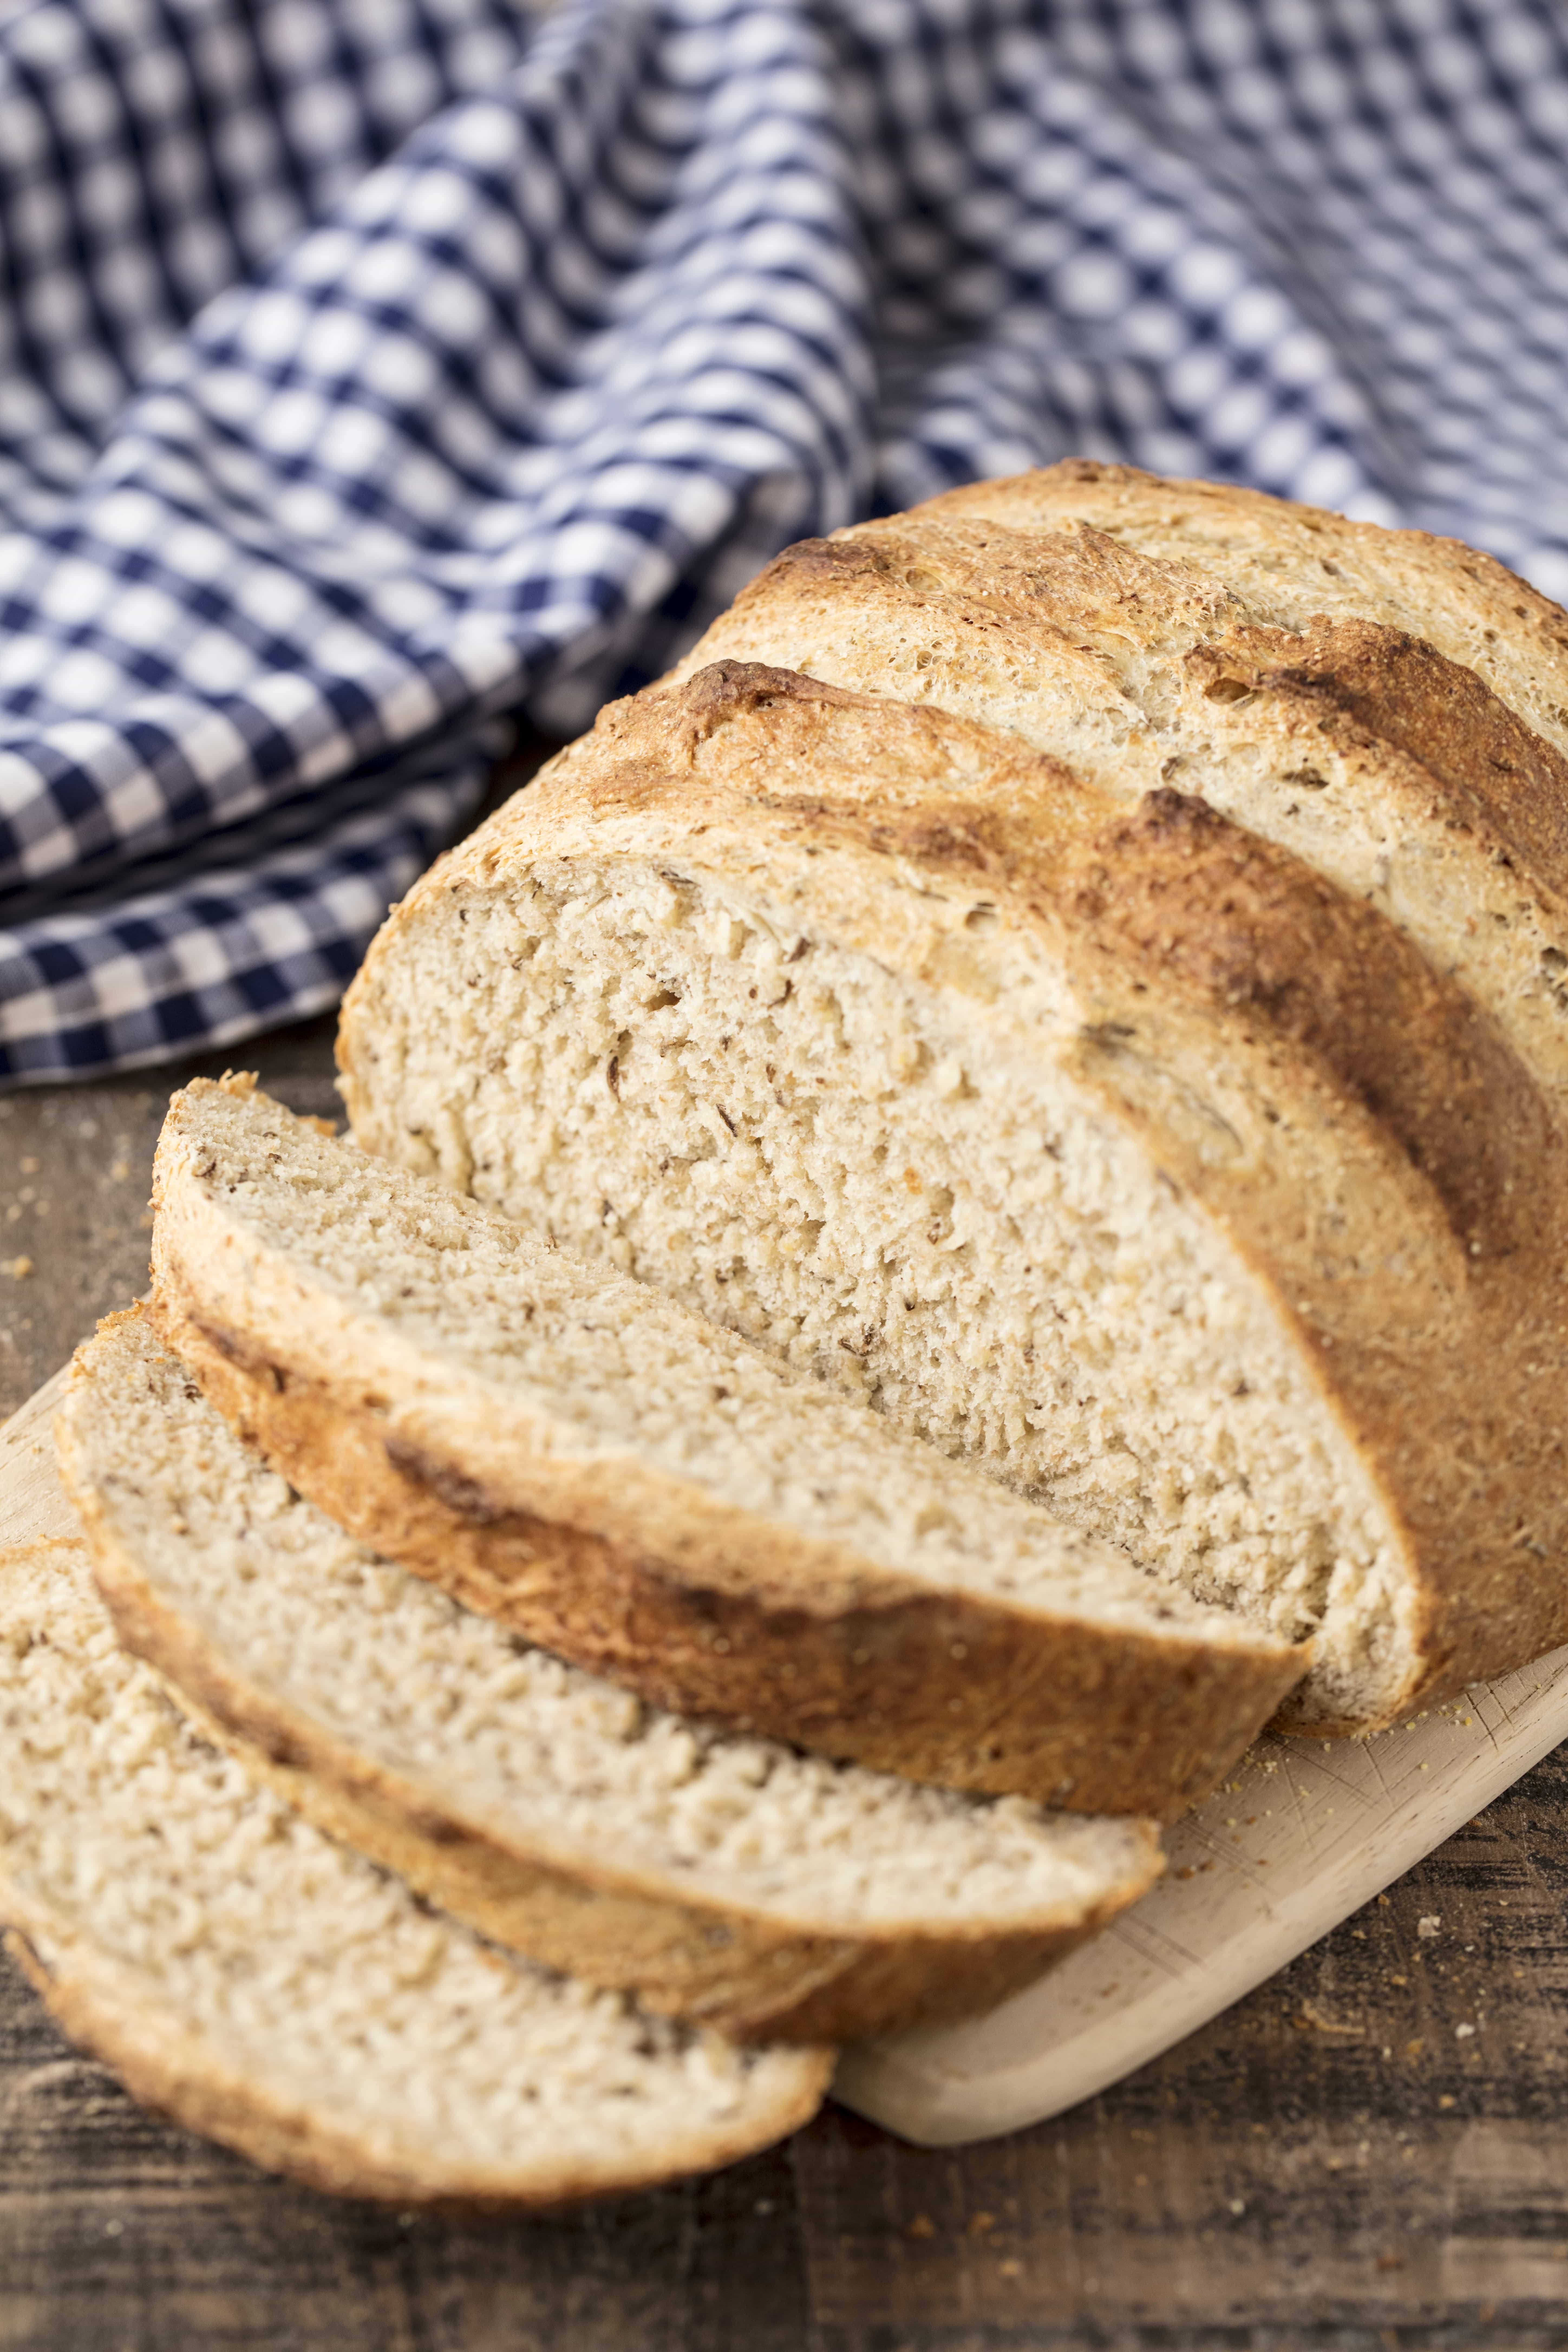
Delicious Homemade Rye Bread doesn’t get much simpler than this bakery style artisan bread. Caraway and rye flour gives the bread its distinct flavor. And guess what? No machines required! You can make this bread by hand!

Rye is one of our family favorites, but we can never find it in our local bakeries. It is a bread that is full of flavor and brings an interesting twist to sandwiches. Classic sandwiches using rye bread are pastrami on rye, tuna on rye, and corned beef on rye, but you could use rye in a variety of different sandwiches to bring out a new flavor. Or you can go the route of my children who just devour it plain. Seriously, who would have thought little kids would love rye bread so much?
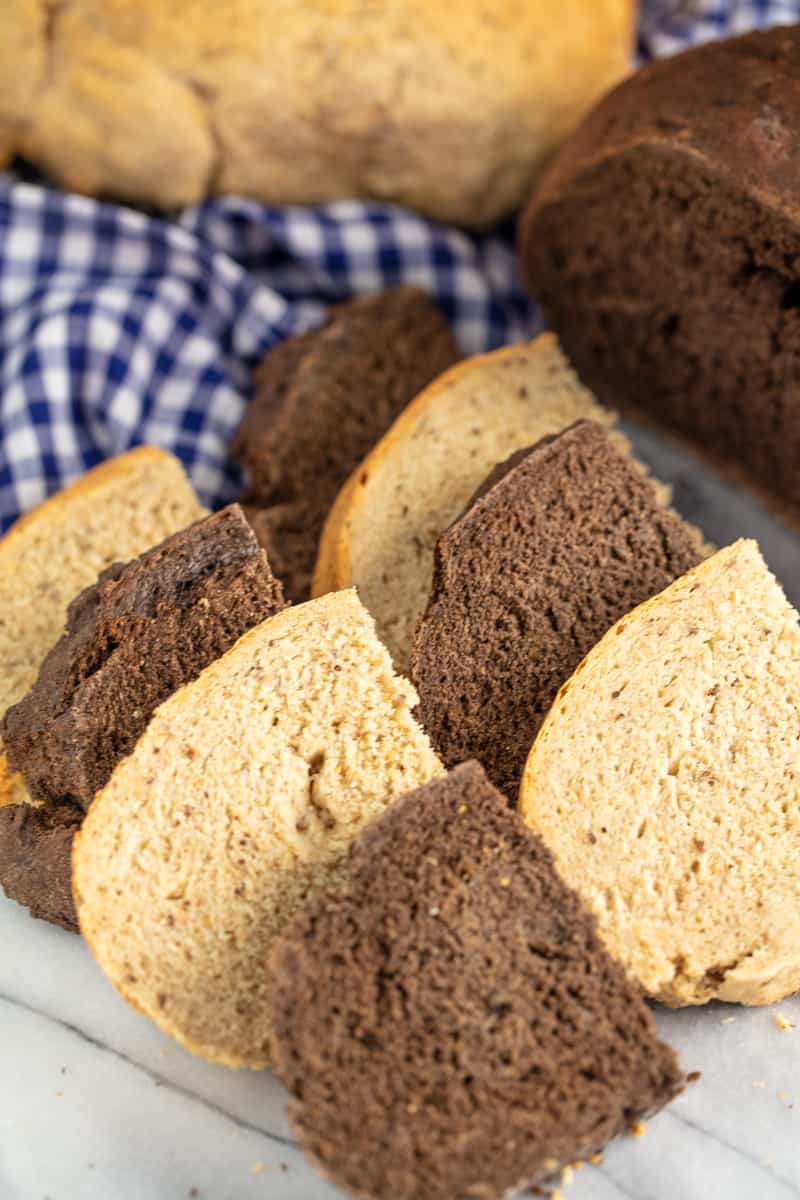
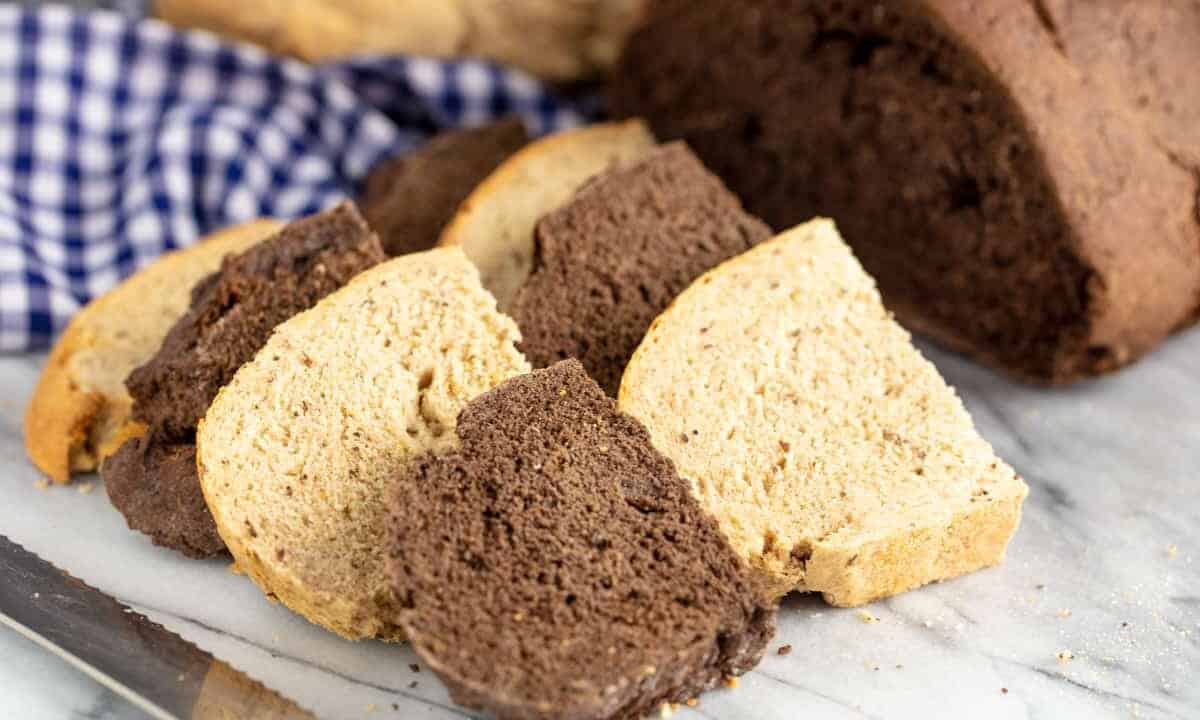
This recipe is super simple to put together, gives some great bread making techniques, and makes a lovely light rye. I’ve also included instructions for a dark rye that has cocoa powder and molasses in it if you’d like to try your hand at that.
How to make Bakery Style Rye Bread:
The key to making great bakery-style bread at home is all in the method. Bakeries use steam ovens to get that wonderful chewy crust. You can create your own steam oven by placing a shallow pan of water in the oven with your bread. The water will evaporate in the heat, filling your oven with steam.
Using a baking stone or pizza stone is vital to creating both the perfect crust and the perfect crumb. Bakeries use fancy ovens of the masonry variety. See, the oven in your house cooks using radiated (the flame or the electrical elements) and convected heat (the air moving around the oven. A convection oven has fans to assist in the circulation of the air). A masonry oven is able to use conduction on top of convection and radiated heat. Masonry ovens utilize stone, just as their name suggests. Stone retain heat really well. When you put a loaf of bread directly on a hot stone, the stone transfers its heat to the bread through conduction. So when you use a pizza/baking stone, you are literally adding a third heating method into your oven. Isn’t that awesome? There’s your science lesson for the day!

Don’t have a mixer? No problem! Watch the video below where I show you how to make this bread by hand! No machines required. It’s THAT simple!
This recipe first appeared on The Stay At Home Chef on January 30, 2013


We have tossed the idea of making our own bread around, but we never had a bread maker. This is really great information, and it doesn’t seem like it’d be that hard to do. Thanks for the recipe, what a good idea!
Hi Rachel, I made this bread and it looked great. It tasted good too. However I was wondering why it uses so much salt? It seems like a lot to me. I only used 1 1/2 teaspoons of salt and I did add 3 tablespoons of Rye Bread Improver by King Arthur Flour. Could that have been the reason my dough was still a bit gummy? I want to make it again and hope you can give me a few pointers. Thank You
I just added a half of a tablespoon at a time alternating ap flour and rye flour until the texture was more pleasing to work with. It took probably another five tablespoons for me.
Hi, I’m interested in this recipe. I’d like yo see pics of your shaping tho if possible. I can’t get a mental pic of how you’re shaping it. Does it begin to go flat on the second rise?. What are your suggestions for hand kneaders?..why the cornstarch wash before baking?…never heard of that. Does it help in the crust?. Can I proof it in a Baneton? Just a few curious questions from a fellow baker…Shalom !
I don’t have any pictures to share with you on that. It doesn’t go flat on the second rise. I’ve made it many times and haven’t seen any flattening. I’m not sure what suggestions you are looking for on hand kneaders. I often knead things by hand simply because I find it relaxing. Just be sure to keep your hands greased and floured so the dough doesn’t stick. The cornstarch wash is for crust development. It produces a fantastic shine to the rust. I’m sure you can proof it in a banneton as well as those are designed for use with all breads. Phew, did I answer all your questions?
Made this today. Very easy. Absolutely delicious. That’s all I can say. Thanks for the recipe.
You are welcome! Thanks for taking the time to come back! Means a lot to me!
Jason LOVES rye, AND he is the baker in this house, ha! emailing him this recipe… 😉
I just leave it on my counter which is usually 70-75 degrees.
step #4…where do you let it rise? is this at room temp of 80-85 degrees?
Thanks,M
Hey there,
You are not doing the bread justice when you shape it that way! If the dough starts looking textured as you shape it, you have torn the gluten and diminished the structure. Be gentle, and let it rest between "pulls." That way you will leave the gluten intact to continue to stretch when it's in the oven. ("oven spring")
Thanks for stopping by Katie! Obviously you are a baker! While I know that the texture means the gluten has been stretched and is beginning to break, I have actually found that it produces exactly what I want. Yes, I do it on purpose! Weird, I know! With the high moisture content of the dough, and the no-knead aspect, I have found that stretching the gluten cloak to the point of breaking actually prevents me from getting bubbles or mis-shapen loaves while still giving a perfect, chewy crumb. I only recommend stretching the gluten to the point of breaking. Once it begins to show texture, stop.
I have a slight learning disability and when it comes to reading something then doing it I have a hard time visualizing how you are doing it. any way you could add pics of how you are working the bread?
Welcome Annie! I'll see what I can do for you!
I am so excited for this! I just happen to have about a half cup of rye flour hanging around that needs to be eaten. yum! Also, your picture taking skills are super awesome