Learn the best method for how to boil eggs to produce the perfect hard boiled egg every single time without any fuss.
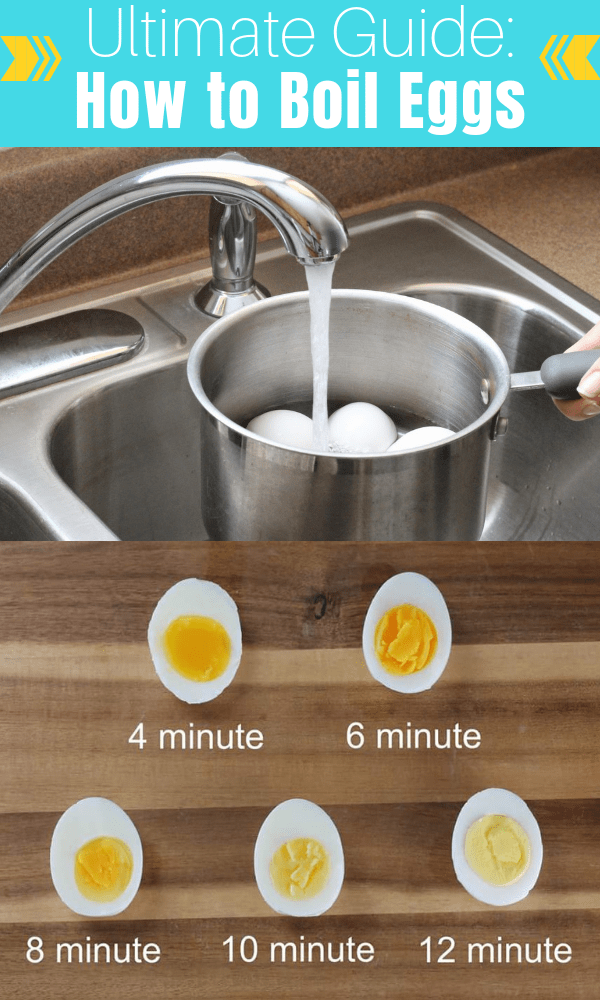
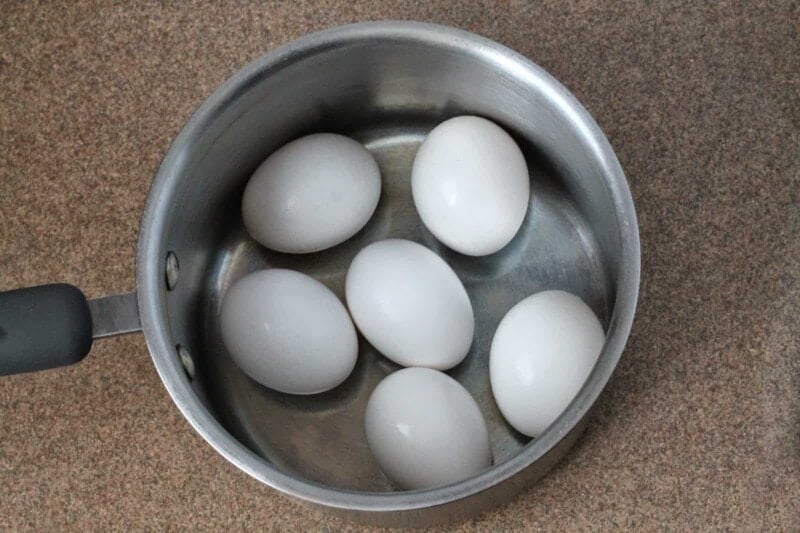
Step 1: Place eggs in the bottom of a saucepan. Be sure not to crowd the eggs in the pan. They should fit comfortably.
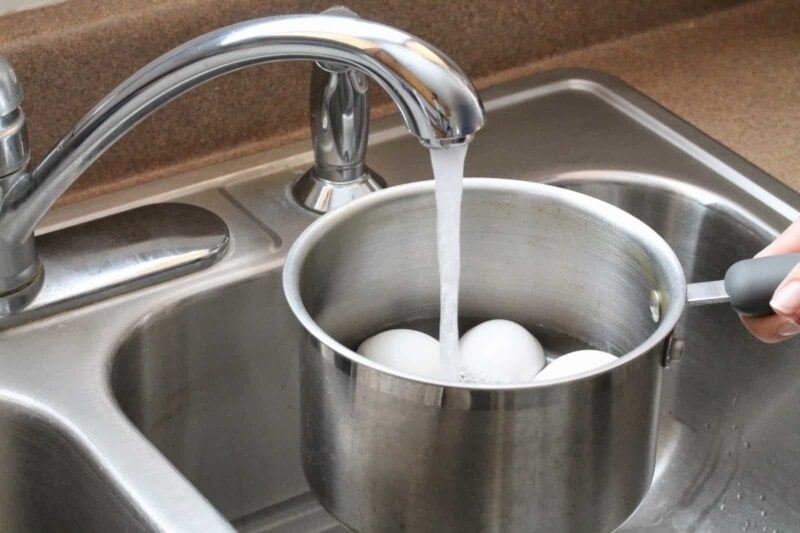
Step 2: Fill the pan with cold water, 1 inch above the eggs.
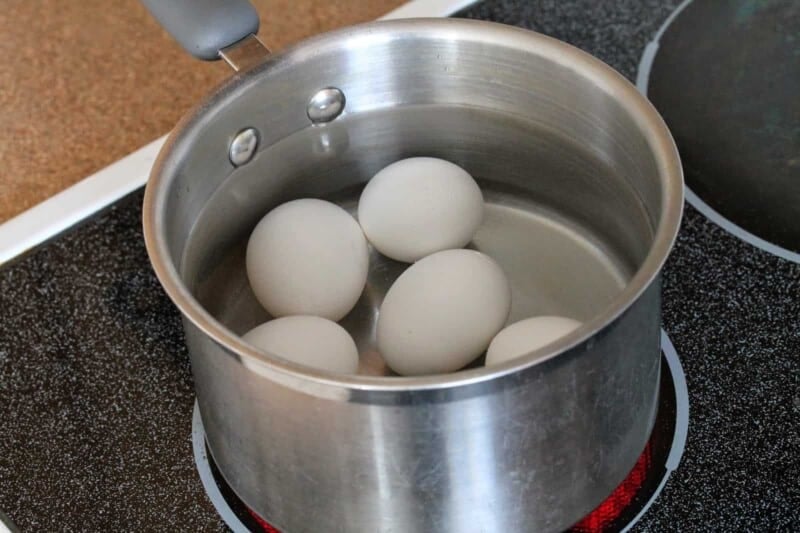
Step 3: Bring the water to a rapid boil on the stovetop over high heat.
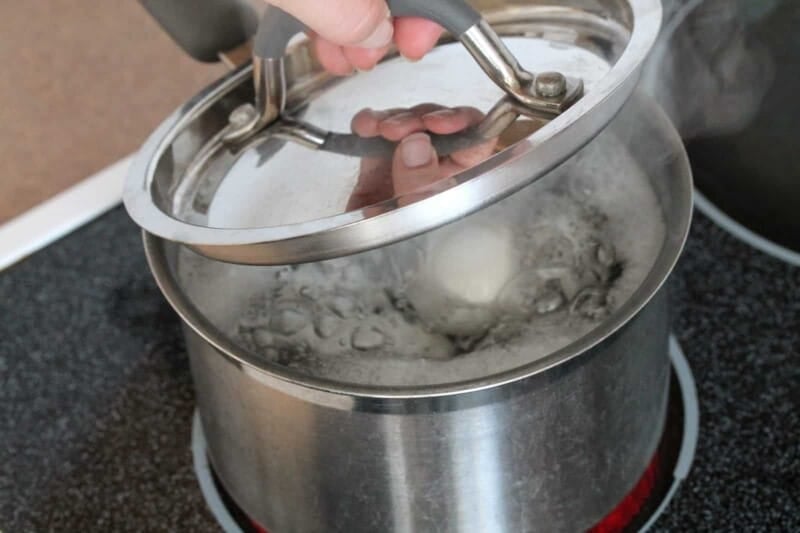
Step 4: Once the water comes to a boil, cover the pan with a lid and remove the pan from the heat. Do not lift the lid. Set a timer for the type of boiled egg you want, from 4 minutes to 12 minutes.
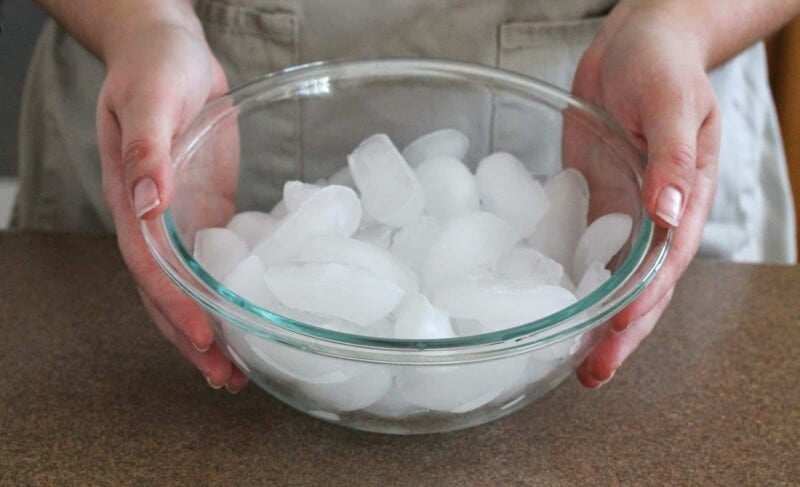
Step 5: Fill a large bowl with ice and water.
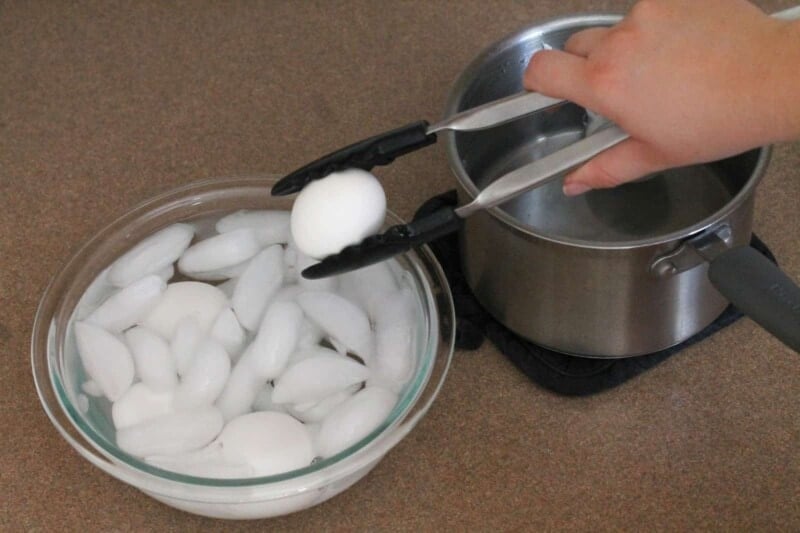
Step 6: When the eggs reach the desired cooking time, use tongs to remove the eggs from the hot water and immerse gently into the prepared ice water to cool, about 10 minutes.
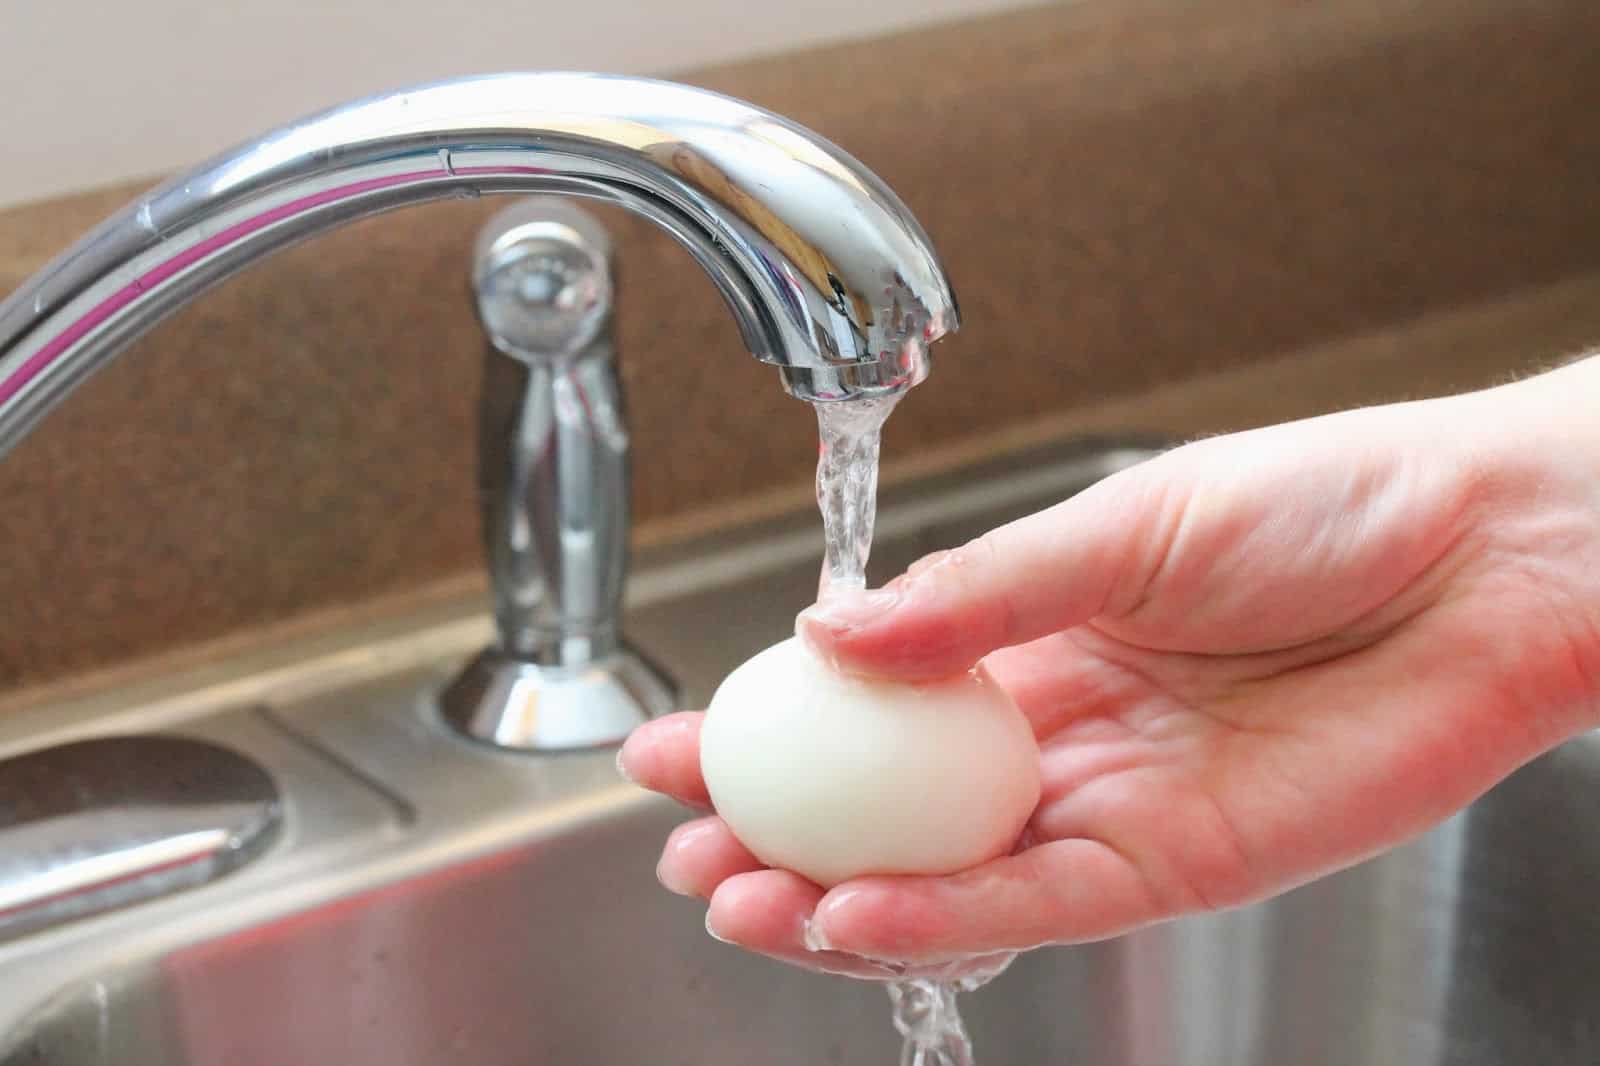
Step 7: Gently tap the eggs against a hard surface and peel away the shell. Rinse the egg under cold water to remove any bits of shell and pat dry.
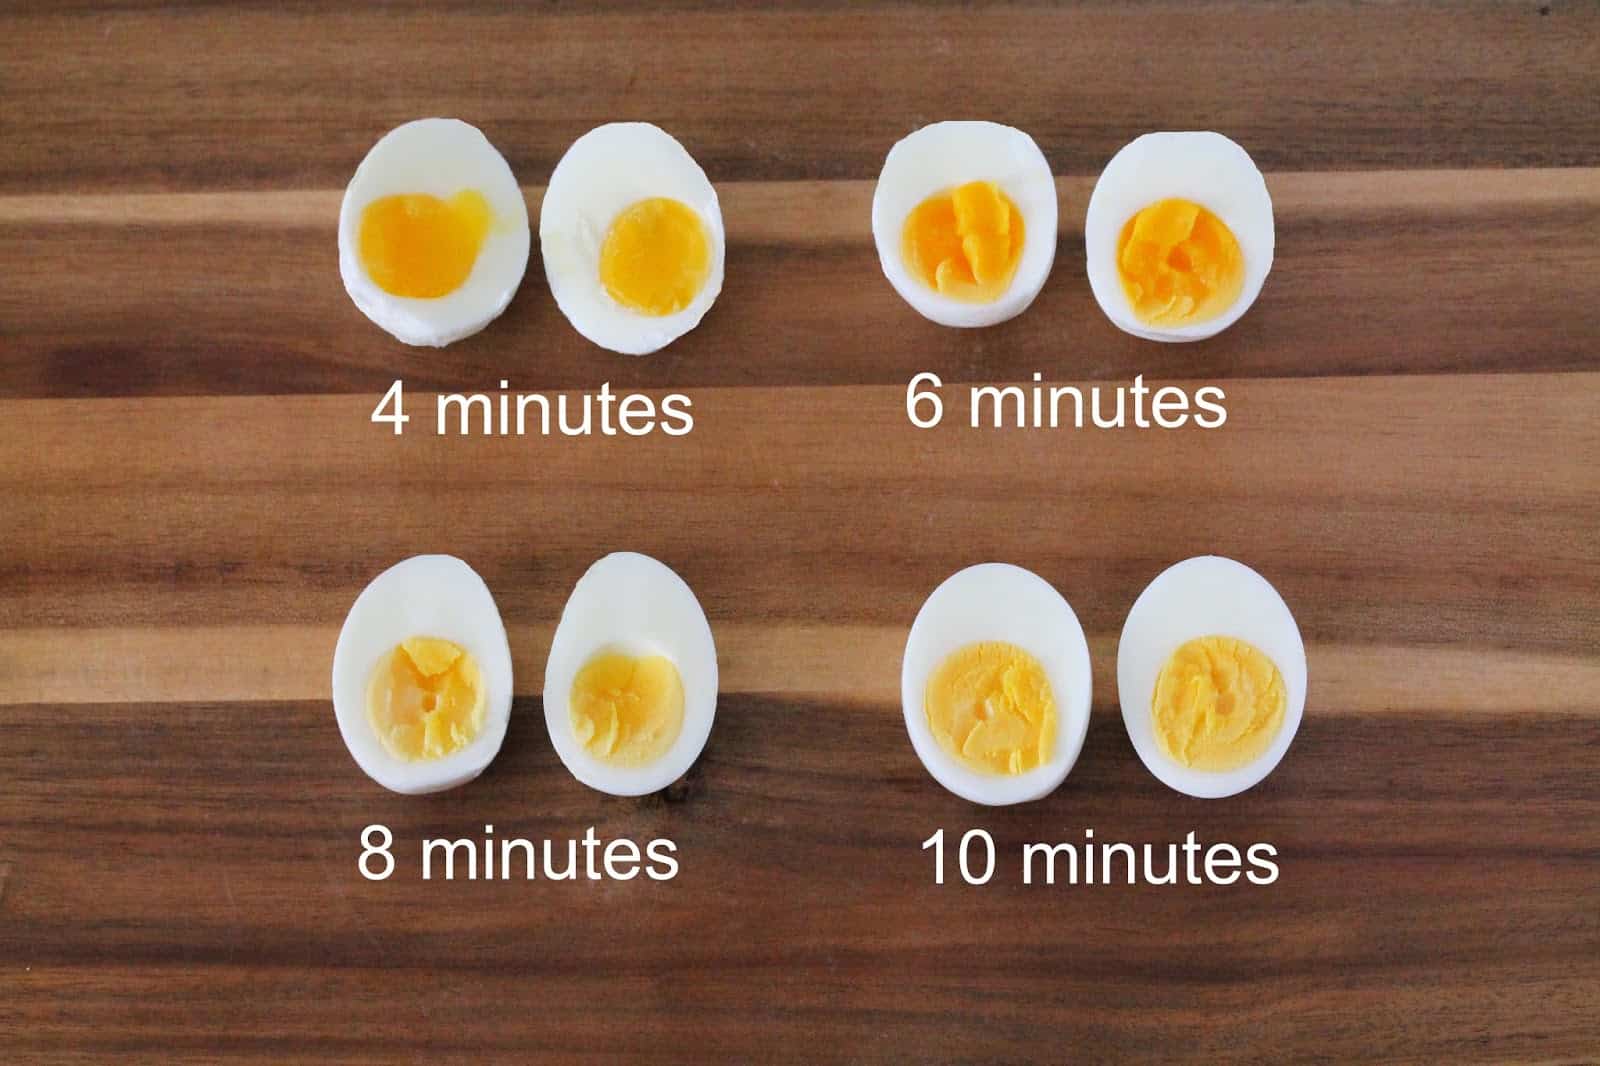
How many minutes should I cook my egg?
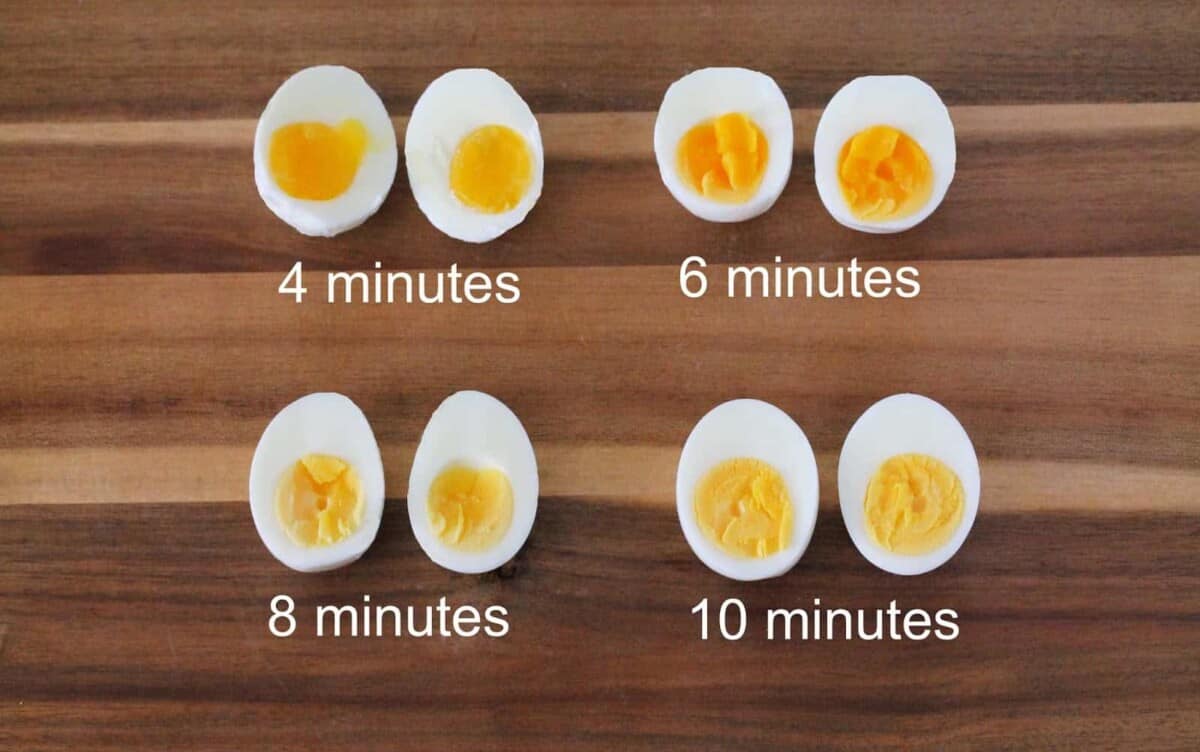
Soft Boiled (runny or very soft yolk) – 4 to 6 minutes
Hard Boiled (solid cooked yolk) – 8 to 12 minutes
TROUBLESHOOTING
Why does my yolk have a green circle around it?
Unfortunately, a green yolk means you’ve overcooked your eggs.
One of my eggs cracked while boiling. Can I still eat it?
Every once in a while an egg cracks while boiling and may leak some of the interior white and even yolk. The egg is technically still edible as it has been cooked, albeit a slightly different method. Usually I simply discard these eggs.
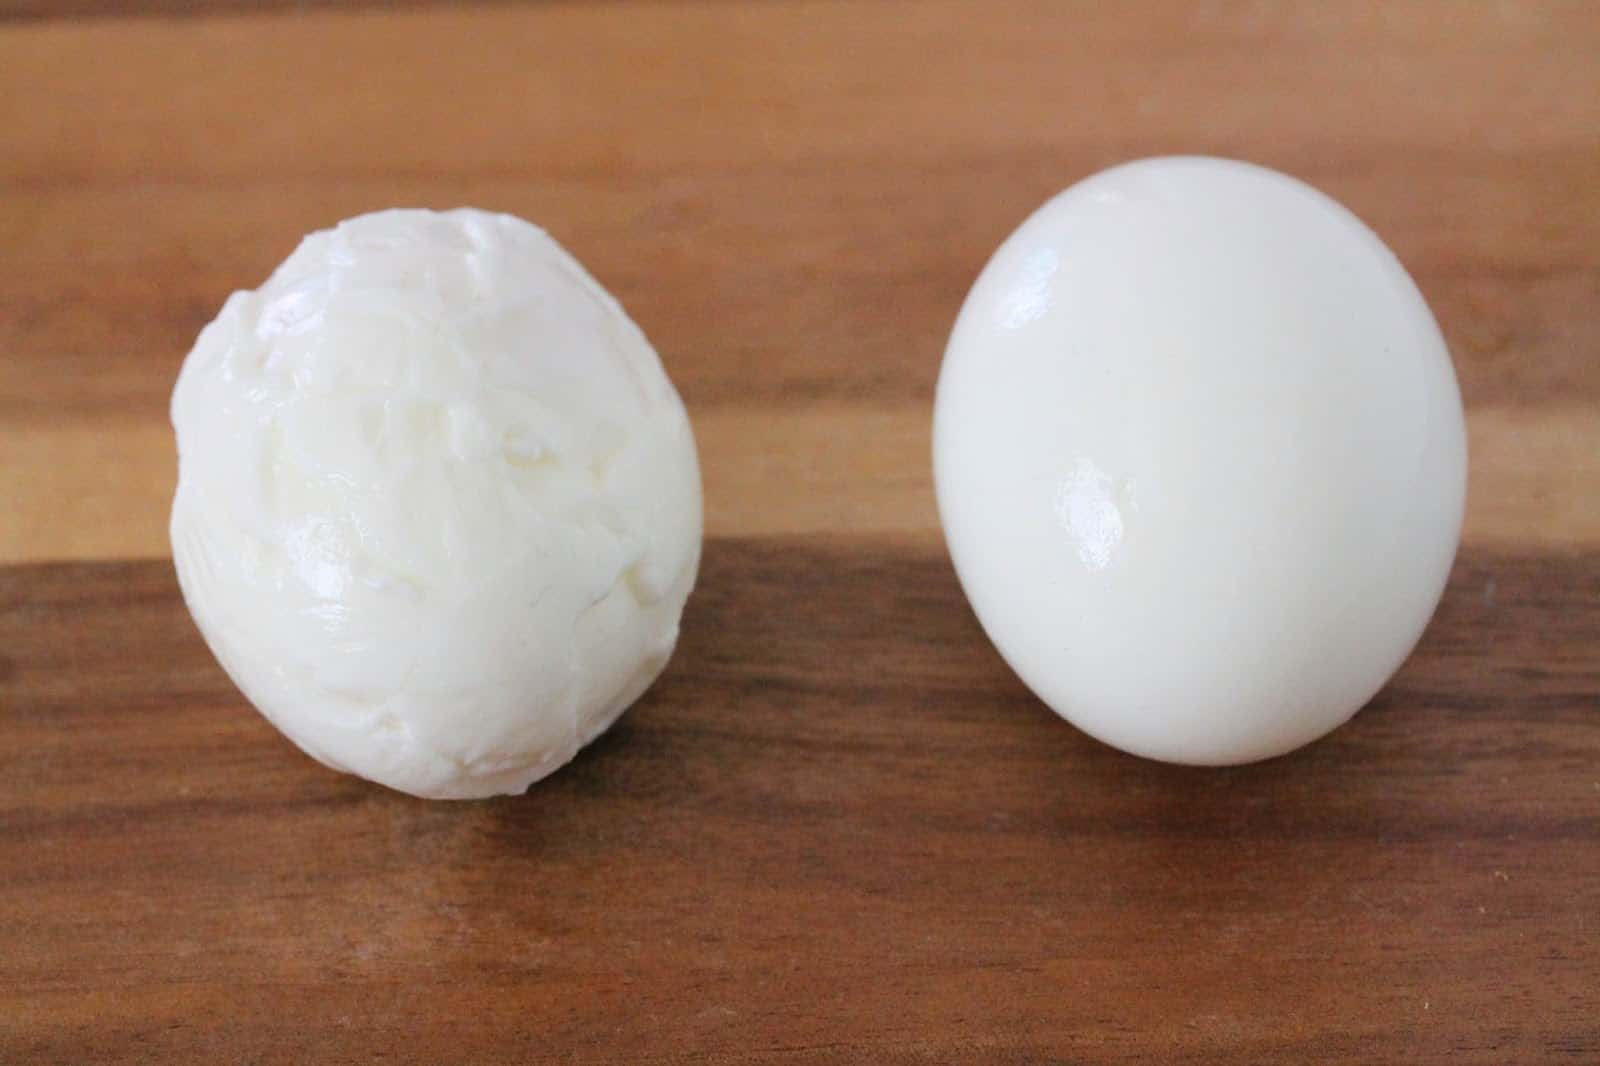
Why doesn’t my egg peel smoothly?
Sometimes when you peel the egg you may notice that bits and pieces of the egg come off with the shell. This is completely normal and will not affect the taste of the egg, only the appearance. There are many reasons why eggs do not peel smoothly. Fresh eggs are difficult to peel, while older eggs peel easier. There are many tips, tricks, and old wives tales as to how to peel an egg smoothly. Add a teaspoon of baking soda to the water, or a teaspoon of vinegar. Poke the bottom of the egg with a needle before cooking. Crack the eggs all over before putting them in the ice bath. These are just a few of the many tips and tricks out there.
I usually use the pressure cooker/IP for eggs, but when it’s in use or unavailable I use this method to hard boil. A little vinegar in the water makes peeling a breeze btw.
Hi – Of course it works and why it works is because it is easy to remeber! Second run for me and only two eggs each time. The boiled eggs are placed throughout the week into a lunch bag. Boiled eggs provide endurance because of the protien. Eggs are also the perfect food with all the esentials inside to create a life.
So, I just came back to check the final cool down time in the ice ~ 10 minutes
Thank You for the love you share
For deviled eggs, stir the eggs gently a few times to center the yolks before they set.
Thank you 💖💖
I tried this out. The pic of the 8min egg looked good to me so that’s what I did. Turned out just right! Yolk was soft moist and had Flavor! No more dry tasteless boiled eggs for me. THANK YOU THANK YOU THANK YOU!!!
Easy and straight to the point which I love. I don’t mind a little bit of content or back story but some recipes online I have to weed through a monolog before getting to what I need. Thanks for the recipe it worked like a charm!!
Thank you for the clear, easy to follow instructions!
If you boil the water before you put the eggs in it, the shells don’t stick when you peel them. They come off easier.
(30 june 2022)
I’ve never been able to boil eggs to my satisfaction. It seems so easy. My wife, my Mom and my daughter have all done it so effortlessly and successfully. I have never been able to do it, despite all the blogs and youtube videos I’ve turned to for help. “Santa” even left a boiled egg indicator in my stocking one year and that didn’t help. I’m not sure what it is about your instructions but they helped me boil eggs successfully the last 2 times I boiled some. Thank you for the insight and clarity that has escaped me for so long.
Great instructions that are easy to follow!!! Love the pictures that go with them plus the nutritional facts at the end!! Very well done!!
Thank you.