
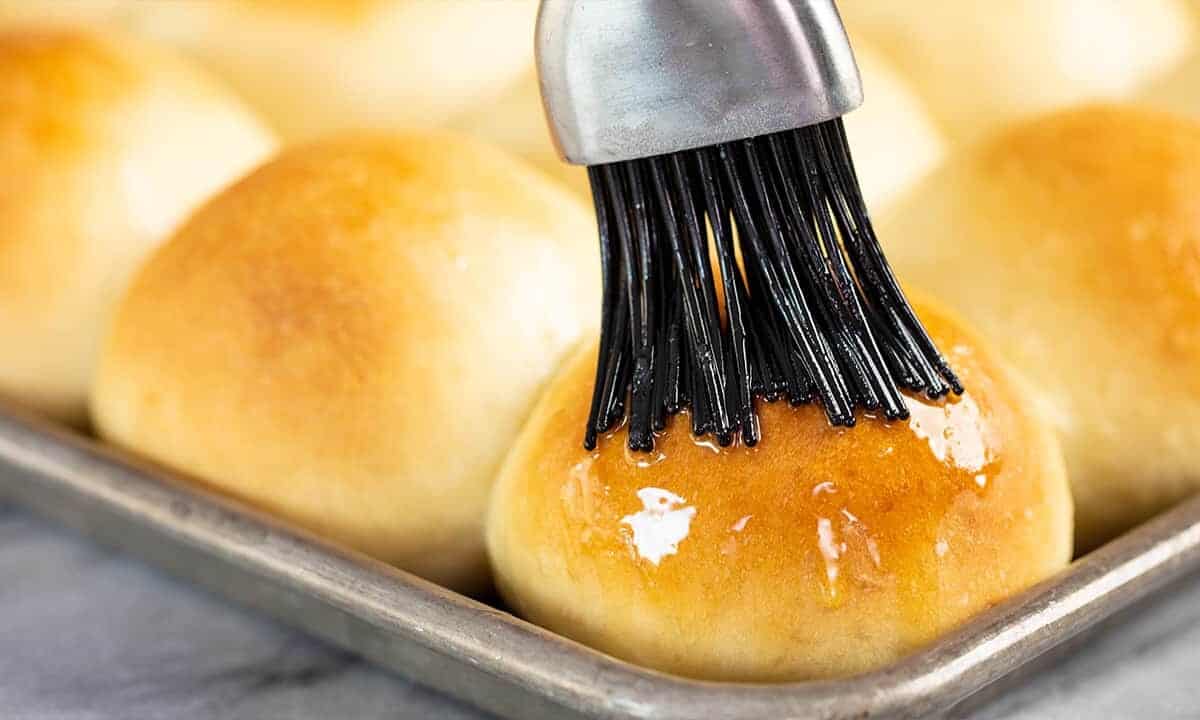
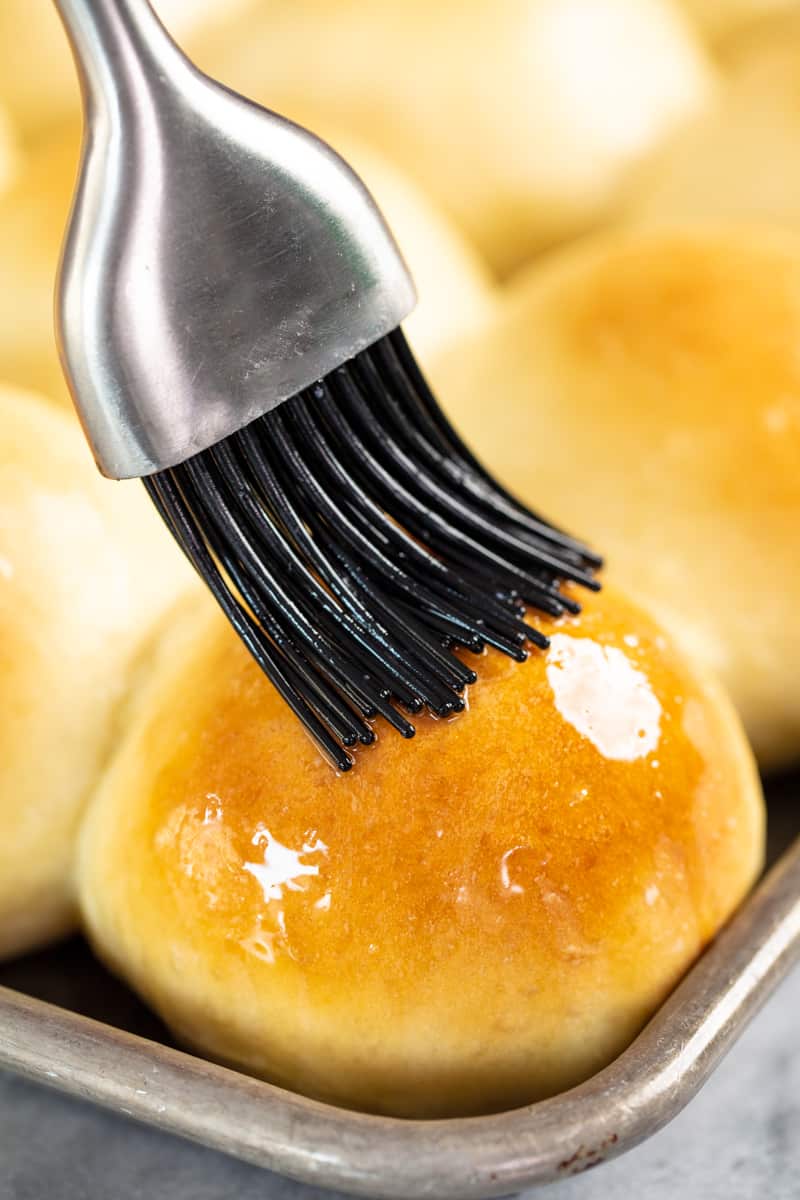
These dinner rolls are soft and fluffy, easy to make, and practically melt in your mouth. They are truly the most amazing dinner rolls ever. Just read all the rave reviews!
This dinner roll recipe took Chef Rachel Farnsworth over 5 years of testing to develop. It has since been enjoyed by millions of people around the world with thousands and thousands of rave reviews, heralded as the best dinner rolls on the internet. In addition to being published in her best-selling cookbook The Stay At Home Chef Family Favorites, this dinner roll recipe is used in restaurants and bakeries around the world.
Whether you are new to bread making or an experienced baker, this recipe is sure to please. Be sure to review the frequently asked questions for any troubleshooting and watch the included video demonstration so that you too can enjoy these famous rolls at home.
What if I don’t have a stand mixer?
No mixer? No problem! You can knead your dough by hand! Start out by stirring with a spoon until it becomes too difficult to stir. Turn the dough out onto a clean surface and knead it with your hands, gradually adding in more flour and folding, pressing, and working the dough (kneading) until you have a soft and smooth dough ball that is tacky, but not sticky enough to stick to your hands.
What is the difference between active dry yeast and instant dry yeast?
Instant dry yeast can be added straight to dry ingredients and doesn’t require any waiting period or proofing. It also rises a bit quicker. Active dry yeast is a bigger size of granule and generally needs to be dissolved in a liquid before adding to a recipe. It activates a bit slower so expect 10-15 minutes extra in rise time.
What should the dough feel like?
The dough should be smooth and slightly tacky, but still very soft and pliable. If it is sticking to your hands or the sides of the bowl, you need more flour. If you add too much flour and the dough stiffens, your rolls will also get a little stiff so always add additional flour a small amount at a time. The exact amount of flour you add in bread making can vary a great deal so it’s important to go by feel. I like to say you can feel a soft roll just by touching the dough.
How should I measure the flour? Should I sift it?
The flour you buy at the store these days is generally pre-sifted. There is no need to sift your flour. I prefer the scoop and sweep method as it is ultra-convenient. Simply give your flour a fluff, use your measuring cup to scoop out the flour, and level off the top. Weighing your flour using a kitchen scale is the only way to ensure complete accuracy. Even then, bread making is both fickle and forgiving and the actual amount of flour you add can change just due to the humidity in the air. When making this roll recipe, it is best to go by the touch and feel of the dough. 1 cup of flour is approximately 125 grams.
Can I substitute gluten-free flour?
This recipe was not designed to be gluten-free. Gluten free baking involves completely different chemistry. In general, you cannot substitute gluten-free flour in baking recipes and expect it to work, however, several people have reported that a blend like Cup for Cup will work.
How do I make my rolls equal in size?
The best way to ensure that your rolls are equal in size is to weigh them. Weigh the entire batch of dough using a kitchen scale and divide that weight by 24. This will give you your target weight for each roll. Usually, this is somewhere around 2.5 ounces.
How do I shape dinner rolls so that they are round?
Once you have your dough divided into 24 pieces you can shape your rolls. Place your hand into a cupping shape parallel to a clean countertop. Place the dough ball between the palm of your hand and the countertop. Roll the dough in a circular motion between your palm and the countertop for approximately 30 to 45 seconds until you have a smooth, round roll.
Does this roll recipe make a good loaf of bread? What about cinnamon rolls?
We love a good loaf of bread and we know that the amazing results of these rolls will quickly have you wondering if you can turn it into a loaf of bread. Unfortunately, the incredibly soft and melt-in-your moth results of this roll does not produce a sturdy loaf. Instead, we worked tirelessly to bring you the ultimate guide to homemade bread instead.
This recipe does make an incredible batch of cinnamon rolls. Be sure to check out the best homemade cinnamon rolls ever!
Freezer Instructions
You can freeze dinner rolls for later baking immediately after you shape them into rolls. When ready to eat, remove them from the freezer and allow to thaw and produce their second rise until double in size before baking. This can take anywhere between 1 to 2 hours, depending on the temperature in your home.
Make-Ahead Instructions
Need to make your dough ahead of time while you are busy doing other things? Make your dough as directed and let it rise for the initial 90 minutes. Shape the dough into rolls and place them on your baking sheet. Instead of letting them rise for an additional 60 minutes, cover the shaped rolls with plastic wrap and place the pan directly into the refrigerator. While it doesn’t stop it completely, the cool temperature of the fridge will slow the growth of your yeast. Your rolls will only rise slightly while refrigerated and you can hold them this way for up to 24 hours.
When ready to bake, remove them from the fridge and allow the rolls to rise at room temperature while your oven preheats, about 30 minutes. Continue to bake as directed.
Watch the video below where Rachel will walk you through every step of this recipe. Sometimes it helps to have a visual, and we’ve always got you covered with our cooking show. You can find the complete collection of recipes on YouTube, Facebook Watch, or our Facebook Page, or right here on our website with their corresponding recipes.
Made these rolls today for our thanksgiving meal, we do thanksgiving a little later so we can all be together, hands down best roll I’ve ever had the pleasure of making and eating. They are a hit!!! So delicious!!!!
I was having a ‘nesting’ day at home on Sunday and thought I would try this recipe. The recipe was so easy to follow and the video really helped. It was the first time, other than using a bread machine years ago, that I had tried to make bread or rolls from scratch. I still can’t get over how easy it was. I need to work a little on shaping my rolls as they weren’t as beautifully formed as yours. They were also a little large so I only got 20. I will refine the next time I make them. Thank you so much for sharing this wonderful homemade delight!
Just made these for dinner tonight and although they were not as pretty as yours, they were AH-MAZING!! My husband and kids raved about them. I am not very good with yeast products but these were simply foolproof. Thanks for the great recipe. I am now a new fan! 🙂
I found these bread rolls quite doughy for my taste. They were very fluffy, so great for people who like that sort of thing. Just a bit too airy for me.
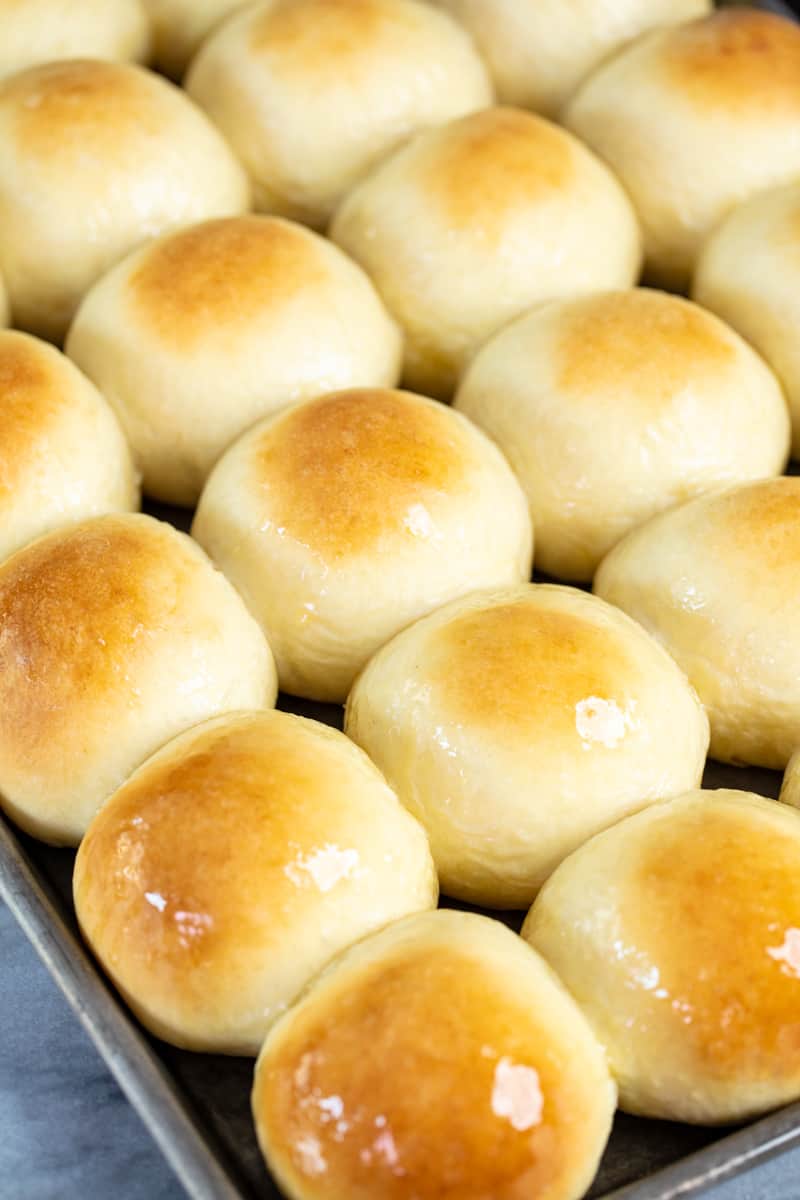
Hi, any hints on how you get the tops so smooth? I’m wondering if I have too much flour or handled too much, because I’ve made these twice, first batch better than second BUT neither batch had the smooth beautiful top.
After I turned out the dough I spread it out minimally and used a pizza cutter to cut into the pieces with minima handling and then lightly rolled them but there were seams and bumpinesss. Any ideas why?
In both videos I show the rolling process. For some reason that little hand movement produces the smoothest rolls.
Made these for T-Day this year. They were amazing. I used 1 Tbsp + 1 TSP of yeast instead of 2 TBSP and they came out perfect…It would have been just 1 TBSP, but I went a little lighter on the flour and it was too sticky during the first rise and didn’t get big enough. I bloomed the extra TSP and mixed it in with the dough, added a little flour. To give it another quick rise, I poured some boiling water into a pan and set the dough over the steaming pan in the microwave for 30min. The dough rose perfectly, I followed the rest of the directions to a T and they were amazing.
I have never made rolls or bread from scratch before in my life. Decided to be adventurous and made these for Thanksgiving. They…were…amazing!!! Turned out perfect and everybody was so impressed. Can’t wait to make more.
These were amazing. Made as written. Thanks for sharing. They were a huge hit at our Thanksgiving table.
I hosted Thanksgiving this year and I was so nervous about making rolls for the first time. This recipe was so easy to follow and the rolls were a hit! I doubled the batch and people ate every last one. My family was more excited to eat the rolls than the apple pie! My husband and his brother kept talking about how the rolls reminded them of their childhood. I’ve never seen people get so excited over food haha! Thanks for the recipe…I’m now part of the popular crowd 🙂 Definitely a staple for all future events!
I have a long-tested recipe from a friend I’ve used for years. Everyone always asks me to make these special rolls for Thanksgiving and any special occasion. After using my good friend’s recipe for years, decided to try to look for something even better. I found your recipe online and was inspired by your title to try them instead for Thanksgiving Dinner yesterday. I found the title to be absolutely “on the mark.” They were gorgeous as they came out of the oven, soft and buttery to eat. Absolutely awesome. Everyone loved them. They ARE the best homemade dinner rolls ever.