

Sourdough bread, known for its thick, chewy crust and soft, airy interior, is a classic example of traditional baking’s simple elegance. Made with just flour, salt, and water, sourdough has surged in popularity the last few years, attracting beginner and seasoned bakers alike! The key to its distinctive taste and texture lies in the sourdough starter, a fermented mixture that naturally leavens the bread. This guide simplifies the process of creating and maintaining your own starter, and it teaches you how to bake your own sourdough loaf.
If you love homemade bread, you absolutely need to try homemade French bread, cinnamon swirl bread, and this easy sandwich bread.
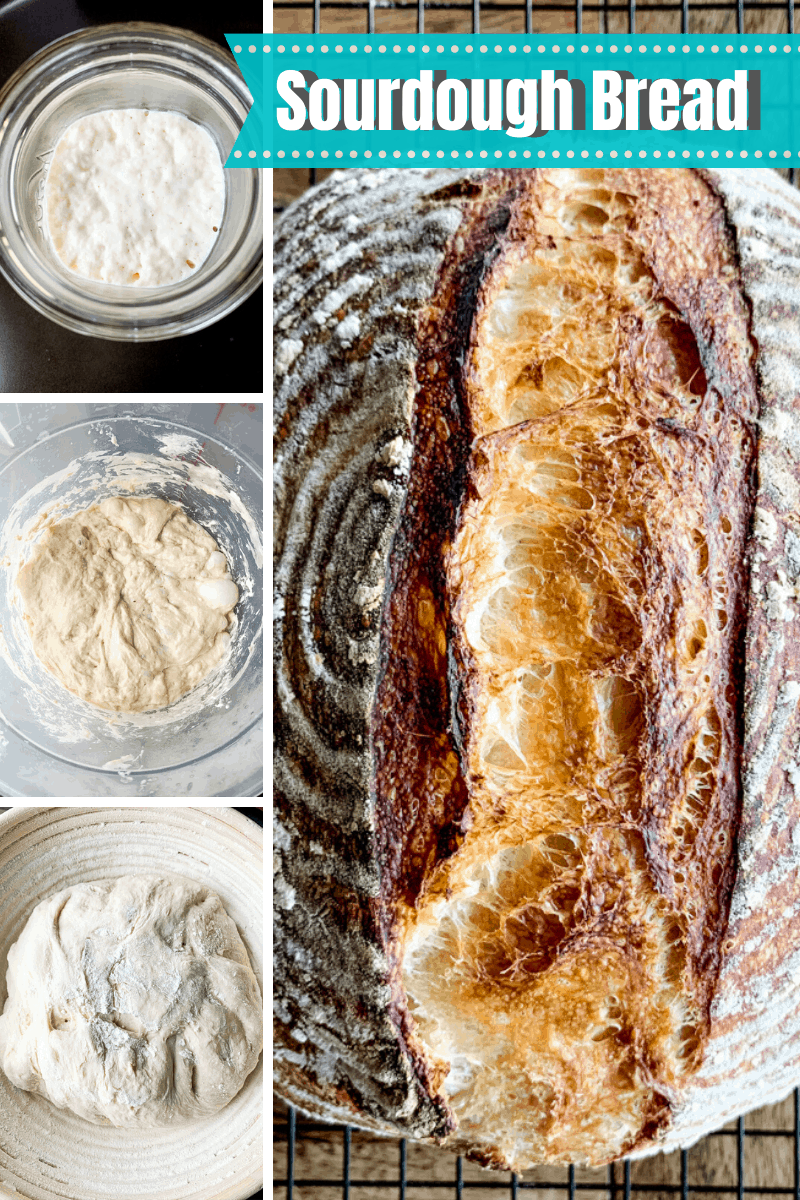
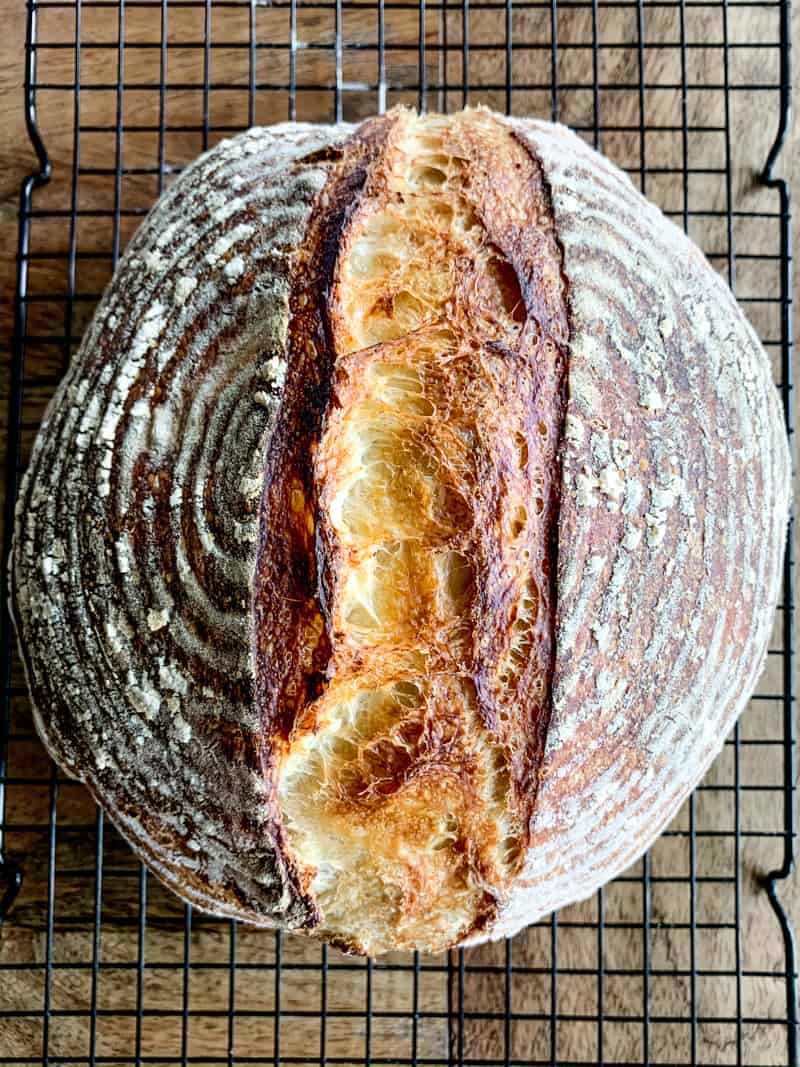
Sourdough Bread Recipe
We know many people are looking for an easy introduction to sourdough, without worrying about technique, so consider this your introductory lesson to making sourdough starter and bread from scratch. There are many methods and recipes for sourdough out there, and we are just focusing on one simple method. If you graduate from this and want to get fancy, there is a lot more to try out with sourdough baking!
The most important first step is to have a sourdough starter. You might already know someone with a starter, and if so, you’ve got an easy head start! You don’t need a lot, just get a couple of tablespoons and then immediately feed. If you aren’t lucky enough to have family or friends with an active sourdough starter, you can make your own from flour, water, and a bit of patience.
How to Make Your Own Sourdough Starter:
Wild yeast lives in the air and flour, it’s everywhere really! Breads made from wild yeast do not require commercial yeast. To make your own wild yeast sourdough starter
- Fill a larger plastic or glass container with 1/2 cup flour and 1/2 cup water. Stir until thoroughly combined into a smooth batter.
- Cover with a loosely screwed on lid or plastic wrap.
- “Feed” your starter 4 ounces of water and flour, stirring until combined, every 24 hours.
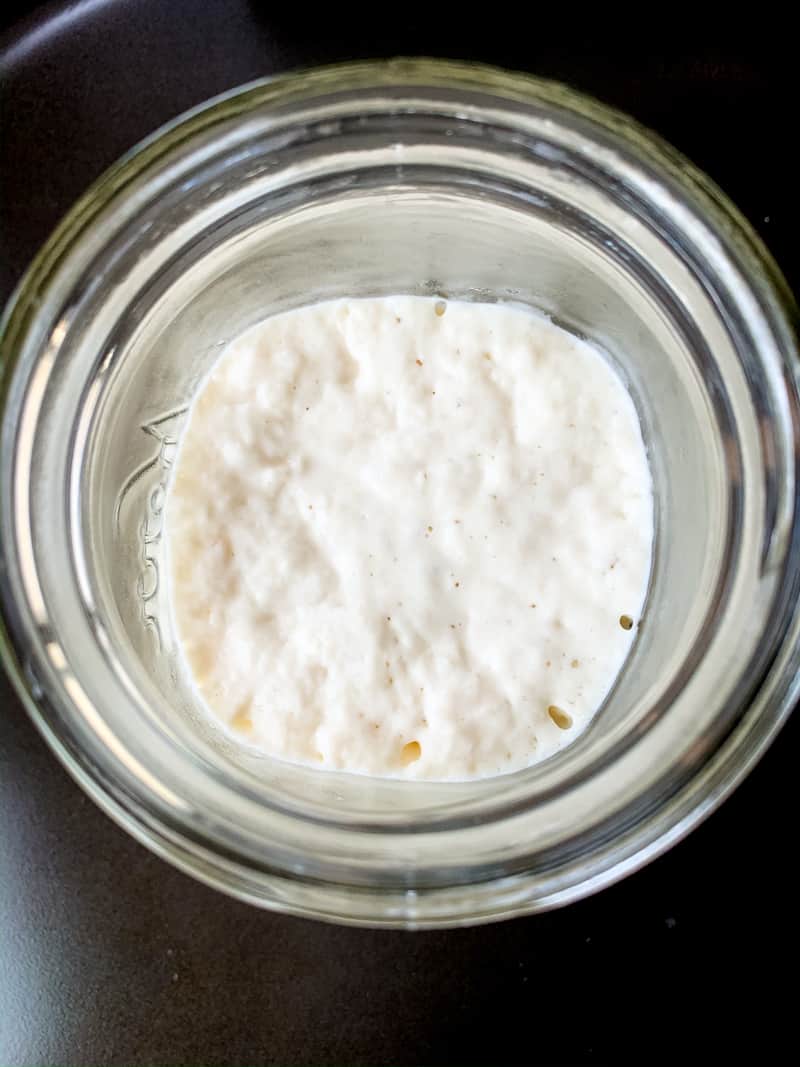
- Notice any air bubbles day to day, both large and small, that means it’s working and the wild yeasts are doubling! It should start to smell sour after a few days, but room temperature can affect how quickly it activates. Don’t worry too much about it, just keep feeding it every day. The texture will change from a pancake dough batter to an airy, lighter batter over the first 5 days.
- By day 5, or once it smells sour and is airy and doubling in volume, it is ready to use in your preferred sourdough bread recipe!
How to Maintain a Sourdough Starter
If you bake bread often, you can leave your starter on the counter and feed daily to keep it active. We like to feed 5 Tablespoons of both flour and water. You’ll find that your jar can’t contain that much starter, as it will double in size each time you feed it. You can either discard a bit of starter before each feed, or you can save it and use in waffles, pancakes, pizza dough, or even fry up that discarded starter in oil and add some seasonings as a delicious, sourdough ‘pancake!’ Just always make sure to leave at least 2 tablespoons of starter behind to continue to feed. You never want to use it all up.
If you want to only make bread once each week or less, keep your starter stored in the fridge. 2 days before you’re ready to make bread, remove it from the fridge and feed and leave on the counter. 24 hours later, feed it again. It could take anywhere from 2-5 hours for the starter to be fully active and ready to use after that second feed. Once it is fully active and doubled in size, you are ready to bake. Make sure to feed your starter after each discard or use.
Using Your Sourdough Starter: Making the Dough
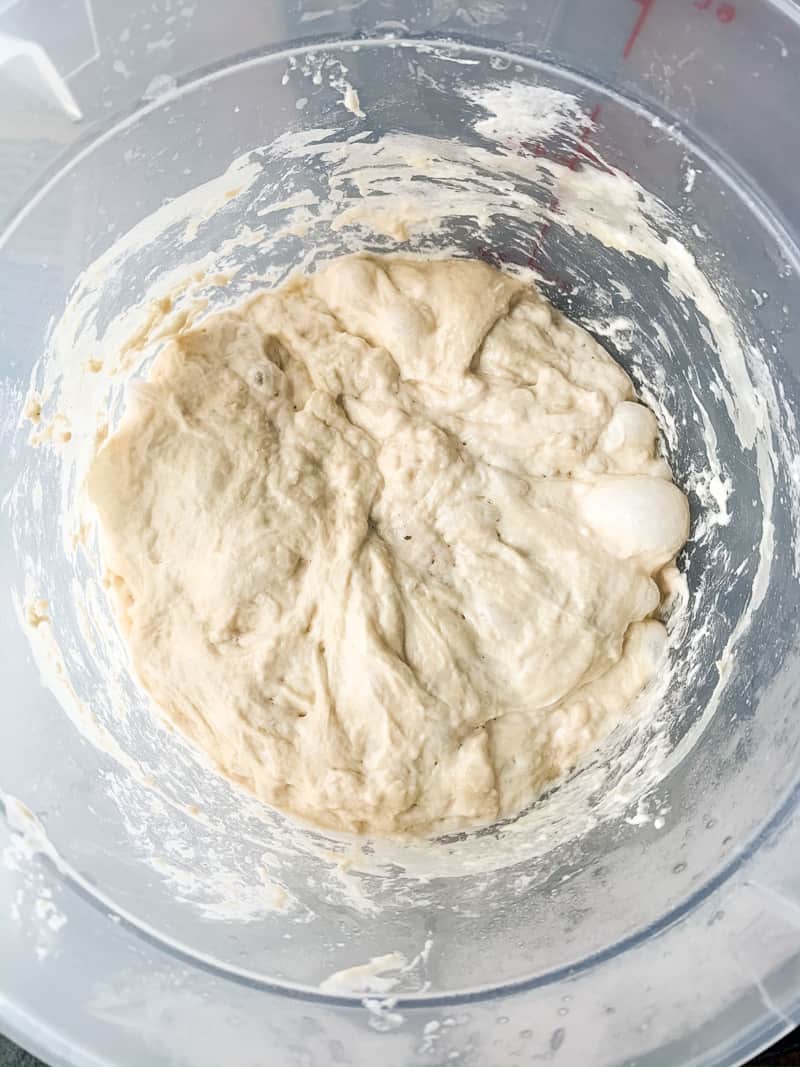
Now that your starter has doubled in size and is billowing at the top, you are ready to make your bread dough. We like a larger loaf, so mix 5 cups of flour with 2 cups of water. Either all purpose or bread flour will work, though we prefer bread flour. You can start mixing with a wooden spoon if you like, but you’ll realize pretty quickly that a spoon will only get you so far, and you’ll want to switch to just mixing by hand. The dough will be really sticky and thick. Let the dough rest for 45 minutes with a lid on or covered in plastic wrap. This resting process where gluten development begins is called the autolyse.
First Rise
After 45 minutes, add in 1 Tablespoon salt and 1/2 cup of your starter to the water/flour mixture. Mix this all in by hand until well combined, but do not knead. Let it rise for anywhere from 12-24 hours. In the winter, when the house is cooler, we let this rise for about 20 hours. In the summer, we stick fairly close to 12-14 hours. You just want it to double in size. Without adding any commercial yeast, this can be a fairly long process, so we tend to do this first rise overnight.
Second Rise
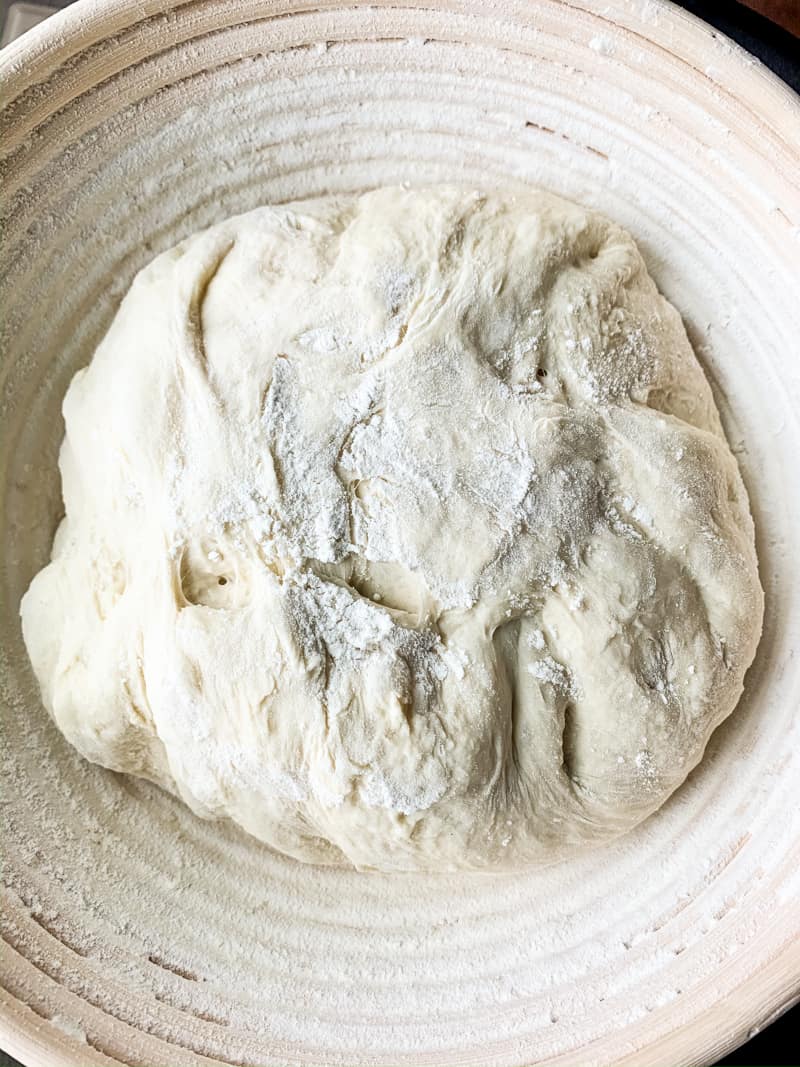
Once the dough has doubled in size, dump it out onto a clean, floured surface and fold it over a few times into the center. Transfer this to an oiled bowl or to a floured proofing basket. Let it rise for 3-5 hours. You’ll know it’s ready when you poke it with your finger (not too harshly) and the indent remains, or only very slowly springs back while still leaving an indent. If the dough springs right back, it needs more time to rise.
Baking Sourdough Bread
Once your dough is fully risen, preheat your oven to 450 degrees Fahrenheit with your dutch oven in the oven for the entire preheating time. Flip your dough from your basket/bowl onto a bread sling or large piece of parchment paper. Use that excess parchment paper to help lift the dough into the dutch oven. Put lid on and bake for 30 minutes. After 30 minutes, remove the lid and continue to bake until bread is a deep brown, approximately 30 more minutes.
PRO TIP: Put a baking sheet under your dutch oven when you remove the lid, and bake for the remaining time this way. This will ensure the bottom of the bread doesn’t get too dark or burn.
Once the bread is a deep brown, turn off oven and crack the door. Let your bread cool in the cracked oven for 20 minutes before removing from oven and dutch oven, and putting on a cooling rack. Cutting into a warm loaf of bread is SO tempting, but it is important to let the bread cool completely to allow texture and flavor to develop completely.
Storage Instructions for Sourdough Bread
Room Temperature Storage:
- Cool the bread completely before storing.
- Wrap the bread in a clean, dry cloth or place it in a paper bag to maintain its crust’s texture.
- Store in a cool, dry place for up to 3 days.
Refrigerator Storage:
- Not recommended, as it can dry out the bread and affect texture.
Freezer Instructions for Sourdough:
- Slice the bread if desired for easier use.
- Wrap slices or whole loaves tightly in plastic wrap or aluminum foil.
- Place wrapped bread in a freezer bag or airtight container.
- Label the bag or container with the date.
- Freeze for up to 3 months.
To Thaw:
- Leave at room temperature, wrapped, until thawed. For slices, you can toast directly from frozen for convenience.

Been baking this type of bread for years and found I have really enjoyed making it by your set of standards; my biggest problem all along however, is taking the bread out of the baneton/rattan proofing basket gracefully to place it in my dutch oven with the parchment paper.
Would you or do you offer a video showing how you can gracefully take the dough out without it deflating and becoming a squirrely mess?
Thank you for your wonderful website, I really enjoy reading & watching the videos; you have a terrific charisma that draws your viewers in.
I started this recipe yesterday and measured the ingredients exactly. First rise seemed to go great. When I took it out of the container to shape for second rise, the dough didn’t hold shape at all. It was really sticky and kept sticking to my hands and the the board i had it on. Did my best to get it into an oiled bowl and just flipped it to put in the dutch oven. It literally fell flat. Put it in anyway and now it’s in the oven. Do you think I should’ve cut the water or added more flour? I’m in Bay Area, California so not sure if it has anything to do with elevation (tho I’m not elevated). Any suggestions? My starter seemed good to go and dough rose great, just couldn’t hold form.
With the hydration level of this dough, it really doesn’t hold the shape. It will be sticky coming out of that first rise. When I shape, I do it on a well floured counter, and that definitely helps the stickiness so it can go into the proofing basket without sticking to it. Any dough that gets jostled around too much will fall flat, so when I’m ready to put in the dutch oven I will stick a piece of parchment flat across the top of my proofing basket, gently turn upside down over onto the counter so it is now just sitting on the parchment paper, then lift by the edges of parchment to place in the dutch oven. That has helped it maintain it’s shape, but honestly it is a bit flat at this point. You should still get a good oven spring on it, but if not, then we can troubleshoot from there 🙂
Love this recipe!!
Does the bake time change at all if I divide the dough into 2 Loaves?
In general, with sourdough you want the baking time to go off the color of the crust more than a time on a clock. So yes, it would cook a bit faster. To be honest, cutting this recipe in half would make for quite small loaves. However, if you want to give it a try I would just keep a close eye on the color after about 40 minutes. You want a deep brown coloring on top.
Hi@ I am curious, what is the reason for cooling bread in cracked open oven for 20min after turn the oven off ? Is it critical ? What happened if I skip that and if I immediately take bread out and cool it on the rack? I am just really curious especially because of my house is super hot once oven is on, so cracked open oven will make it definitely worse. Thank you
This step is called curing. It is 100% optional, and it will not ruin your loaf if you forget or just decide not to do this step. You can develop a lot of flavor and a better crust if you let it ‘cure’ in the hot (but turned off) oven.
Hi Rachel,
When making the starter, you said 4 oz of water and flour. Is that 2oz water and 2oz flour or 4oz of each, water and flour (8oz total). Love the recipe and super excited to try it!
You want to use 4 oz and water and 4 oz of flour (8 oz total). Good luck!
I’m just about to fold dough and place in oiled bowl for second rise! Do I cover bowl with plastic wrap for second rise as well? Can I use plastic bowl?
You definitely want to cover the bowl for both rises so it doesn’t dry out. You can use a bowl with a lid or plastic wrap. I have successfully used a towel for the second rise as well (but not the bulk fermentation first rise). You can use either plastic or glass. Good luck!
Hi, just wondering if I am supposed to be baking the dough on the parchment paper?
Yes, bake on the parchment paper.
Hi Rachel,
I’m new to bread baking & just wondering, I’ve now made 2 loaves with this recipe & the flavour is really good! But I am definitely doing something wrong because the first loaf was really dense when we eventually cut into it, and though the second loaf grew more during the proofing, it’s still a bit dense. It’s wider though not taller.
My starter is only about 3-4 weeks old, but I noted the comment below about how long after a feed you should use the starter. I think mine had just started to sink when I used it, could this be why?
Yes, that definitely could be why. You want to use the starter when it is at its peak, doubled in size. If you use the starter after it has started to shrink, your bread will not rise enough.
Hi guys,
After taking the dough out of the proofing basket it kinda collapsed and turned quite flat. It didn’t hold the shape at all. I had it proofed for 3h and it withstood the finger test. Did I do something wrong?
Lisa
There is a small amount of flattening to be expected, especially with a recipe like this that calls for a higher hydration. It should spring back up in the oven. If it doesn’t, it could mean that your starter was not at its peak when added to the recipe, or that it did not have a long enough rise time. There is a lot of experimentation within sourdough baking, so don’t be afraid to tweak things as needed!
Do you put the baking sheet directly under the dutch oven or on the rack below?
You want to put it on the same rack, directly under the dutch oven.