
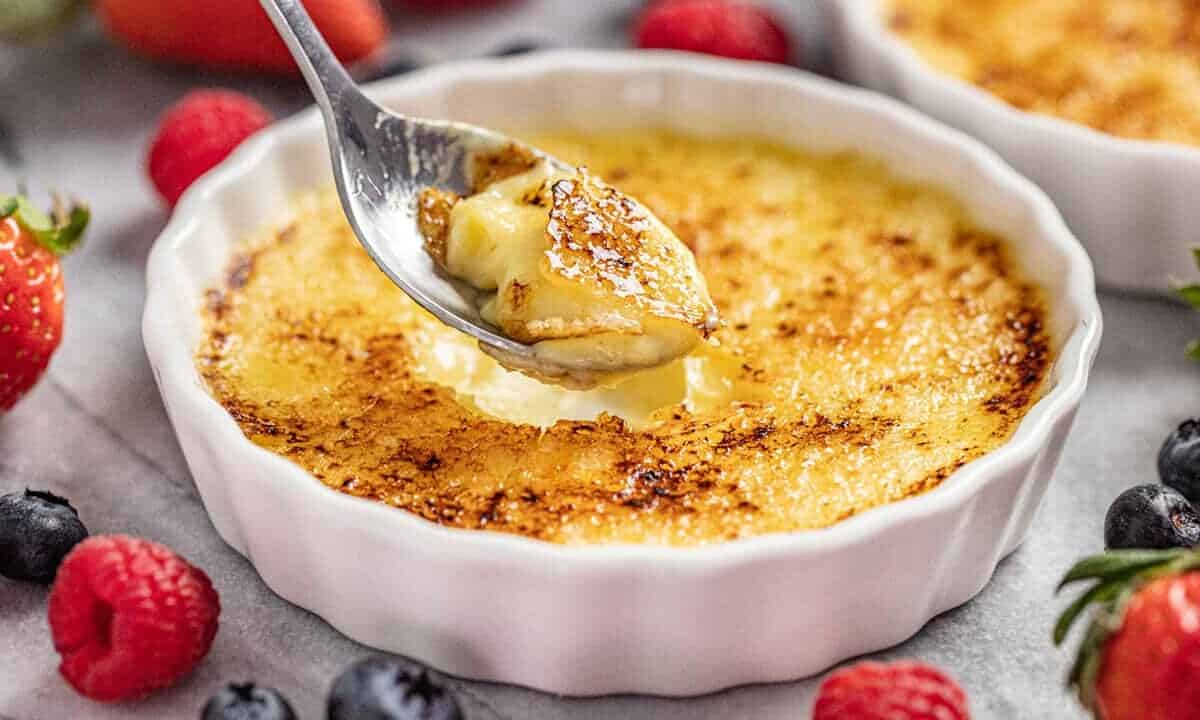
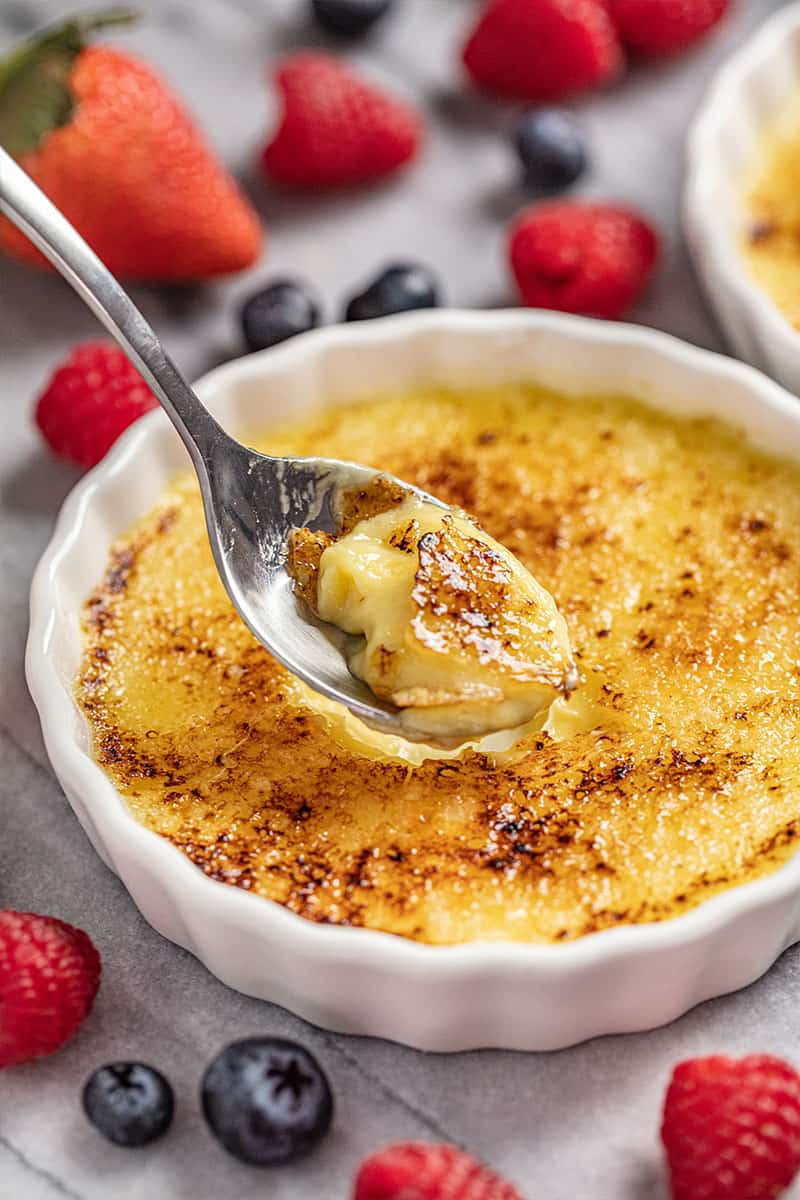
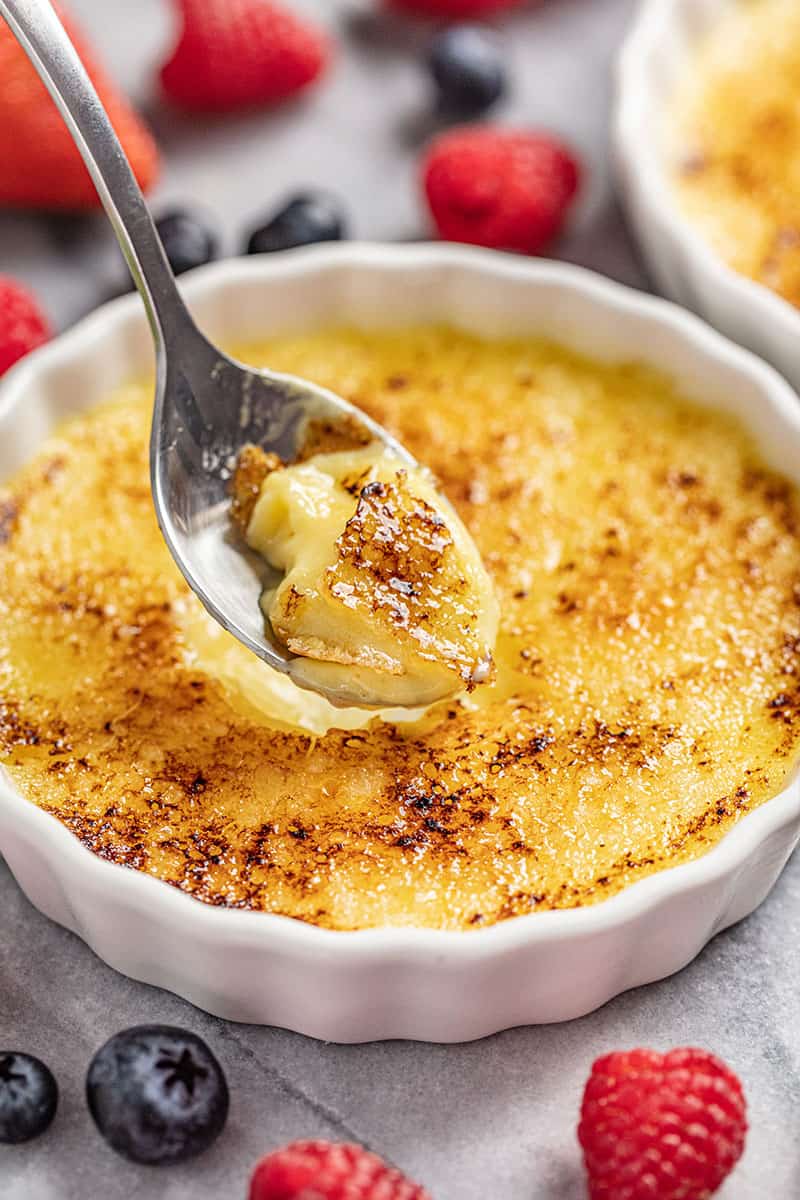
Crème Brûlée is not just a treat reserved for fine dining experiences. This recipe brings the sophisticated flavor of creamy vanilla custard, topped with a gloriously golden, crackly crust right to your home kitchen. Designed for ease and convenience, it bypasses the traditional step of heating milk or cream, allowing you to blend the ingredients together and bake them directly. Ideal for any special occasion or a delightful treat any day, this crème brûlée is as uncomplicated as it is delicious.
Why You’ll Love This Recipe
- Easy to Make: Even beginners can master this recipe, thanks to clear, step-by-step instructions and simplified techniques.
- Versatile Tools: Whether you have a fancy kitchen torch or just a simple broiler, you can achieve that perfect caramelized top.
- Classic Flavor: The rich, creamy vanilla custard paired with the caramelized sugar top offers a timeless taste that’s always a crowd-pleaser.
- Make-Ahead Convenience: Prepare in advance and enjoy effortless entertaining, giving you more time to enjoy with your guests.
We want you to treat yourself and your loved ones with an amazing dessert. No need to fuss over a lengthy, complicated recipe. We’re not about that. So dust off those ramekins hiding in the back of your pantry, and savor every bite of this decadent dessert.
Ingredient Breakdown and Substitutes
Egg Yolks: Provide richness and a smooth texture to the custard. For a lighter version, use 3/4 cup of egg substitute in place of egg yolks.
Sugar (for custard): Sweetens the custard base. Equal amounts of honey or maple syrup can be used, but they may slightly alter the flavor.
Heavy Cream: Gives the custard its creamy, indulgent texture. Full-fat coconut milk can be used as a dairy-free alternative, though it will impart a coconut flavor.
Vanilla Extract: Adds a classic, aromatic flavor to the custard. Vanilla bean paste for a more intense vanilla flavor, or almond extract for a nutty twist.
Superfine Sugar (for topping): Melts and caramelizes evenly for the perfect crust. Regular granulated sugar, though it may not caramelize as uniformly.
Ramekin Size
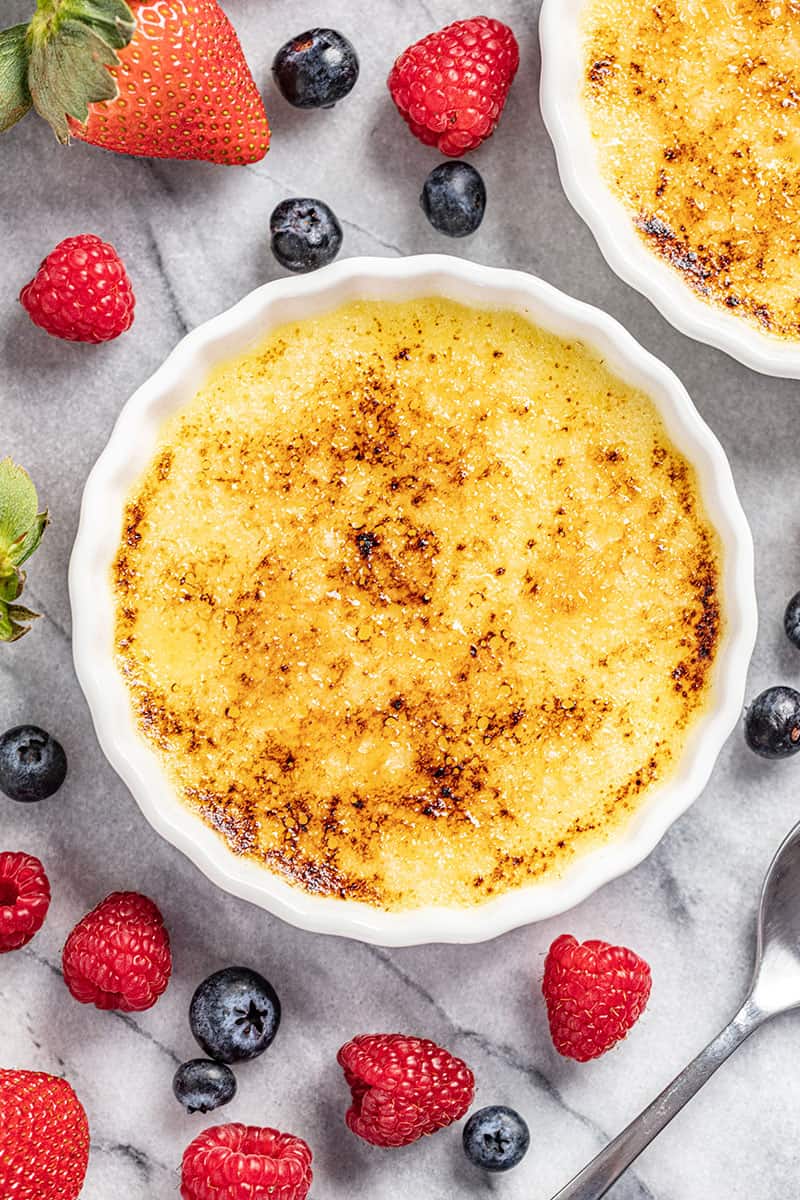
The ideal ramekin size for creme brulee is 6 ounces. These dishes have a diameter of approximately 4.8 inches, and are 1.1 inches deep. Other sizes can also be used. Cooking time is determined by the depth of the liquid. For best results, only fill your ramekin with a depth of 3/4-inch of custard no matter what size the diameter is. Keep the oven temperature the same, but start checking for doneness at the original recipe’s suggested time, extending as needed.
Frequently Asked Questions
We love this classic, vanilla crème brûlée, but there are many flavor varieties. Citrus and cafe au lait are a couple of popular variations to the classic recipe, but one of our favorite flavored varieties is lavender. If you want to take the time to infuse the cream with fresh or dried lavender, go for it! Otherwise, keep it simple and add in 1/2 teaspoon of lavender extract with the cream.
You really don’t need a kitchen torch for crème brûlée. You can caramelize the sugar in your oven under the broiler setting, however the downside to this is that broiling can also heat up the custard and make it soupy. If you don’t want to invest in another kitchen tool, just keep a watchful eye and don’t let them stay too long under the broiler.
You want to place the ramekins in a water bath for a couple of reasons: it keeps the oven moist and prevents the custard from cracking; water bathing also improves the texture of the custard, making it creamy and not rubbery. The water should reach half-way up the rameking. Be careful when adding water and moving around the pan so that the water does not slosh around and end up spilling over into the custards. Slow movements and steady hands are important when working with a water bath.
You can store the cooked and cooled Crème Brûlée in the fridge, covered, for up to 4 days. Always add and caramelize the sugar topping just before serving.
The recipe is best with heavy cream for a rich texture. Using low-fat or fat-free alternatives may result in a less creamy custard.
Baking in a large dish requires a longer cooking time. Monitor the custard and check for doneness periodically, as the larger volume will take longer to set.
Troubleshooting Guide
Custard Isn’t Setting: Ensure your oven is at the correct temperature. Custards need gentle heat to set properly. Avoid opening the oven door frequently.
Custard is Curdled: This happens when overcooked. Cook just until the edges are set but the center is still wobbly. Use a water bath for even heat distribution.
Sugar Isn’t Caramelizing Evenly: Spread the sugar in a thin, even layer. If using a torch, keep it moving to avoid burning the sugar.
Wet or Runny Custard: Make sure ramekins are dry before pouring in the custard mixture. Also, avoid getting water in the custard while preparing the water bath.
Cracks in the Custard: This is often due to overcooking. Remove the custard from the oven when it’s set but still slightly jiggly in the middle.
Difficulties with Caramelized Top: If using the broiler, watch closely as sugar can burn quickly. Rotate the ramekins for even caramelization.
Flavor Too Mild: Ensure you’re using quality vanilla extract or vanilla bean for the best flavor. You can also infuse the cream with other flavors like citrus zest or spices.
Make Ahead Instructions
Crème Brûlée is an ideal dessert for preparing in advance, allowing you to enjoy your gathering without last-minute kitchen stress. You can fully prepare the custard up to two days before your event. Here’s how to do it:
- Prepare and Bake the Custard: Follow the recipe to make and bake the custard. Once baked, let the custards cool to room temperature.
- Refrigerate: After cooling, cover each ramekin with plastic wrap or foil. Refrigerate for up to 48 hours. This chilling period not only allows the flavors to meld beautifully but also gives the custard its signature firm yet creamy texture.
- Caramelize the Sugar Just Before Serving: The key to that iconic crème brûlée experience is the freshly caramelized sugar top. Right before you’re ready to serve, evenly sprinkle the superfine sugar over each custard. Use a kitchen torch or broiler to caramelize the sugar, creating that delightful, crackly crust.
More delicious desserts
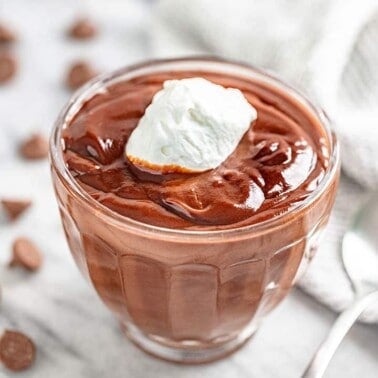
5 Ingredient Homemade Chocolate Pudding
1 hr 10 mins
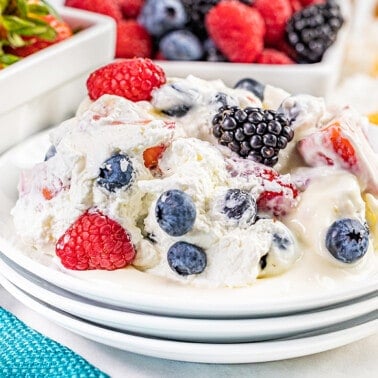
Creamy Berry Trifle
2 hrs 30 mins
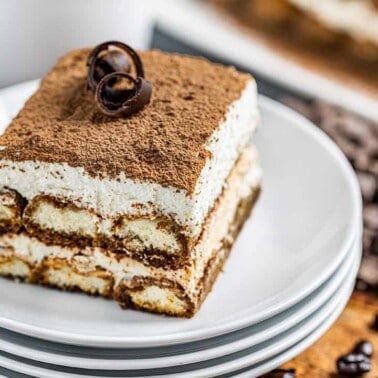
Decadent Tiramisu
4 hrs 30 mins
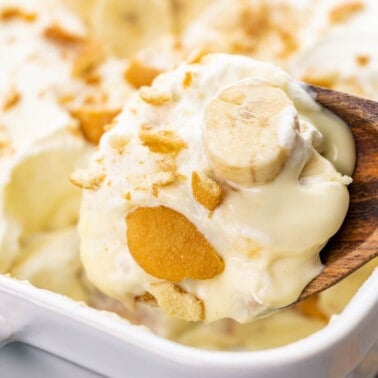
From Scratch Banana Pudding
2 hrs 20 mins
Watch the video below where Rachel will walk you through every step of this recipe. Sometimes it helps to have a visual, and we’ve always got you covered with our cooking show. You can find the complete collection of recipes on YouTube, Facebook Watch, or our Facebook Page, or right here on our website with their corresponding recipes.
I found both this recipe and your Angel Food Cake recipe about the same time. I make the cake with the egg whites, saving 8 egg yolks, then a few days later, I make this fabulous recipe!
Thank you for this recipe! I love Crème Brûlée & am anxious to try it. Sounds simple
I always thought of Creme Brûlée as a fancy dessert I could only have at a restaurant. Thank you Rachel for sharing this wonderful recipe! It was so easy to make and absolutely delicious!
That was the best receipe of Creme Brulee and directions i have seen to date..Thanks so much..cant wait to make it..
I don’t have creambrulle dishes so what can I use?
You are so very cool. Great recipe and so easy. You are a great teacher. Thank you.